
Plex server lets you share movies and music across all of your mobile devices and game consoles. It has apps for your tablet, XBox, Playstation, and phone, along with an embedded DLNA server that can talk to Smart TVs and even some DVD players. If you commute with a tablet, there are syncing options so wireless weirdness won’t interrupt your streaming.
In my opinion, it’s one of the most complete and customizable streaming media servers on the market. I use it every day, and I think you’d like it too. Here’s how to get started with Plex server.
Before we start
Like Kodi users, many Plex users will employ a VPN to protect their privacy and stop their ISP snooping on their activity or throttling their internet connection. Some ISPs are known to throttle speeds for customers who stream content online. We recommend you use a VPN fast enough to ensure streaming is not interrupted and which keeps no logs of activity so your ISP and others cannot spy on your online activity or slow down your internet speed. One of the few VPNs to fit both criteria is IPVanish. Additionally it’s an easy VPN to install Fire Sticks, and a range of other popular devices.
Reader deal: Save up to 60% on IPVanish plans here
Sign up for Plex
Plex uses a big central database of devices in order to make sure you can only connect to your own Plex server. You need to make one account that will be used with your server and all of the devices you stream Plex on.
They do offer a premium plan, which you can either buy outright or subscribe to. My recommendation is to purchase it all at once if you’re going to buy it. I do think the free features are complete enough to help you make up your mind about using Plex long-term.
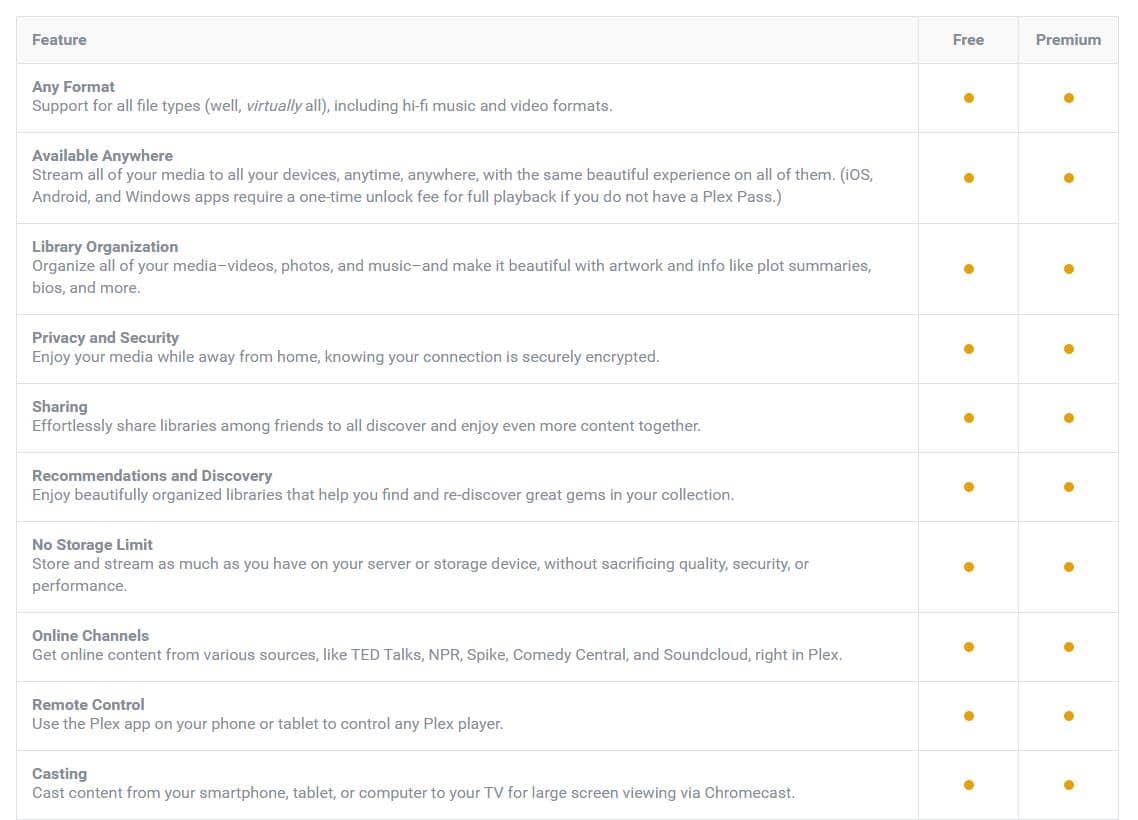
A full list of features for both the free and premium versions are available at plex.tv. Whether you’re buying a premium plan or not, the rest of the steps are the same except where noted.
Downloading and installing Plex server
After you’ve signed up, you can download Plex here. You’ll need to install the server on a computer connected to your media storage device. It works best if there’s a physical connection, like a hard drive in the server or a USB storage device, but Plex can also be set for network storage over a mapped drive.
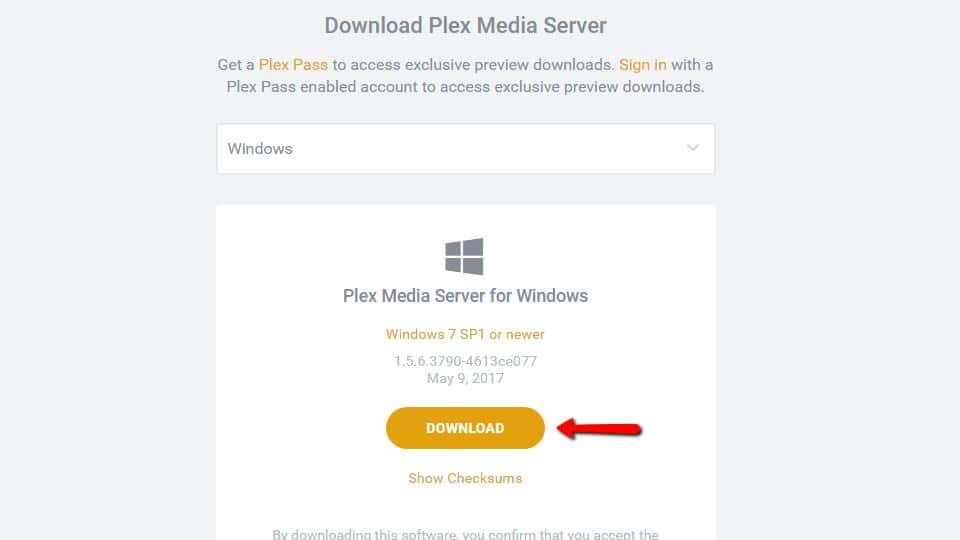
Once you’ve downloaded the Plex server, run it and start the install. You can safely click through using the default options.
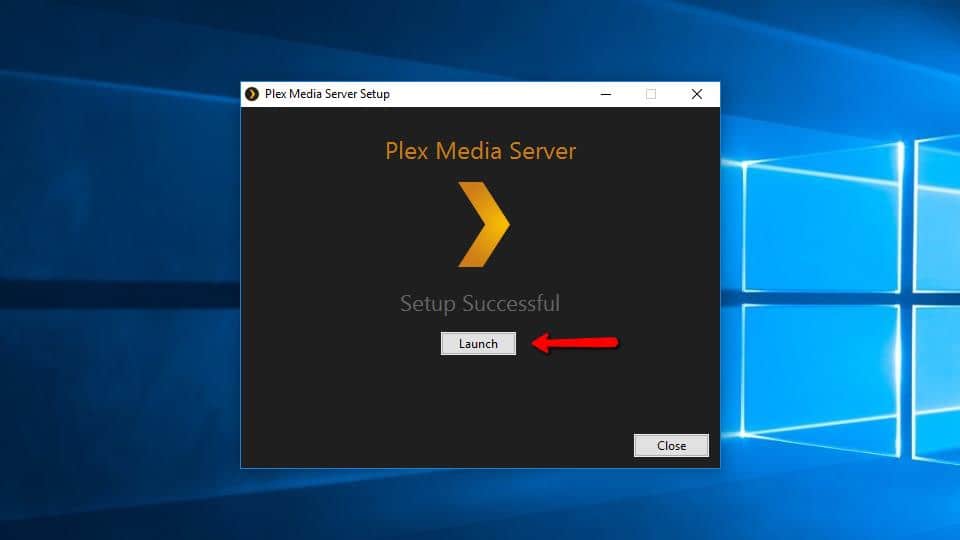
Start Plex after the installation. The server will appear as a small black and gold icon in your system tray.
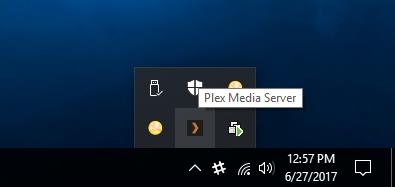
You can right-click it for more options. For now, select the Open Plex… menu item.

Plex will open in your browser. The web client is mostly for administration, but there are also online players for streaming music and video, and playback works perfectly well over the web.
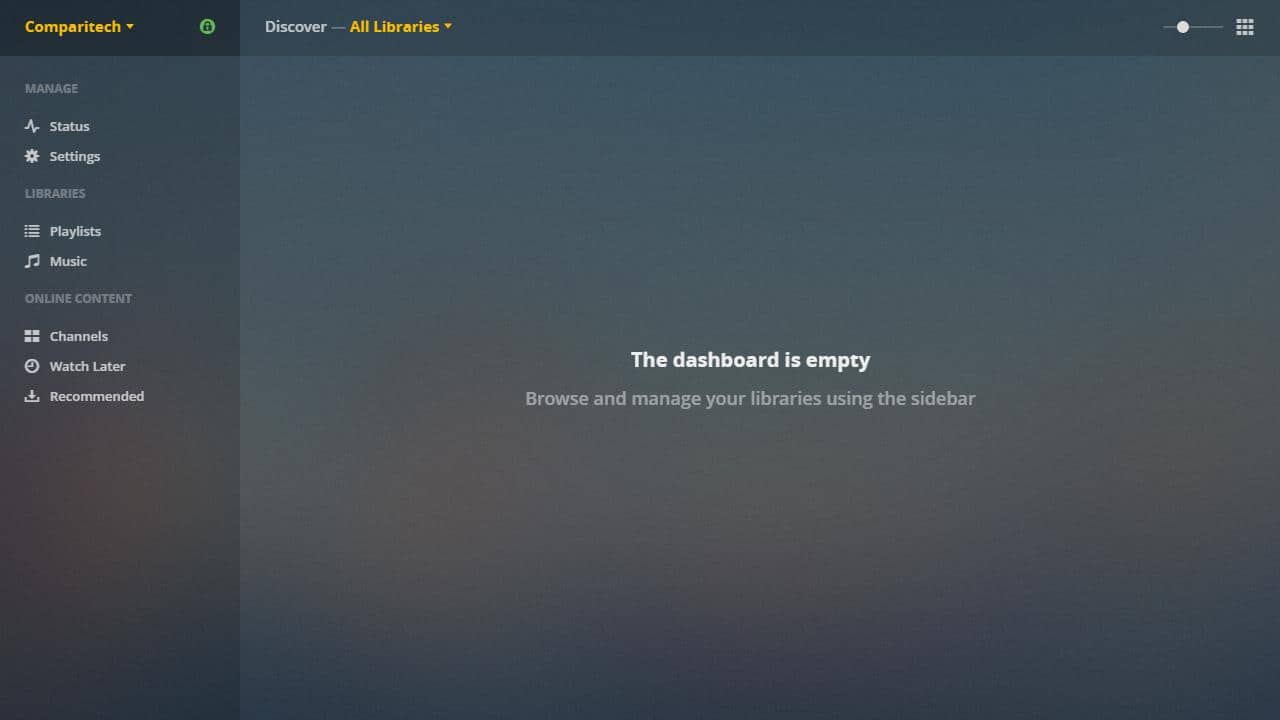
The web client is where most server management tasks will take place. Any changes you make here will automatically be reflected on your Plex clients.
Creating a Plex server
Once Plex is installed and the web client is open, you can create your Plex server. Plex supports multiple servers per account, and each server supports multiple libraries and plug-in channels.
Most installations will only use a single server, but the option is there if you prefer to run more than one.

To begin, click the Settings icon in the top-right corner of the web client.
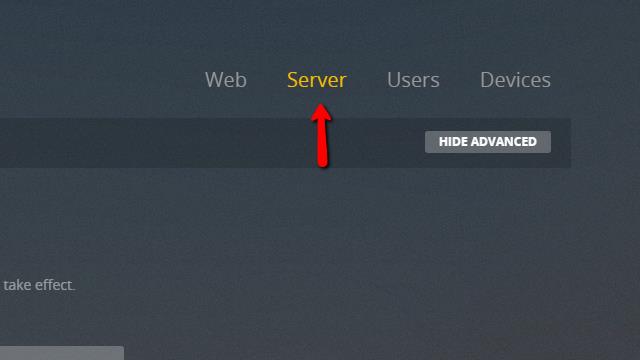
Then click the Server menu item.
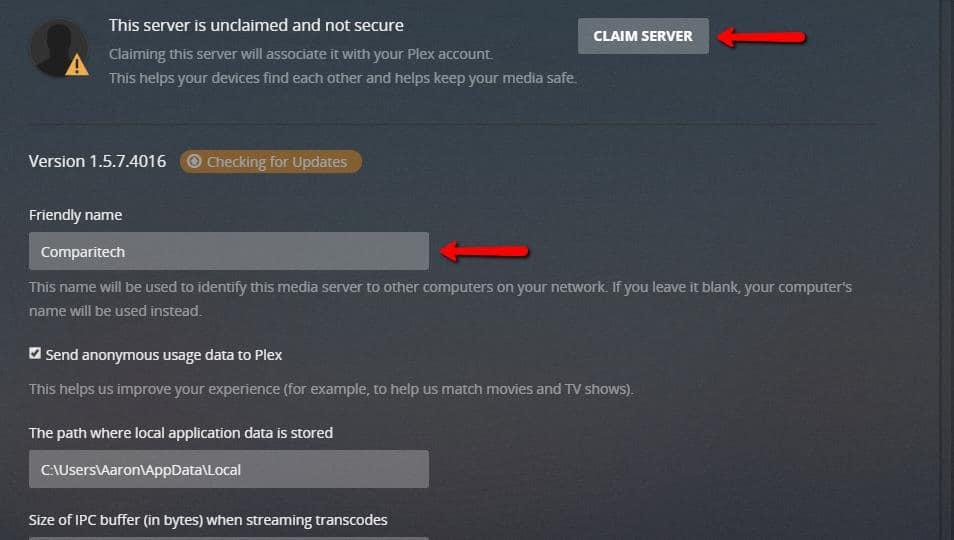
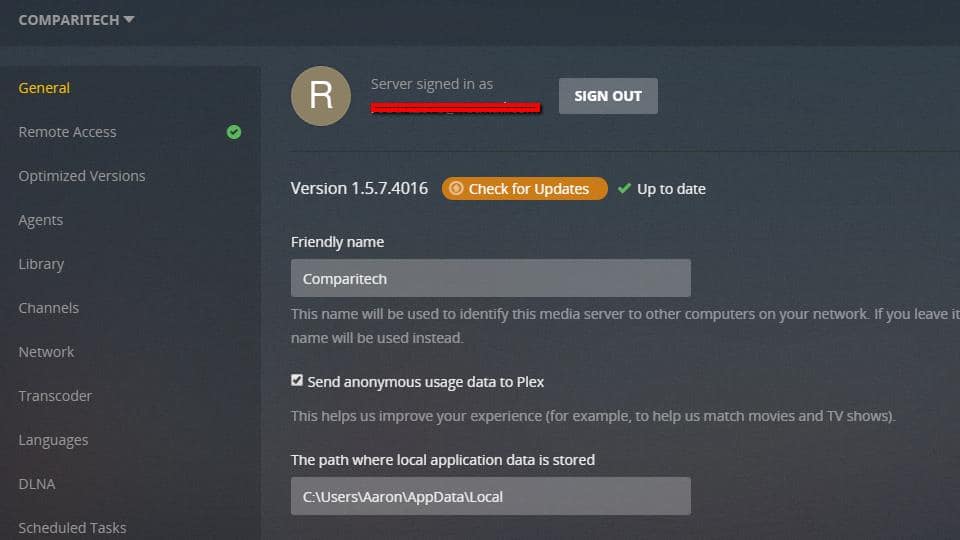
You’ll want to set the Friendly name to something descriptive, then click the Claim server button to associate it with your Plex account. At this point, you may need to login to Plex again if prompted.
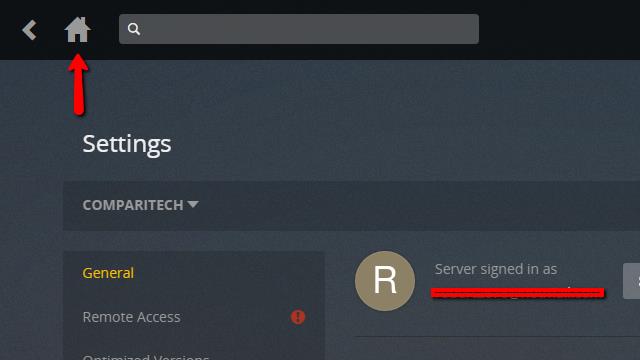
After the Plex server has been created and you’ve verified that it’s linked with your account, you can click the Home button and move on to the next step.
Adding libraries to your Plex server
Now that you’ve created a server, you can set up your media libraries. These are the folders your Plex server will look for your music, movies, pictures, and shows in. They’ll be shared to every device using a Plex client logged in with your account.
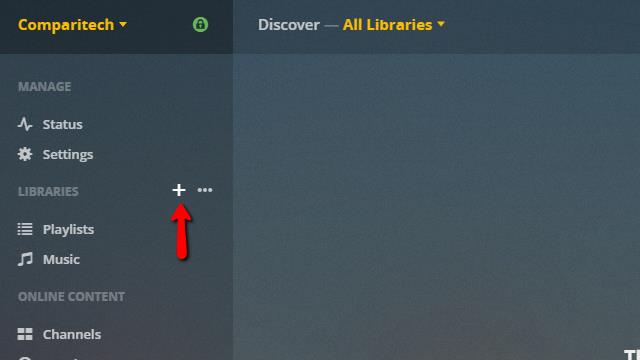
When you mouse over the Libraries heading on the menu to the left, you’ll see a plus sign. Click it to add your first library.
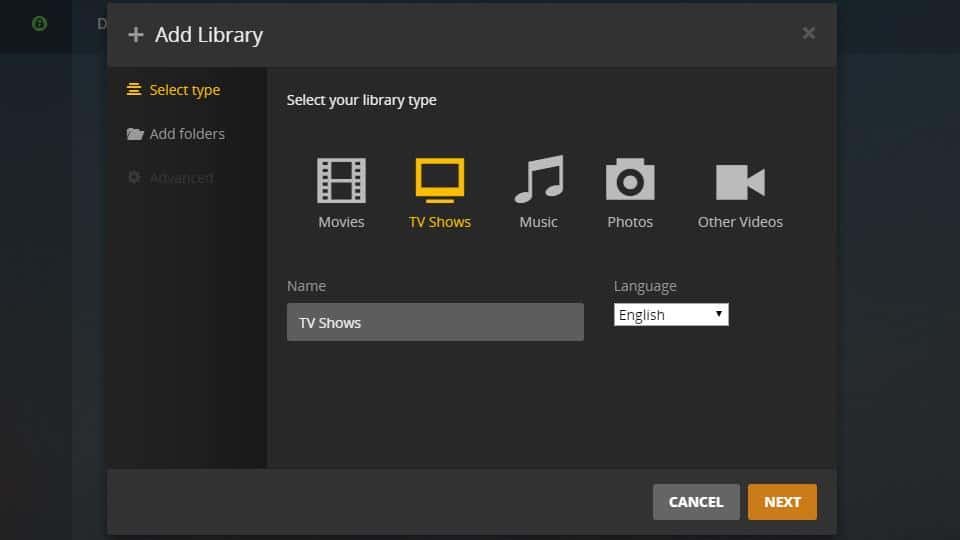
Select the type of library you’re adding. In our case, we’re setting up a library for TV Shows, so highlight it.
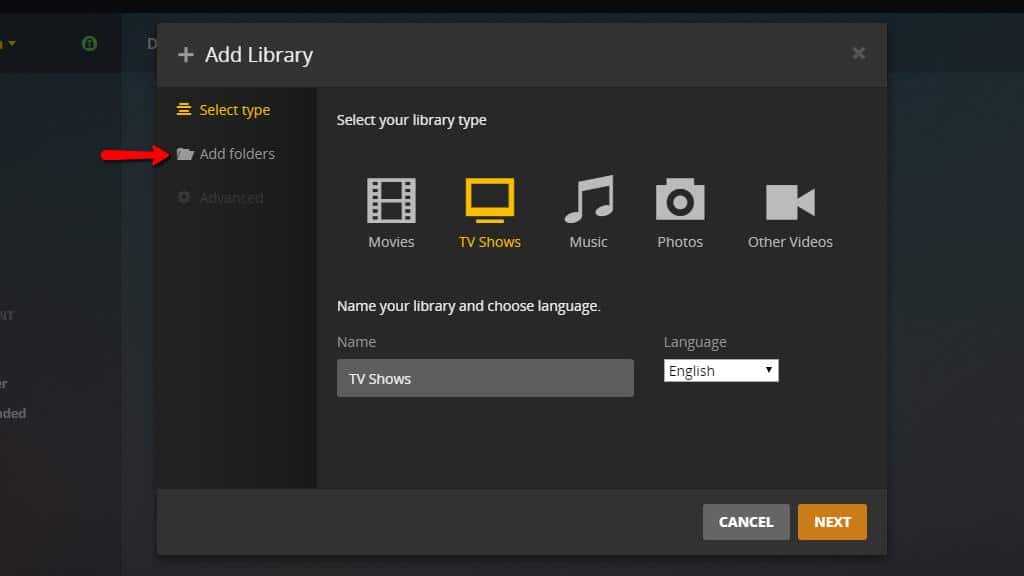
Then click the Add folders menu item on the left.
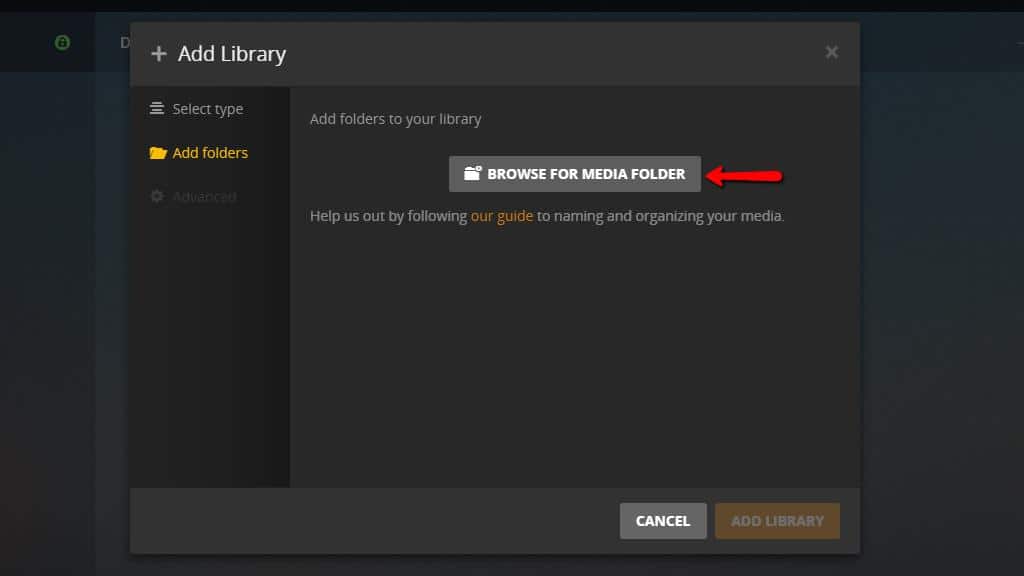
After that, click the Browse for media folder button and select the folder where you’ve downloaded your shows.
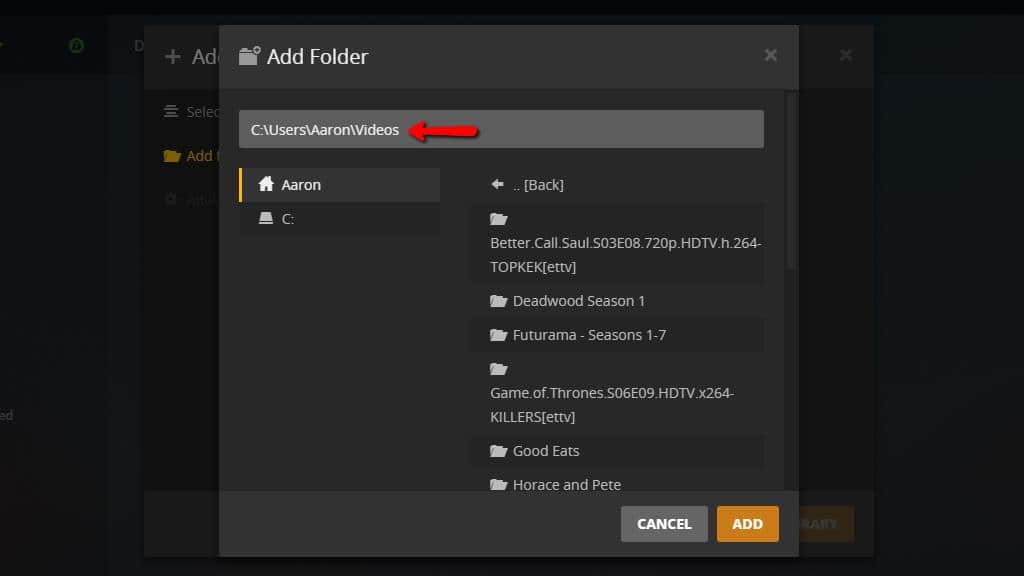
Once you’ve got the right directory, press the Add button. Then press the Add library button after you’ve verified the changes.
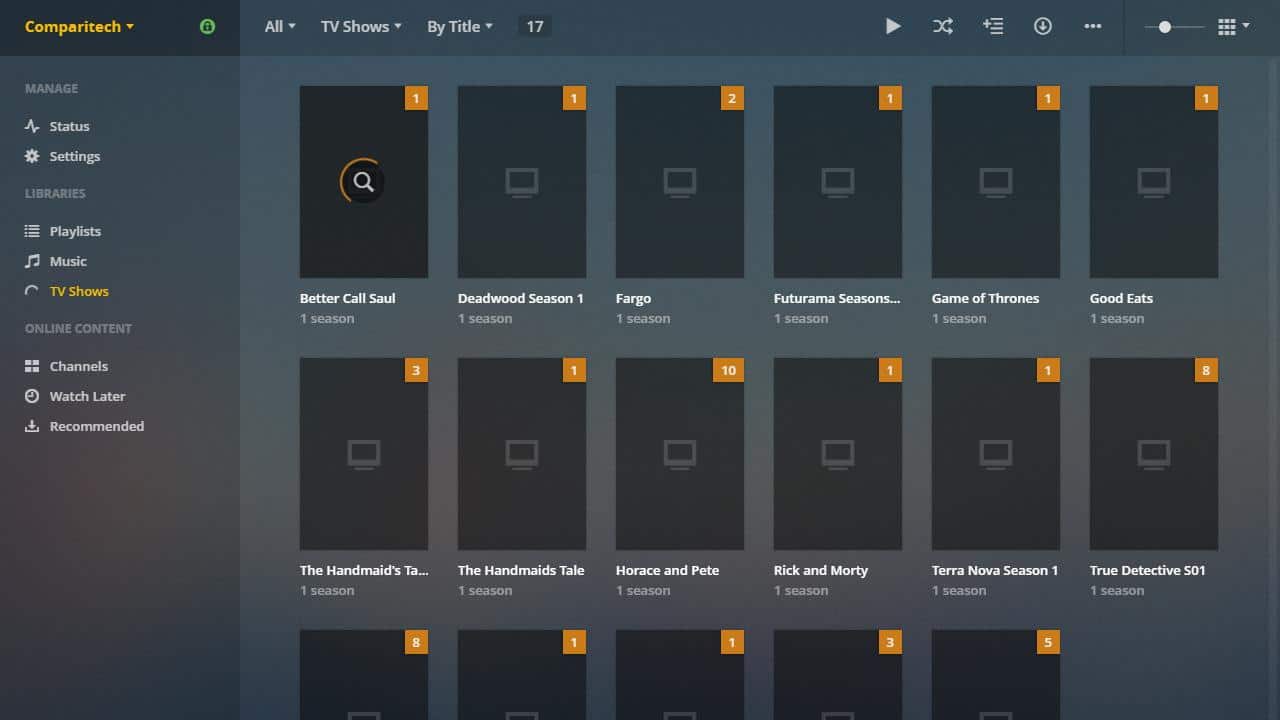
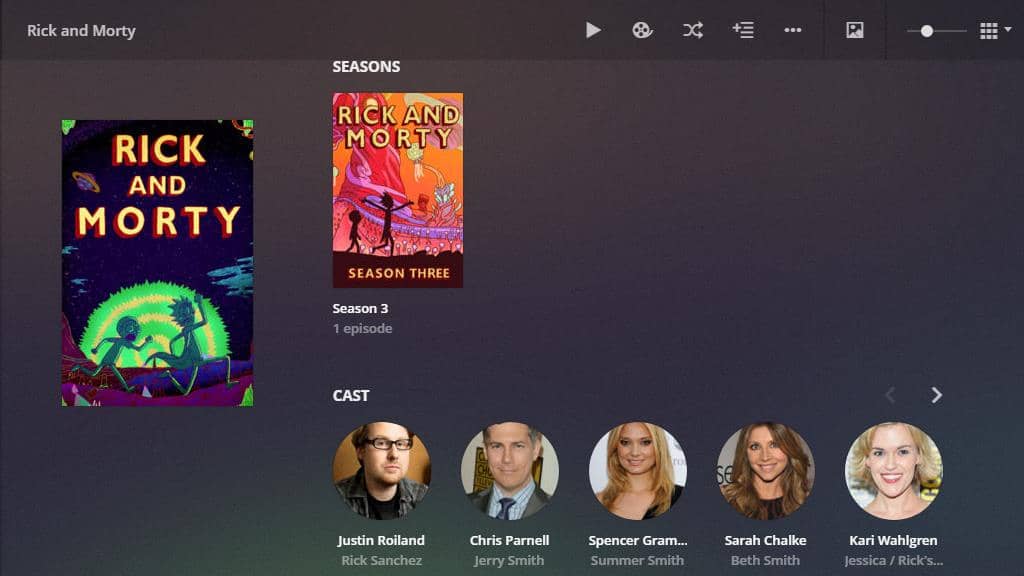
The shows will appear with dummied out icons until Plex checks the web for the proper cover art. The default database works fine, but you can also tell Plex to use custom locations when looking up metadata.

When the library has been added, you should see the cover art for each show. It will take longer to add larger libraries, but after they’ve been added any new media you place in the library’s directory will show up automatically.

Repeat this process until all of your new music, video, and image libraries have been added to Plex.
Configuring Plex server
You should change a few settings now in order to make adding new media to your library as seamless as possible. Remote access can also be enabled, which will let you use the Plex web client , and manage your server, from anywhere in the world.
Adjusting Plex library settings
To begin updating the Plex library’s default settings, you’ll need to open the web client again. You can click here if you’re reading this on your Plex server.

Then click on the Settings icon at the top of the page, in the right corner.

Once the page is open, click the Server menu item in the top right. This will take you to the settings page for the Plex server.
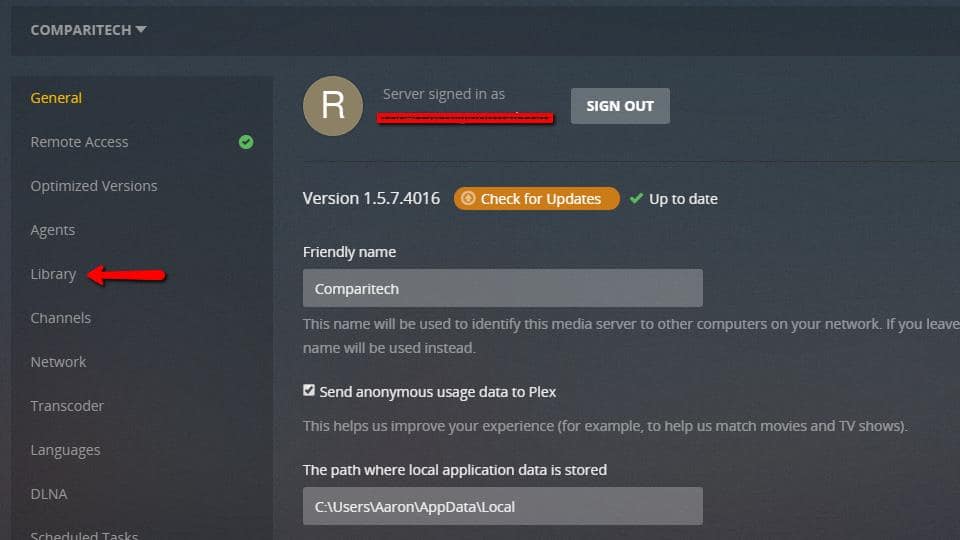
Then click the Library menu item to edit the settings for your music, photo, and video Plex libraries.
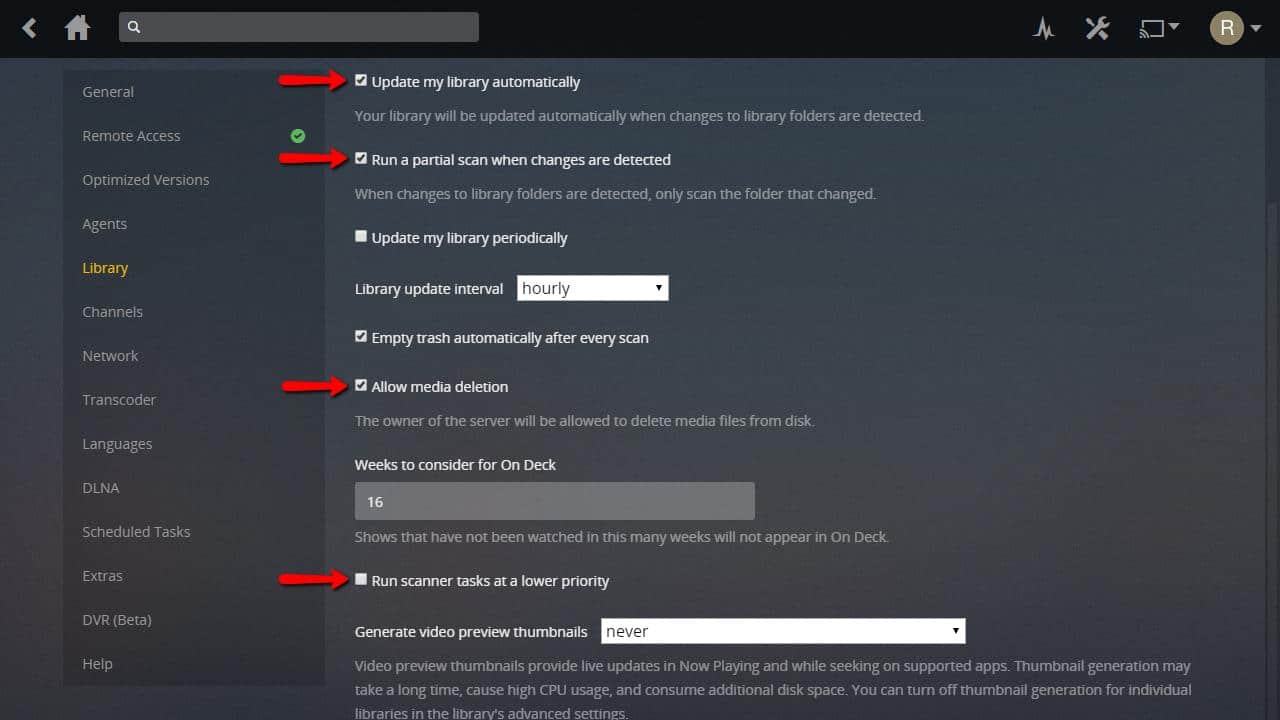
Make sure to check the boxes for Update my library automatically, Run a partial scan when changes are detected, Allow media deletion, and you may or may not check Run scanner tasks at a lower priority depending on how fast your computer is. I’m leaving it unchecked.
The first two checkboxes tell Plex to monitor the library directory for changes, then automatically update the Plex listings when new media is found.
Allow media deletion lets you remove content from your library using a remote device. It’s recommended you check this box, or else you’ll have to manually delete files from the server when you no longer want to watch them.
Run scanner tasks at a lower priority will stop Plex from using all available system resources to update the library. Checking this box may mean that it takes longer for new content to be displayed, but library updates won’t impact performance as much.
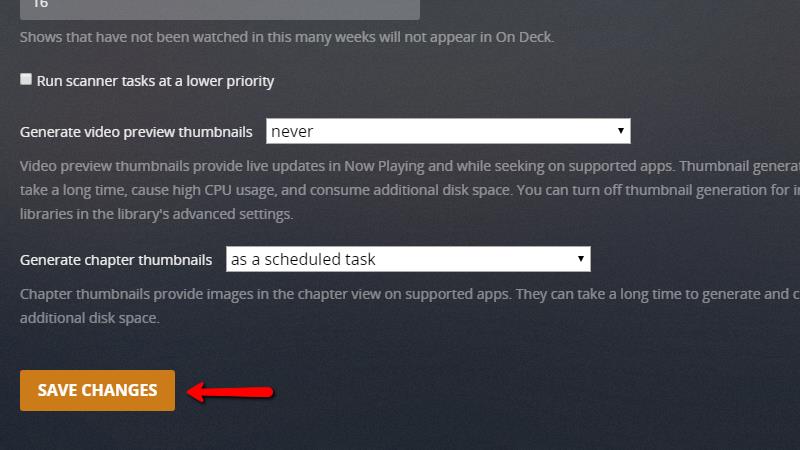
Be sure to click the Save changes button at the bottom of the page when you’ve finished.
Enabling Plex server remote access
Our guide on selectively routing Plex through your VPN covers port forwarding and remote access in step-by-step detail with photos.
In general, you’ll need to:
- Set a static IP address on your Plex server
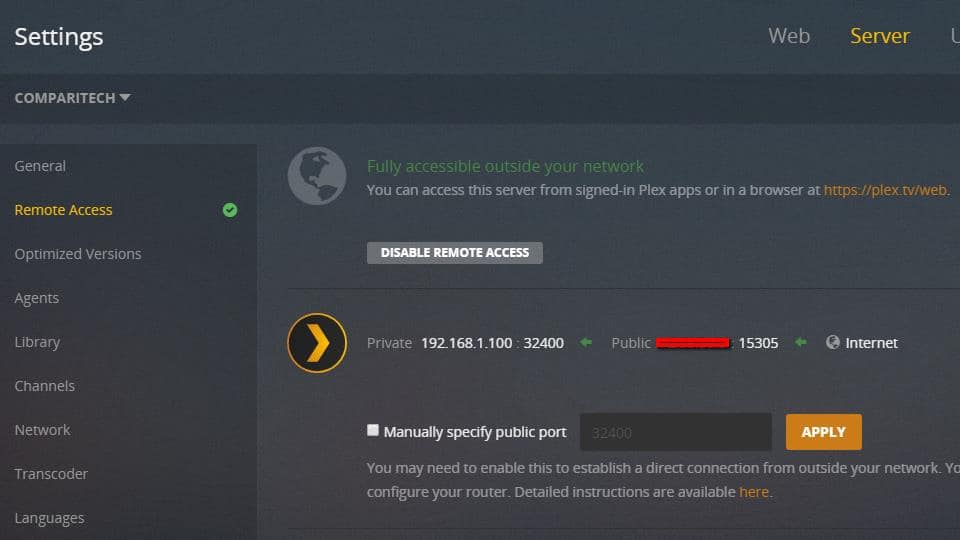
- Enable remote access in the Plex web console
- Take note of the IP address and port (32400) that the Plex server uses
- Enable forwarding on your router to the appropriate IP address and port
- Access your Plex server through the correct public IP address and port number
Setting streaming video quality
If your Plex server connects to the web through a slower connection like DSL, it may be a good idea to change the quality of your video stream. This will stop stuttering and reduce buffering time for mobile devices, at the cost of image clarity.
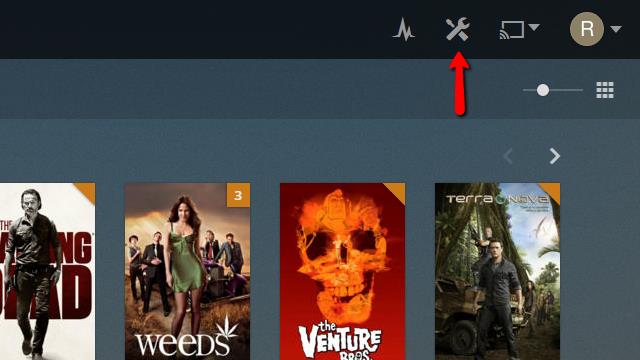
Begin by clicking the Settings icon in the upper-right corner.
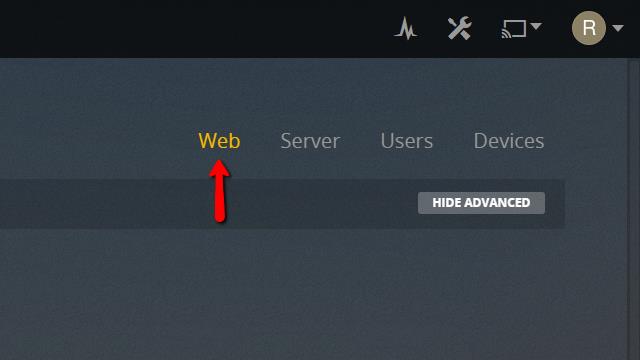
Then click the Web menu item to open the Plex web settings menu.
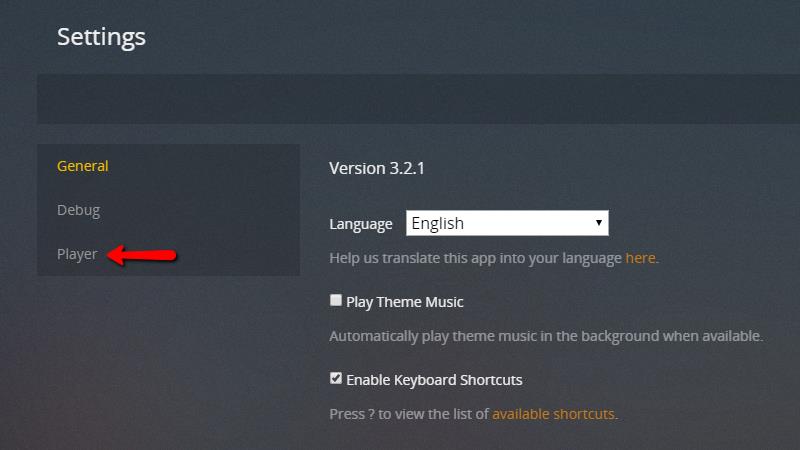
After that, click the Player menu item on the left.
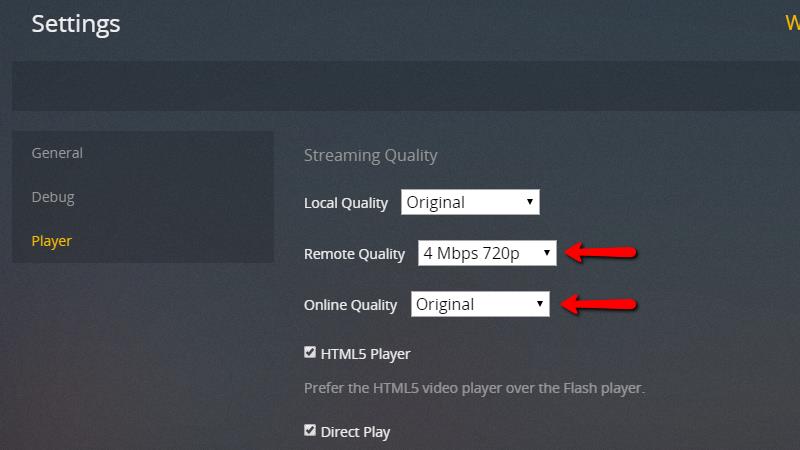
Then adjust the Remote quality and Online quality options to whatever levels you prefer. If you experience stuttering and long buffer times at 720p, move the settings down to 480p. You can also stream in full 1080p if you have the bandwidth for it.
Now that you’ve changed online and remote quality, you should see an improvement. If you don’t, you should adjust the transcoder settings in order to decrease the load on your Plex server’s CPU.

To do that, you’ll need to click the Server menu item in the top-right corner of the web client.
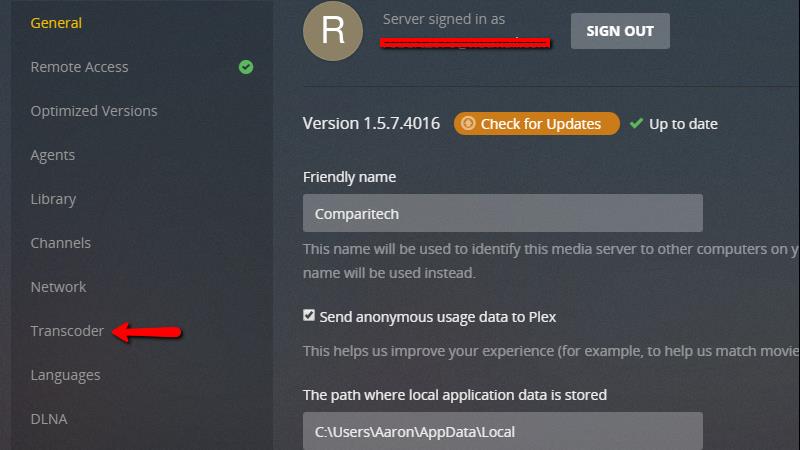
Then click the Transcoder menu item on the left.
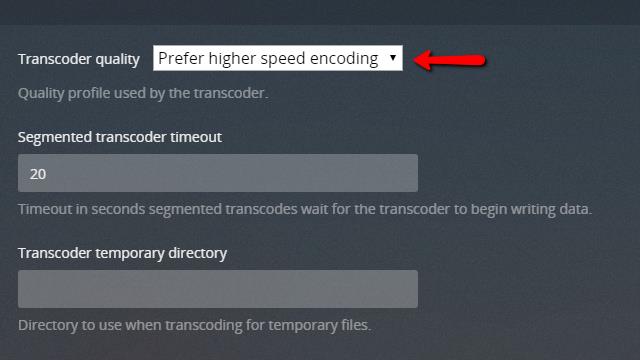
Change the Transcoder quality drop menu to Prefer higher speed encoding if you’re experiencing playback issues. If your Plex server is fast enough you can Prefer higher quality encoding to increase video quality and bandwidth requirements.
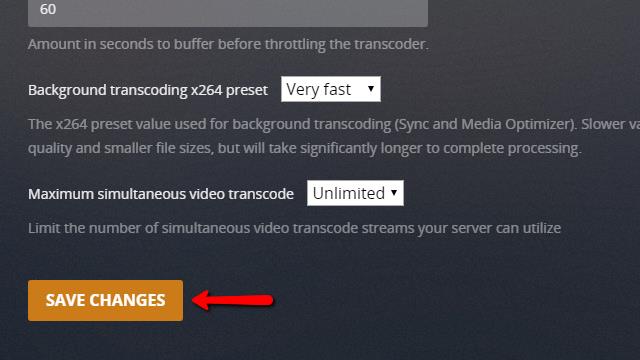
Remember to click the Save changes button when you’re finished. Changing both the transcoding and web playback quality will affect all Plex clients automatically, lowering or raising the video quality on the web and mobile devices.
Routing Plex server through your VPN
If your Plex server is on a secure VPN, you can follow our guide to allow streaming through it.
Adding channels to your Plex server
Like a lot of streaming media servers, your Plex server has support for plug-ins. They call them channels, and each channel adds a new feature or stream to your Plex server.
There are too many channels to focus on individually, but this is how you add the Pandora streaming radio channel to Plex. Every other channel can be setup in a similar way.
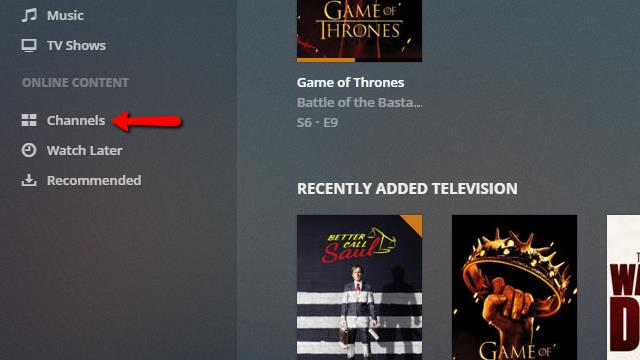
To get started, click the Channels menu item on the menu to the left. That will take you to the channel management page, where your current channels can be configured or uninstalled.
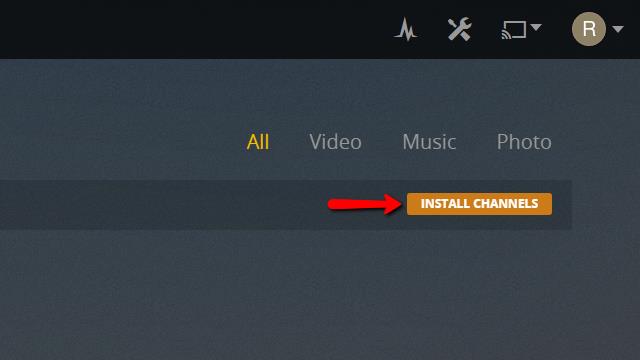
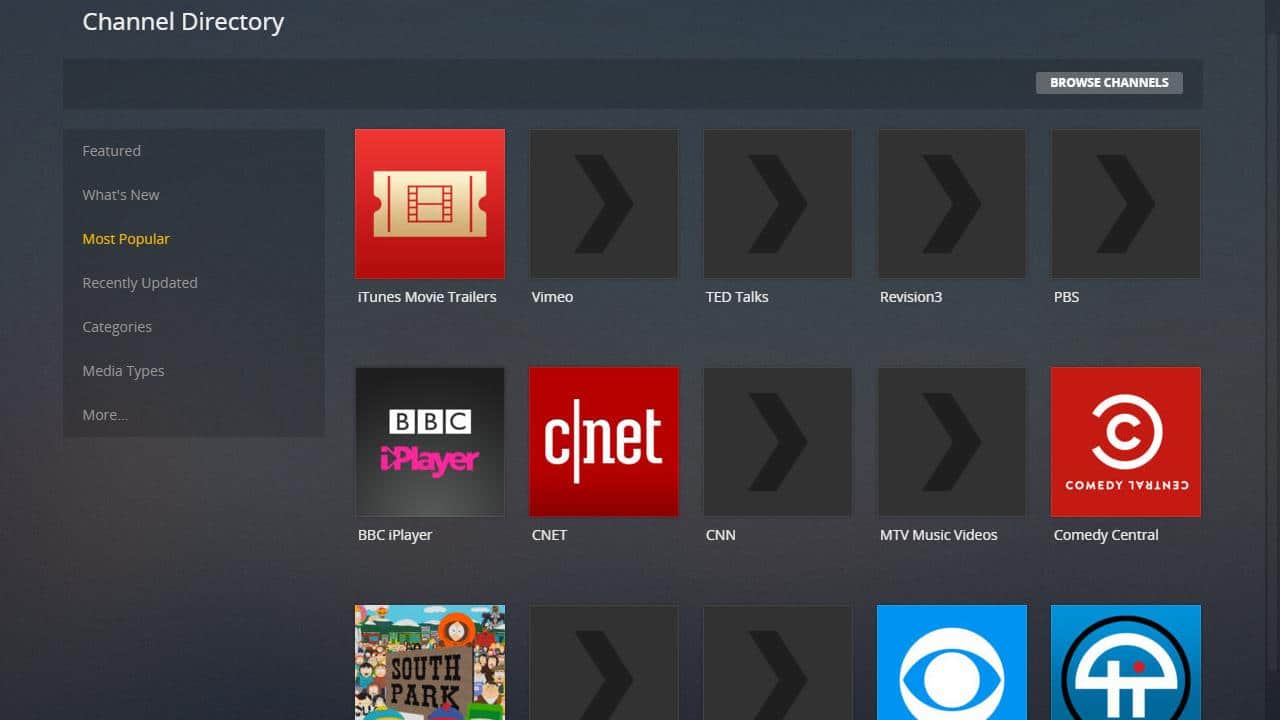
Since you haven’t added any channels yet, the list will be empty for now. Click the Install channels button to bring up the list of available channels.
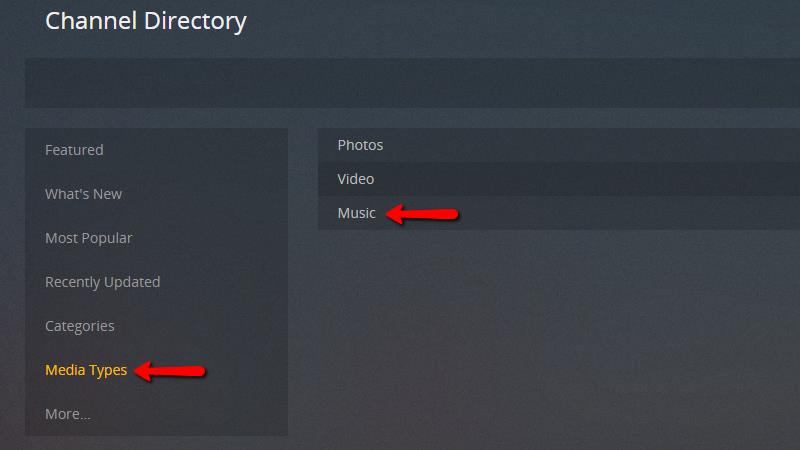
The easiest way to install the Pandora channel is to click the Media types menu item and then select Music.
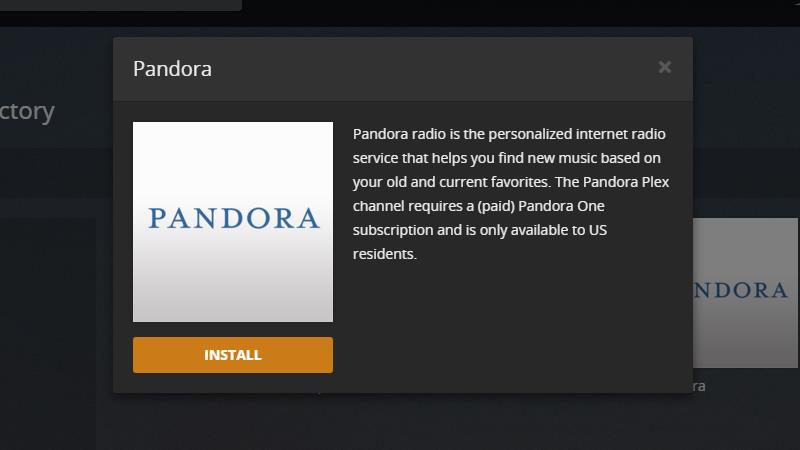
From there, you can select the Pandora channel and click the Install button.
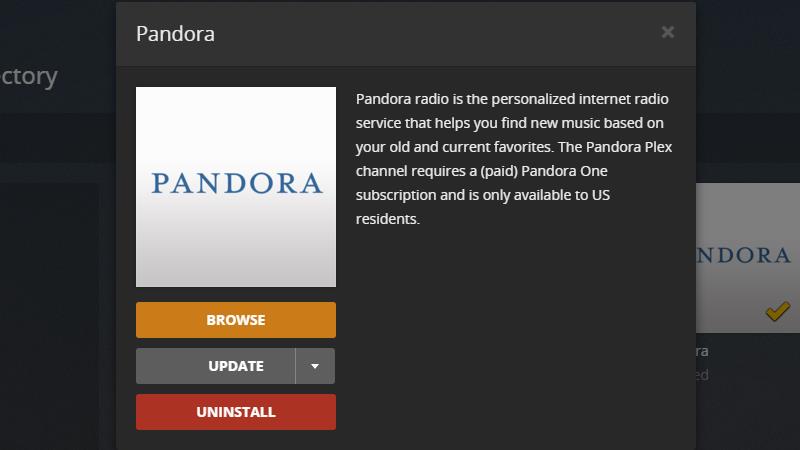
Once the Pandora channel is installed, the menu items will change. Click the Browse button to check out your new Pandora streaming music channel.
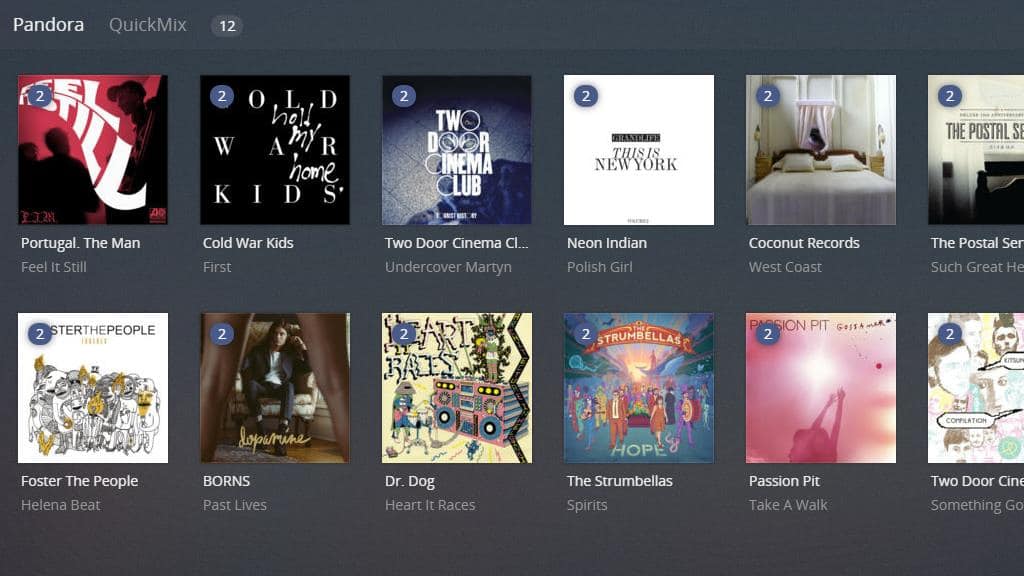
All of your existing Pandora stations will be automatically imported, and you can listen to them seamlessly from within the Plex app or web client.
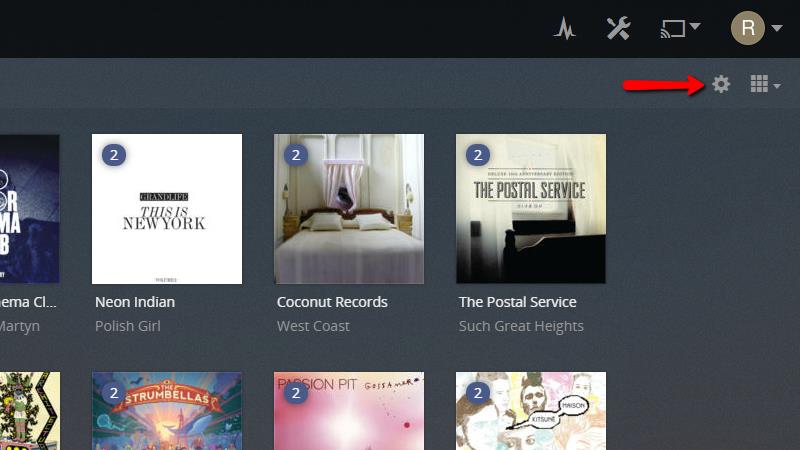
Plex will attempt to login to Pandora, and any other channels that require a username and password, with your Plex credentials. You can enter the correct login information by clicking the Configure icon at the top-right corner of each channel.
See also: the best Plex channels, 25 of our favorite.
Setting up Plex clients
Once you’ve setup a Plex server and added your libraries, it’s quick and easy to in mobile devices as clients. For the most part, the only information you’ll need is your Plex account login and password. Everything else is automatic.
Plex for supported devices
Plex offers official support for a huge list of devices. Here are some of the most popular:
- Android, iOS, and Windows mobile devices
- XBox 360 and XBox One
- Playstation 3 and Playstation 4
- TiVo and Sony, LG, Samsung, and select Toshiba Smart TVs
- Kodi
- NVIDIA Shield
- Select Intel and ARM-based NAS devices
- Amazon Fire TV and Fire TV Stick
- Chromecast
- Apple TV
- Roku devices
Each of these devices has a Plex app in their respective app store. Although this guide can’t cover every device, setting up Plex clients is very simple and straightforward. We’ll use an Android tablet as an example case.
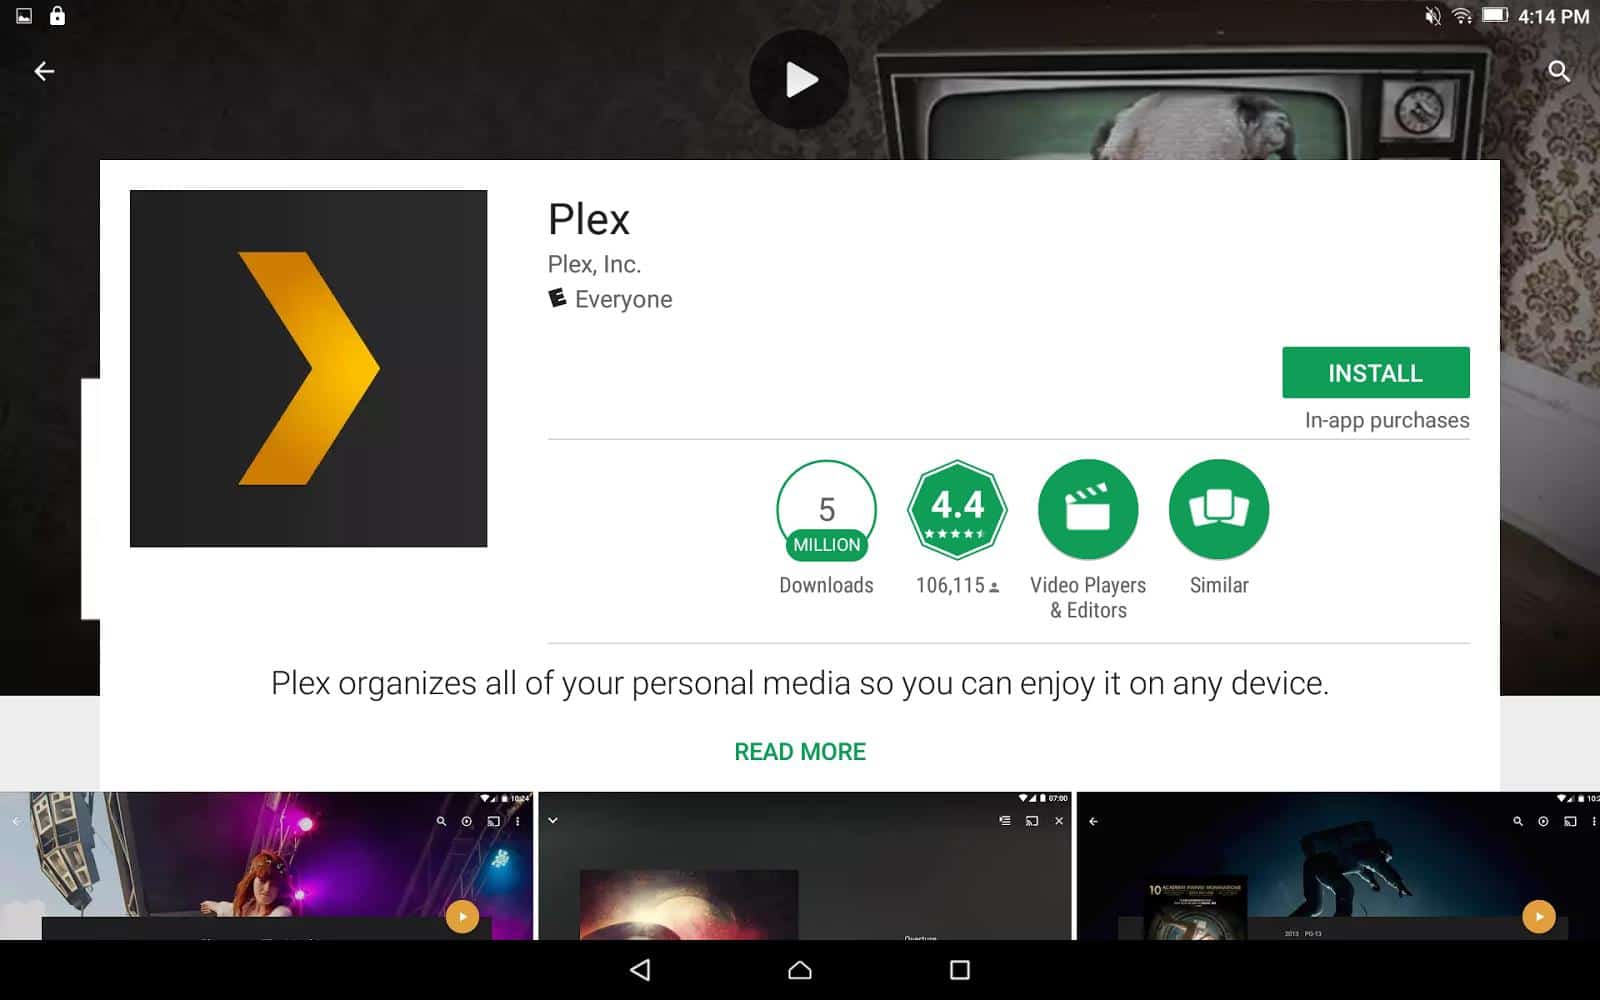
To begin, you’ll want to search your app store for the Plex app.
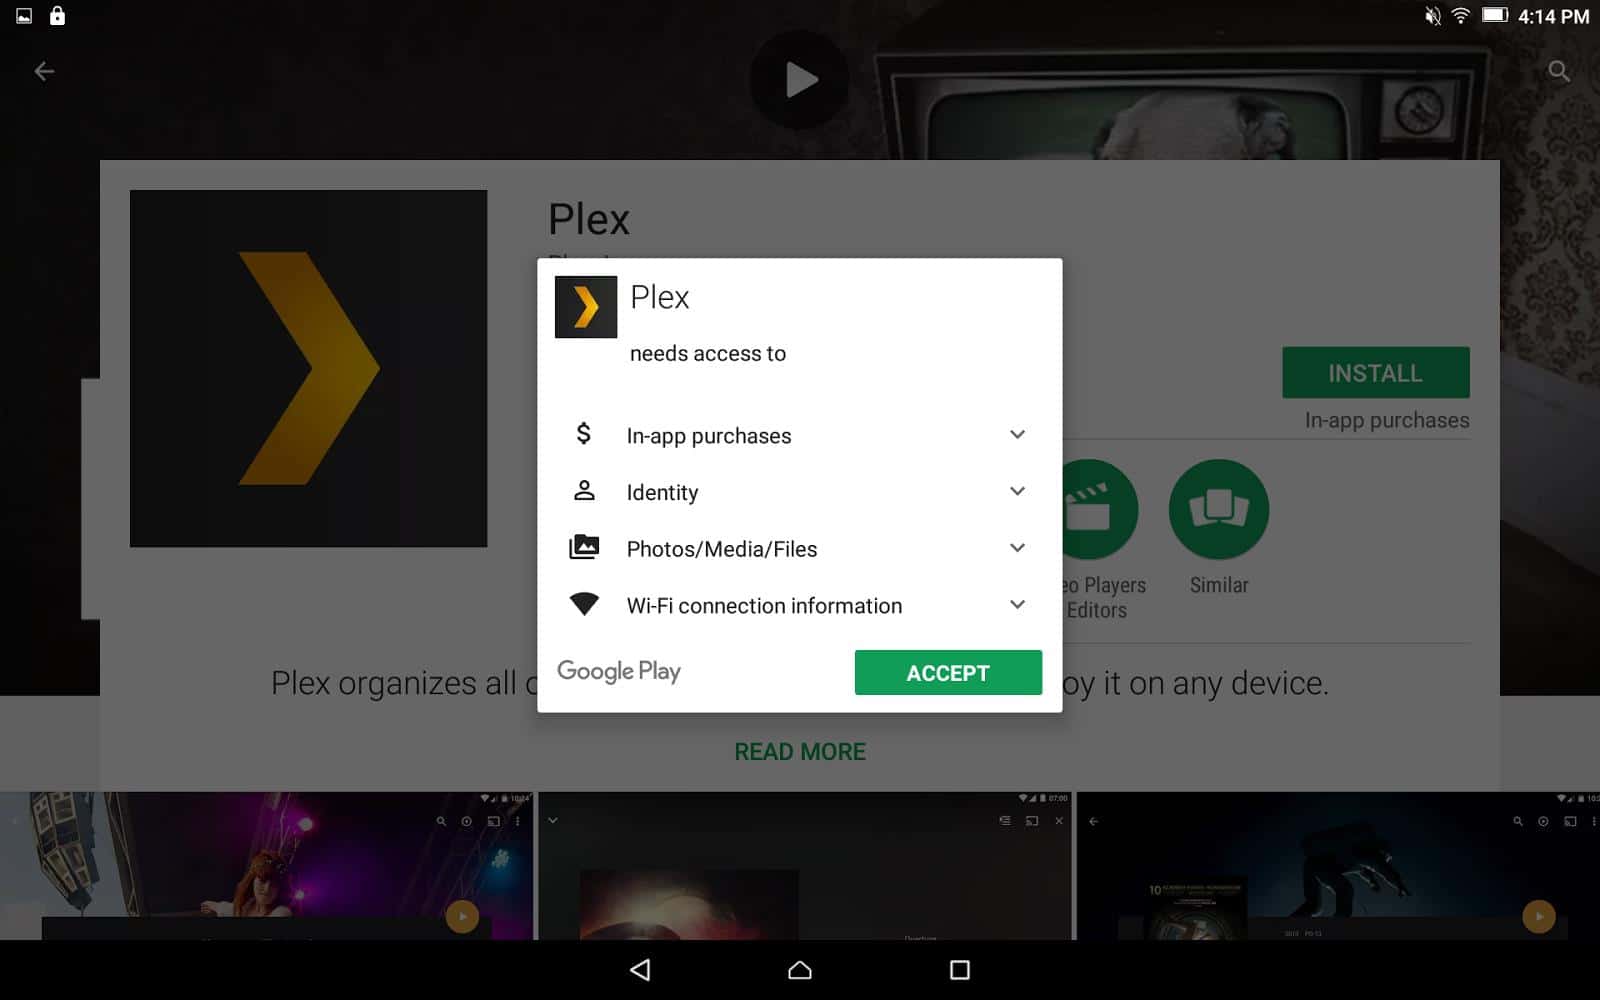
Install it as you would any other app, and make sure to give Plex the proper permissions.
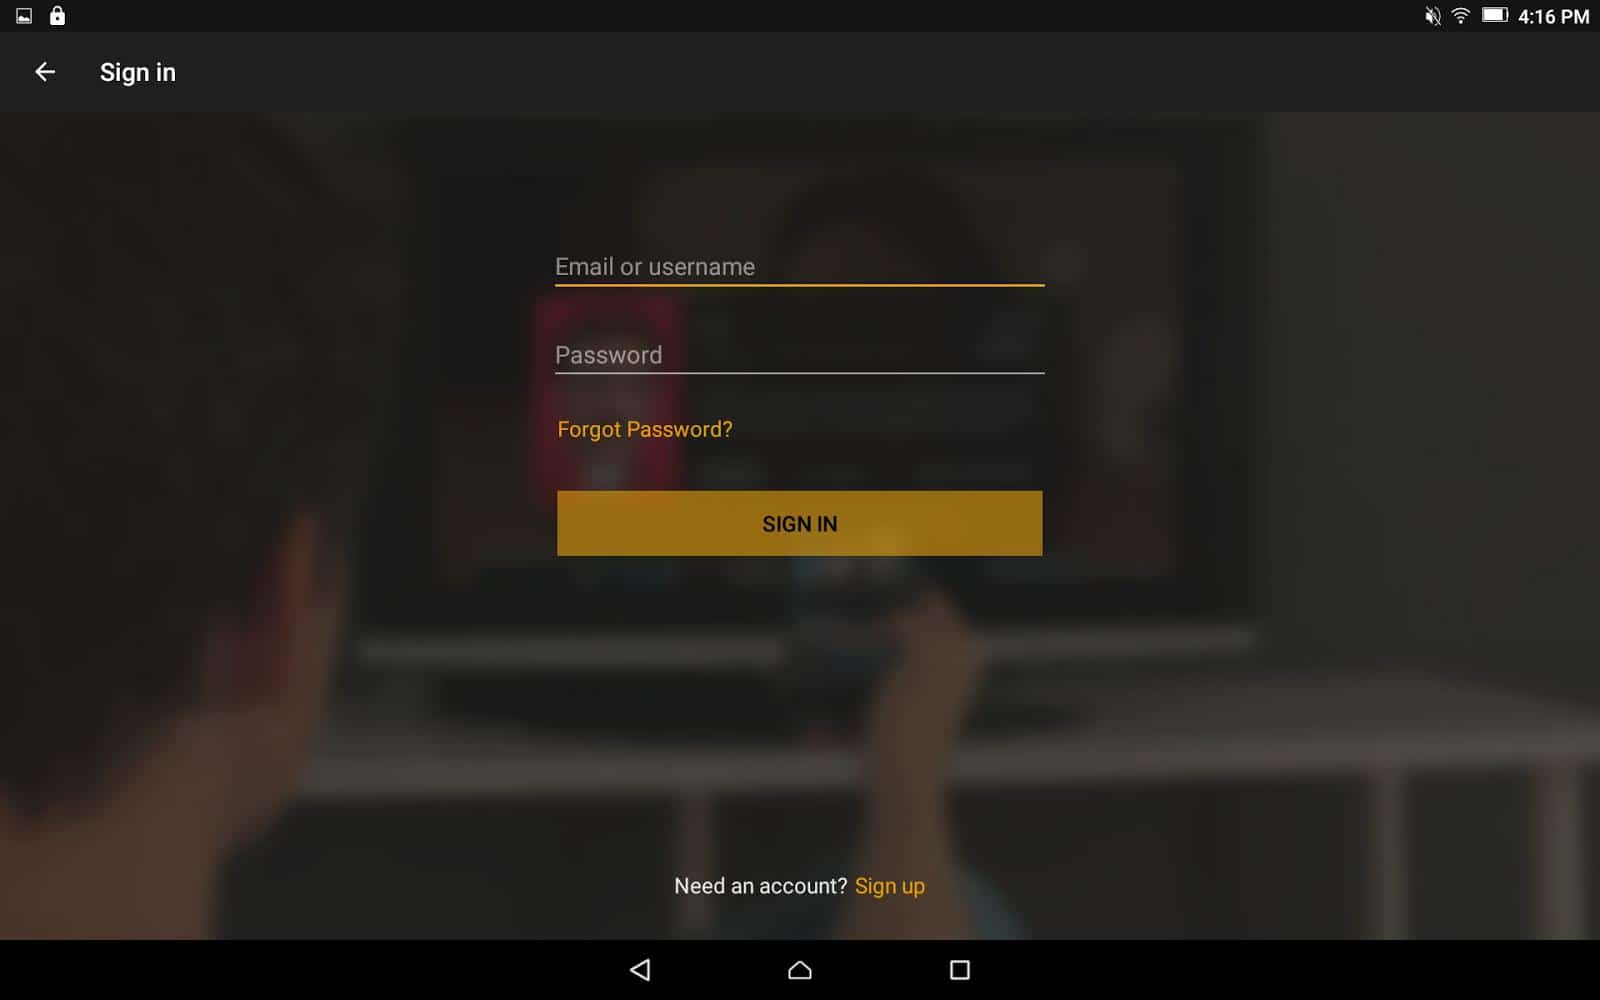
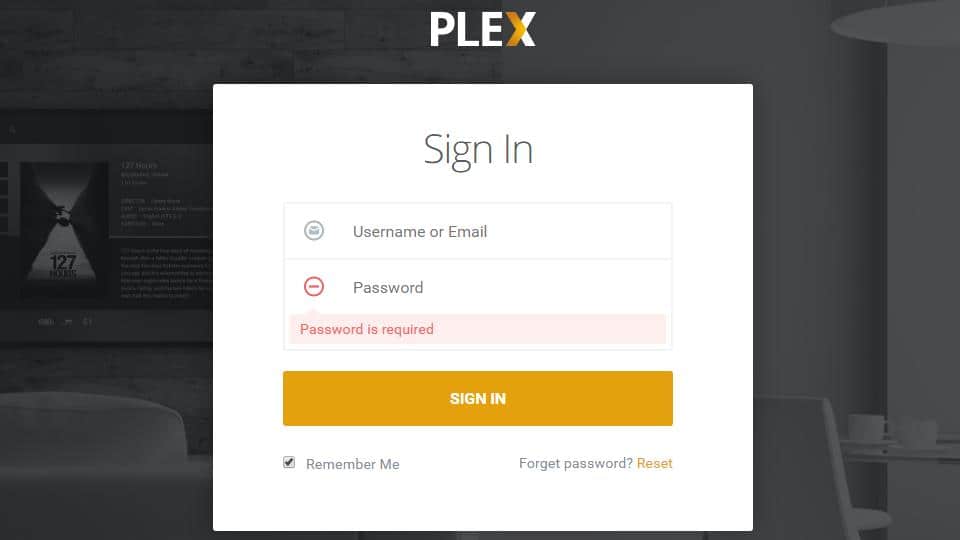
Now, open the Plex app and sign in with the username and password you created.
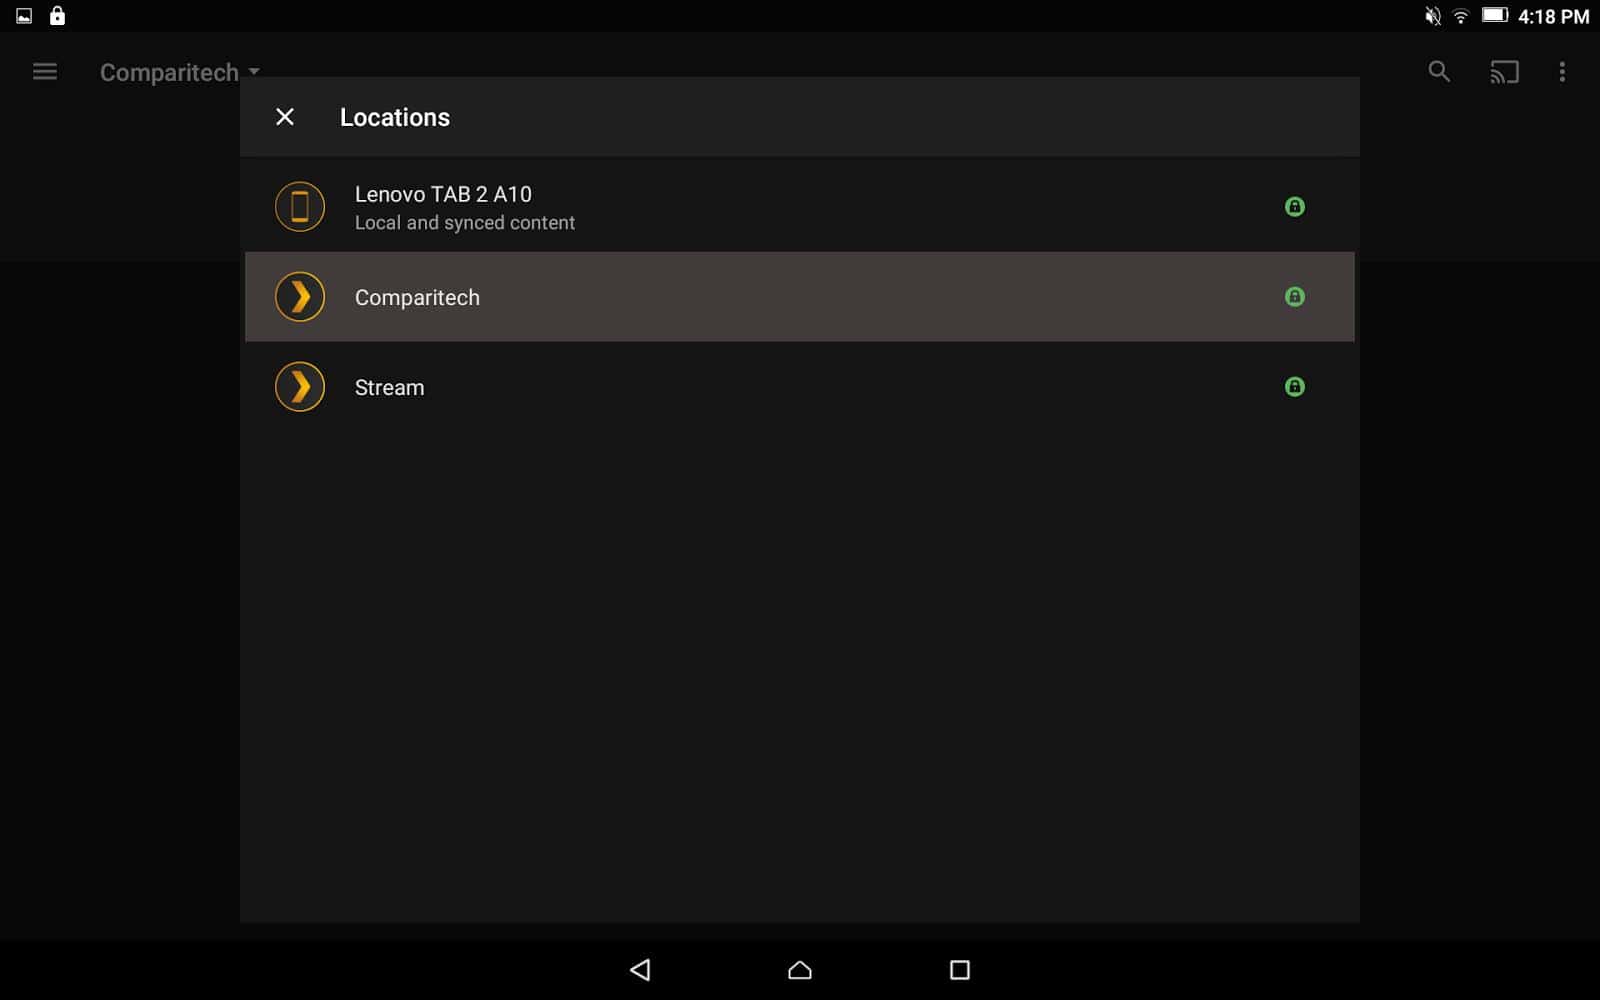
You’ll see a drop menu that opens a list of servers. This will let you choose between the Plex server you’ve created, other Plex servers you own, and a list of files synced to your device if you have a premium membership. Select the appropriate server.
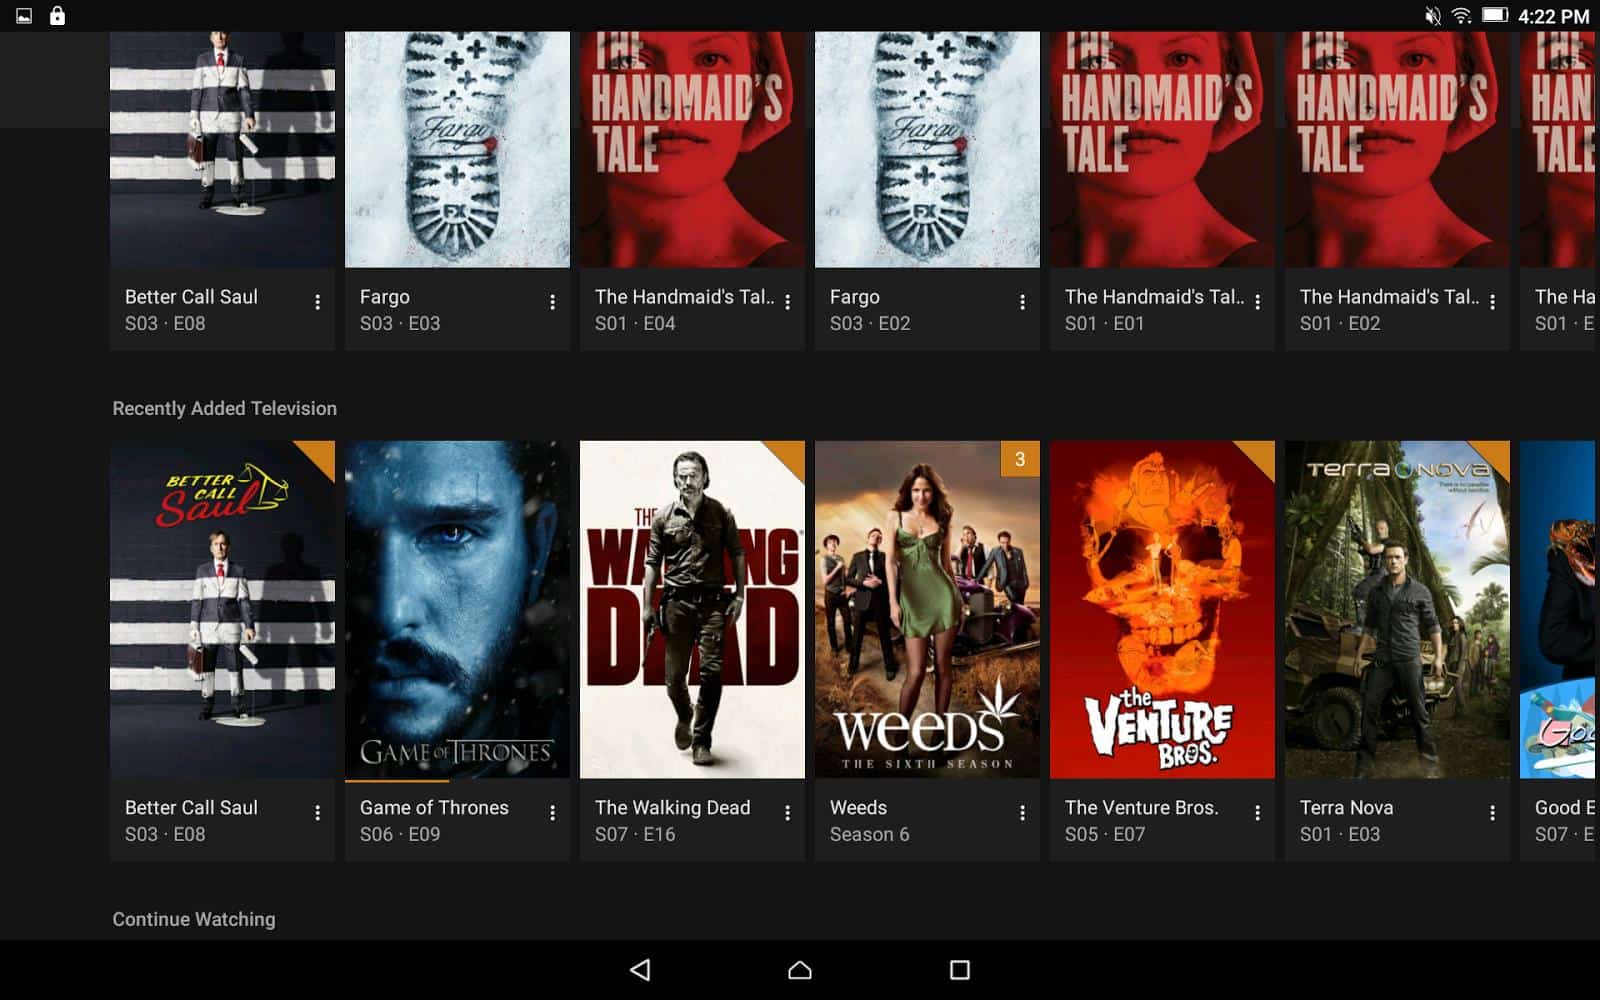
Once you’ve finished, you can browse your libraries and play media through Plex on your device.
Plex over DLNA
Some older Smart TVs, Smart DVD players, and other streaming devices aren’t officially supported by Plex. Most of these devices can still access your Plex library using DLNA, which is enabled by default.
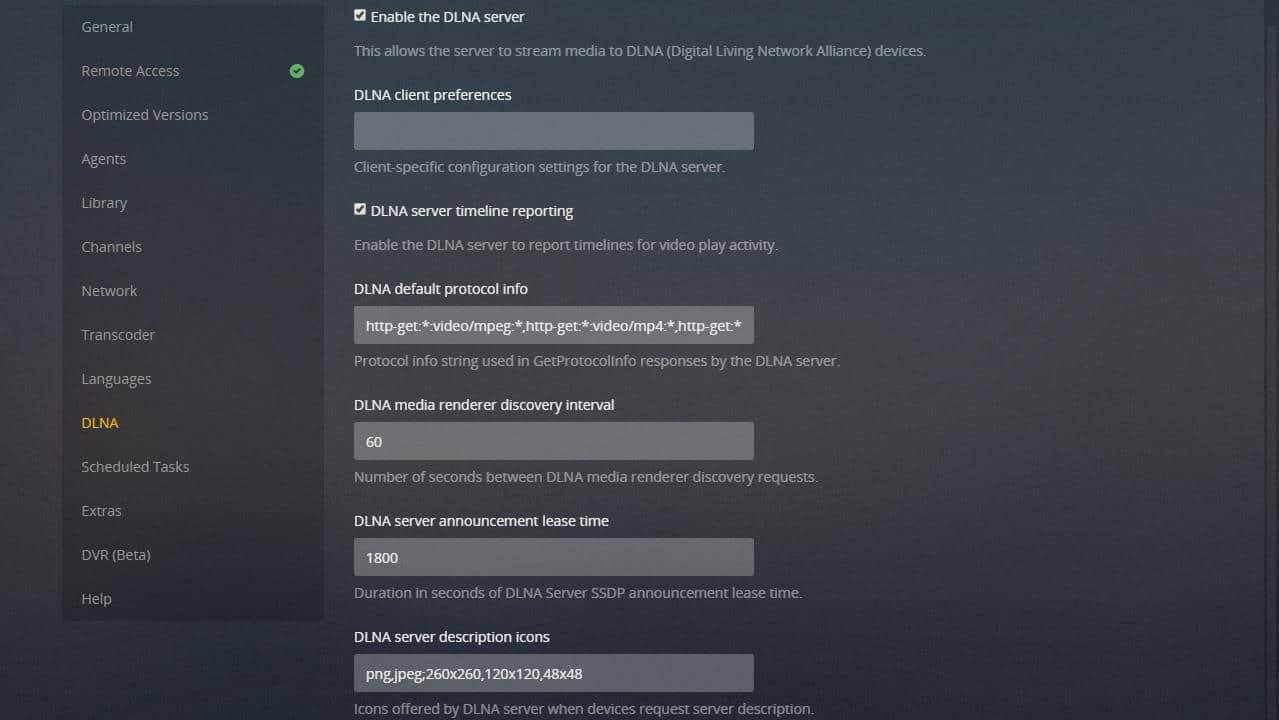
DLNA is a streaming protocol that’s meant to enable devices on your home network to share videos and music. In practice, DLNA was largely replaced by apps that do the same thing. But it’s a good fallback when an app isn’t available for your device.
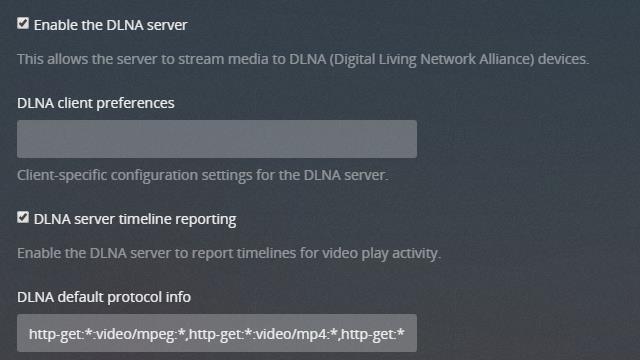
For most users, DLNA settings won’t need to be changed. But you might want to confirm that DLNA server timeline reporting is checked. This will let you resume video and music playback automatically where you left off.
Some devices may need special DLNA client preferences set. You should check with your device manufacturer if the default DLNA settings aren’t working. In practice, the defaults will be fine nearly every time.
Plex web client
If all else fails, just about every device with a browser can connect to Plex using the web client. You’ll need support for Flash or HTML5, with HTML5 being prefered. We’ve been using the web client to configure the Plex server, but it works just as well for playback.
The web client makes use of metadata and fetched images to deliver a nice looking and functional experience. If you need to use the Plex web client on a regular basis, make sure remote access is enabled by following the instructions above.
There are a few Plex features that are only available to paying customers. In my opinion, if you use Plex every day, it’s worth spending the money. The premium features are very useful, and I’ll cover a few of the most popular ones here.
The first thing you’ll want to do is enable Plex pass updates. This will update your Plex server to the latest subscription version and give you access to features before non-subscribers.

To update your Plex server to a premium version, first click on the Settings icon in the top-right corner of the web client.

Then click the Server menu item to enter the server settings menu.
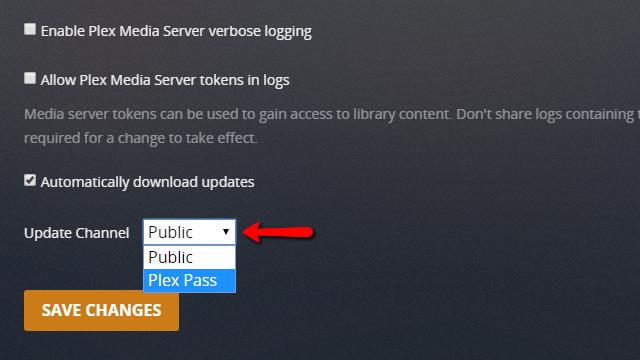
Scroll to the bottom of the page and change the Update channel drop menu from Public to Plex pass as shown.
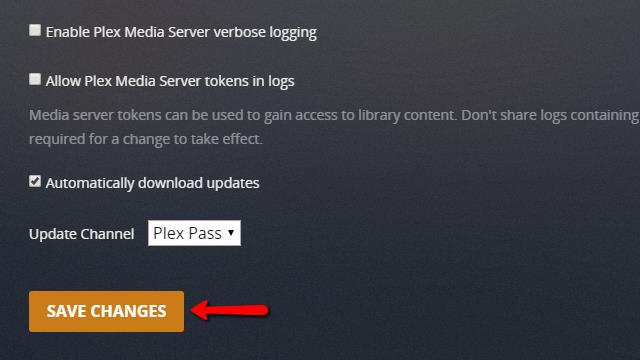
After clicking the Save changes button, wait for Plex to download the latest Plex pass update.
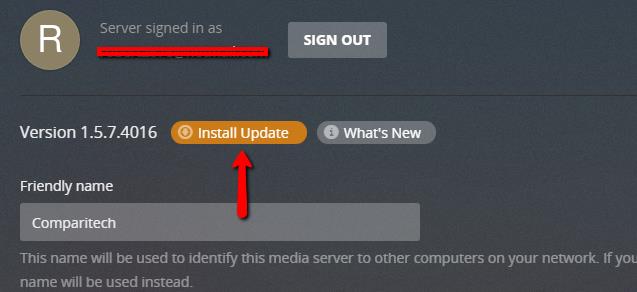
When it’s finished, you’ll see a button to Install update at the top of the page, near the current version number. Click it. Downloading and installing updates will take a few moments, and service to your Plex clients will be briefly interrupted.
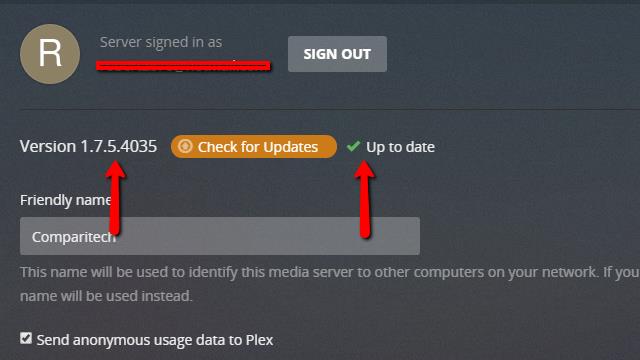
Finally, the version number will change and you’ll see a green check mark when the update has been successfully installed.
All Plex pass premium features are enabled now.
Using Plex server on the cloud
I think Plex’s biggest weakness for a long time was lack of cloud support. Computers crash, and storing a huge library of media files isn’t always easy. But recently, Plex added official support for cloud storage, and I feel like it’s a huge improvement.
To begin, you’ll need to link a cloud storage account with your Plex account. To do that, go the the Plex website and sign in.
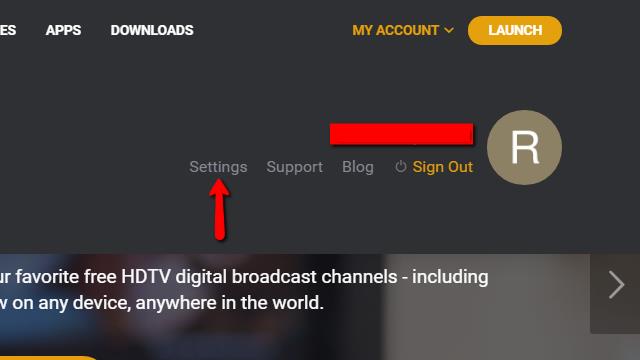
Click the My account drop menu and select Settings.
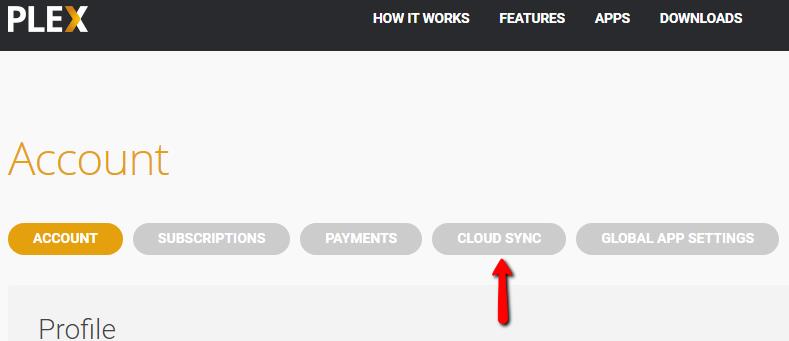
Then click the Cloud sync menu item at the top of the page.
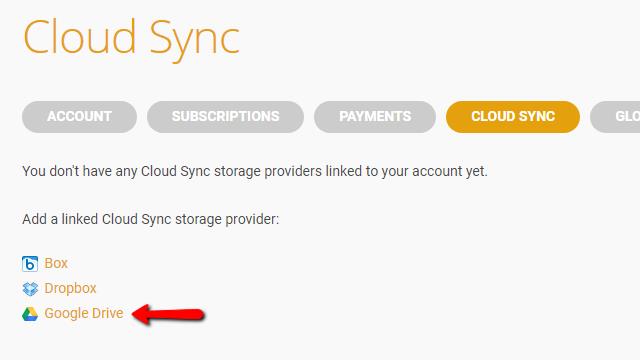
Now choose your cloud service provider and click to link your account with Plex. In my case, that’s Google Drive.
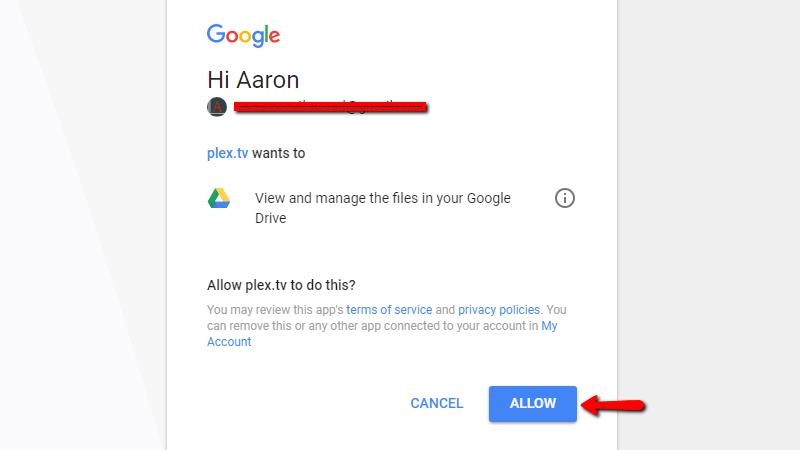
Give your permission for Plex to access your cloud drive.

Then close the Plex web site and open the Plex web client. Click on the server drop menu, then on Plex cloud.

While the service is in beta, this is the screen that you’ll be shown. Click the Let’s do this button to continue.

Select the cloud storage provider that you linked with Plex earlier. I’m using Google Drive.
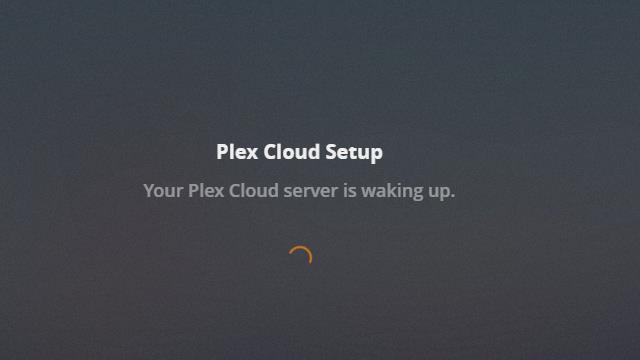
A new server called Plex Cloud will be created for you. It may take a moment.

Once the server has been added, you can add libraries to it like usual. Instead of browsing for media on local storage, you’ll be forced to use your cloud drive.
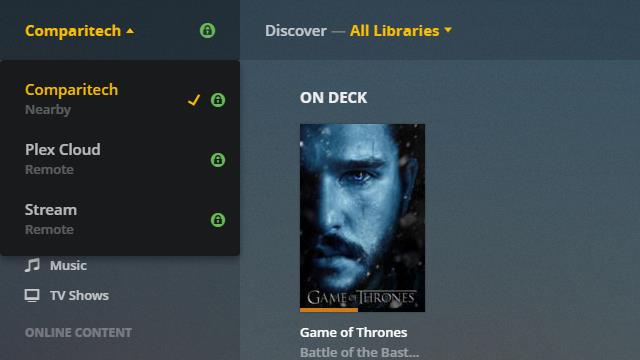
The new cloud server will show up in your Plex server list as a remote server when you’ve finished. You can tell your devices to use the Plex Cloud server in the same way you switch between synced files and your original Plex server.
Syncing video and music to play offline
If you want to take your media with you, Plex Pass has a feature that will stop stuttering and buffering even if you don’t have a signal. You can sync your content with your mobile device ahead of time, downloading it in full on your phone or tablet.
Syncing to mobile devices is enabled by default on the Plex server, so all you need to do is start syncing content in the app. This guide syncs content using the device itself, although you can also push content to your device using the web client.
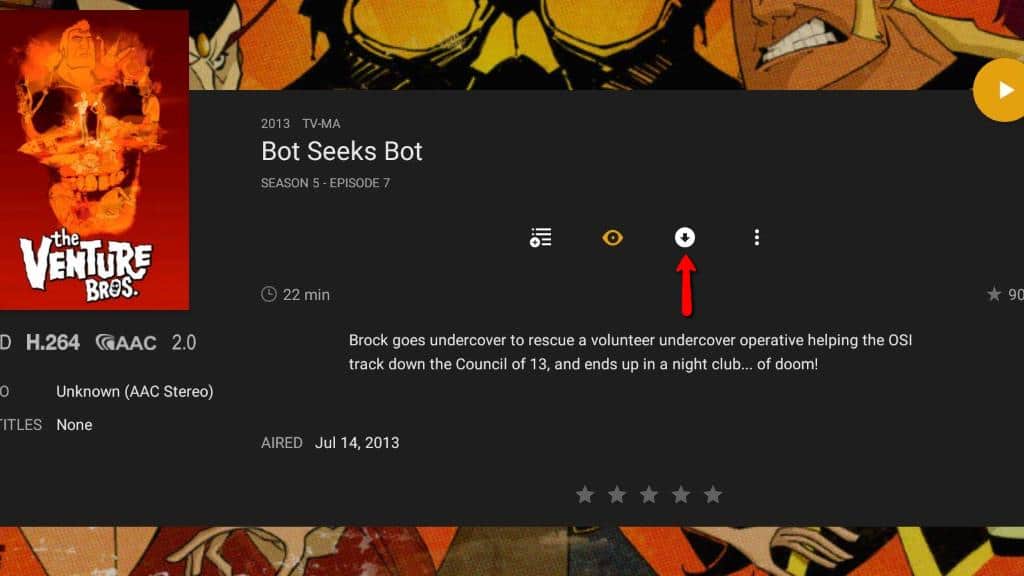
In order to sync, first select the album or video you’d like to put on your device. Then, click the Sync icon.
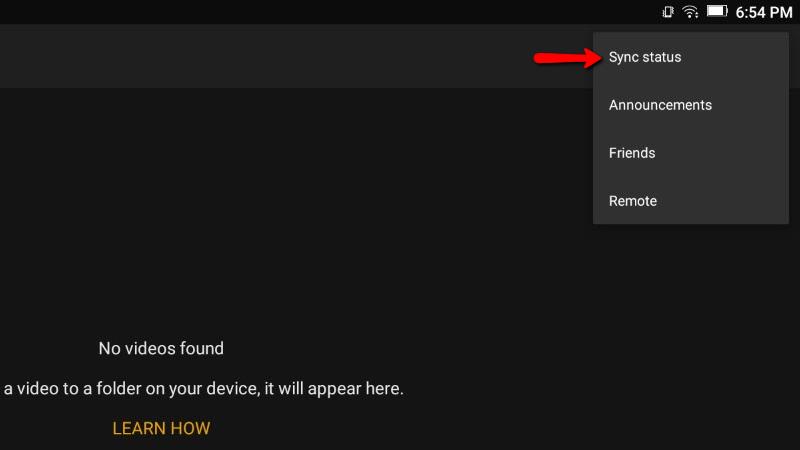
The media will immediately start downloading itself. You can monitor the process on your device by clicking the menu on the right, and selecting Sync status.
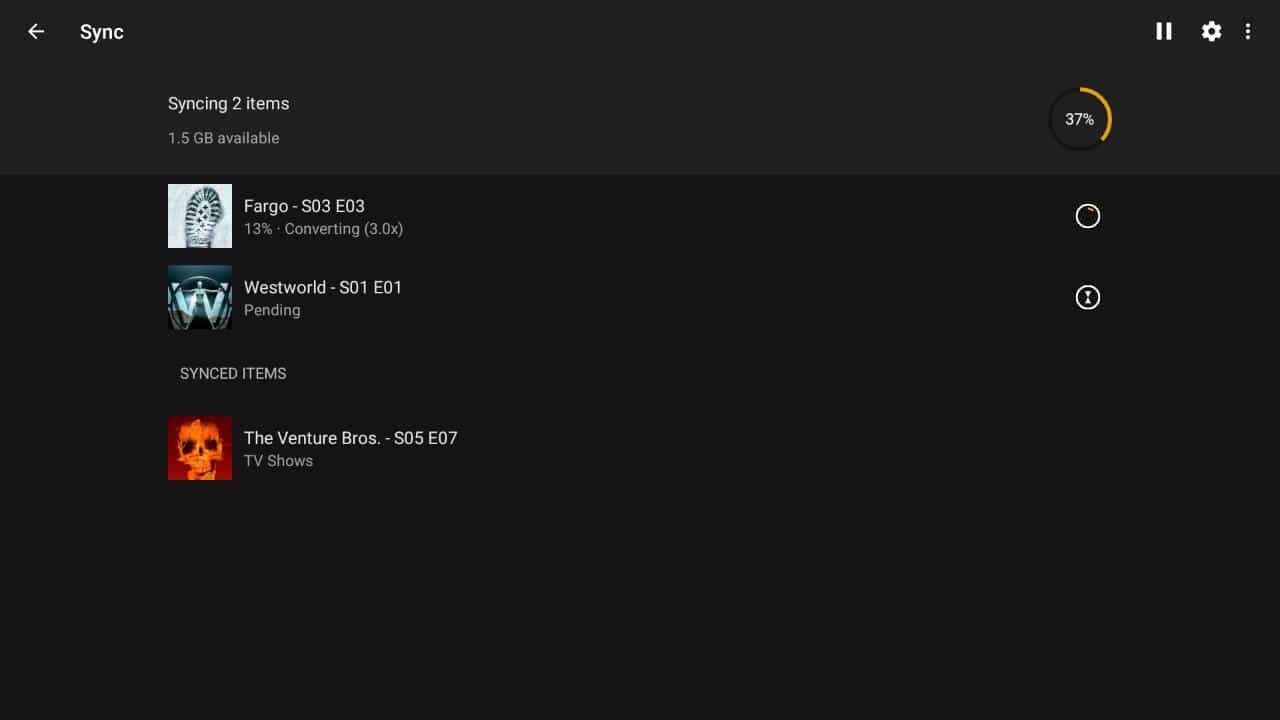
The status for each song, video, or image will be displayed in a list.
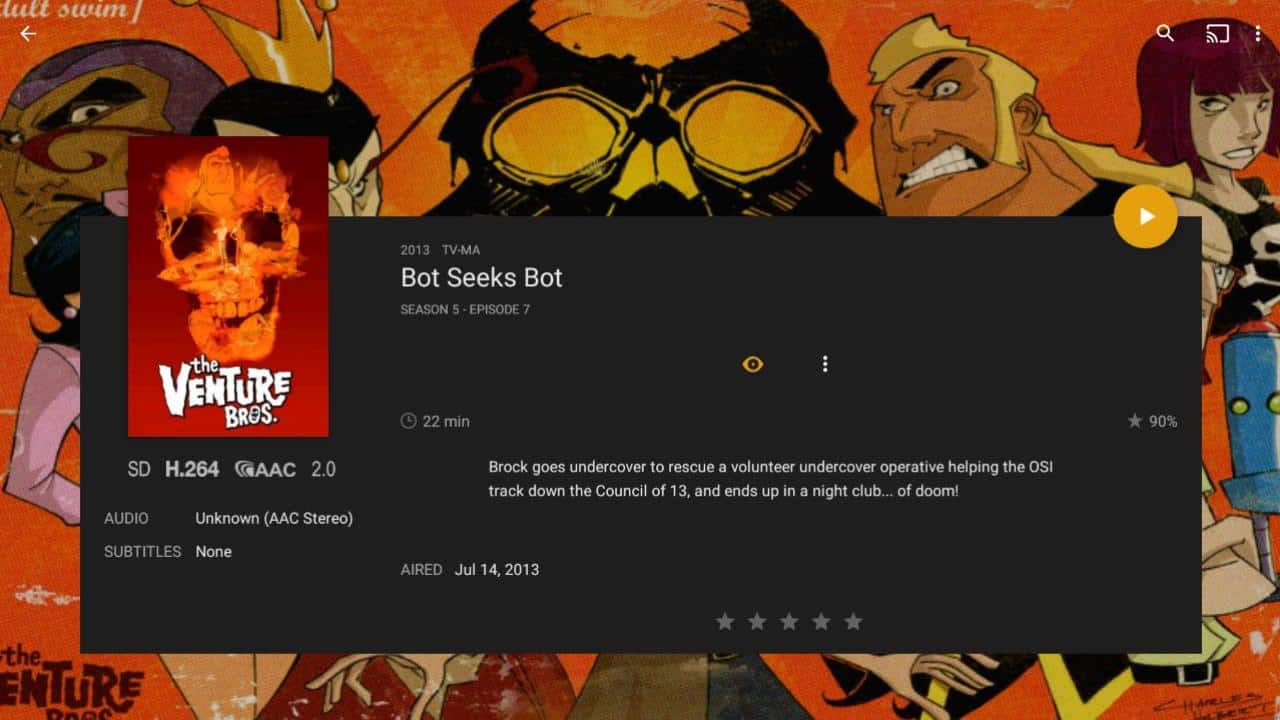
You can change your Plex server to the local device to watch synced content, or click play as usual and the synced video will be loaded from storage instead of the streaming from the server. You’ll notice the icons have changed, and there is no option to sync the video again. That’s a clear indication of success.
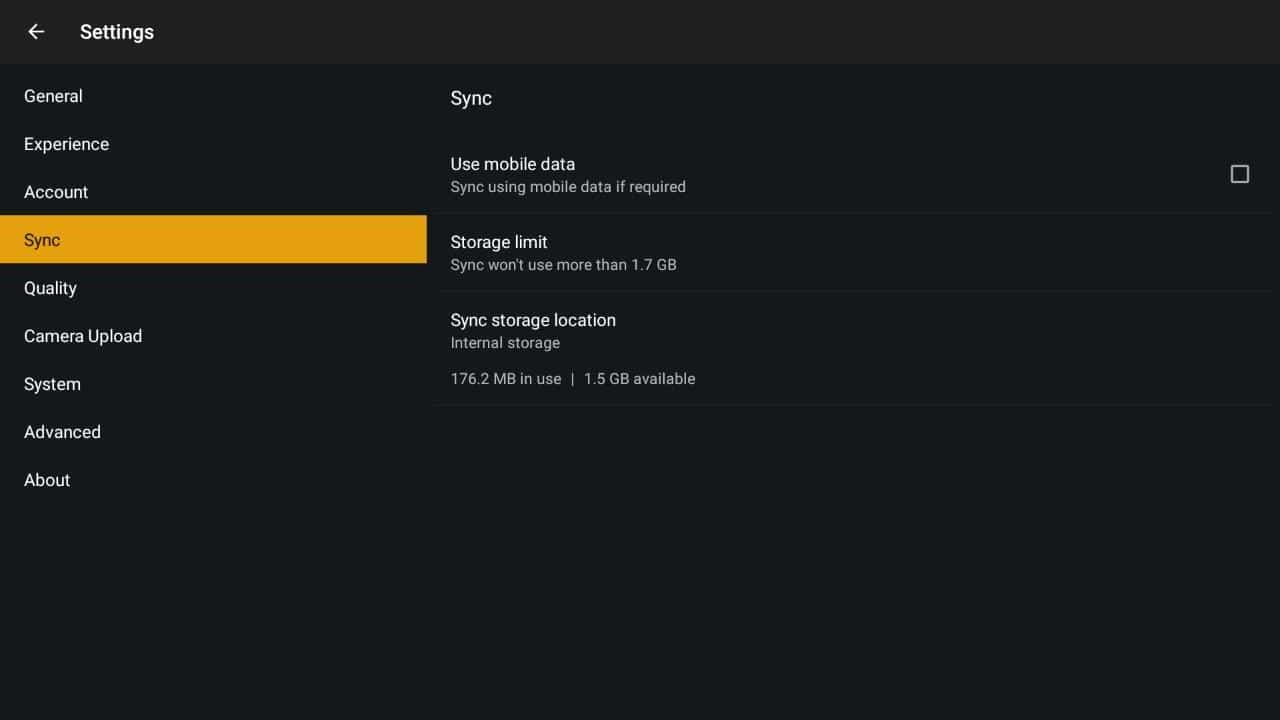
There are a few Plex sync options you can change, but the defaults are fine for most people. Consider lowering the video quality to save space on your device if necessary.
Removing Plex libraries
Sometimes you’ll want to remove an entire library from Plex. This won’t delete the media from the server, but it will make it unavailable to any Plex clients. Most of the time, when you choose to remove a library, it’s because you’re experiencing database errors. You can use Plex to rebuild the database if you like, but often it’s easier to simply start over.
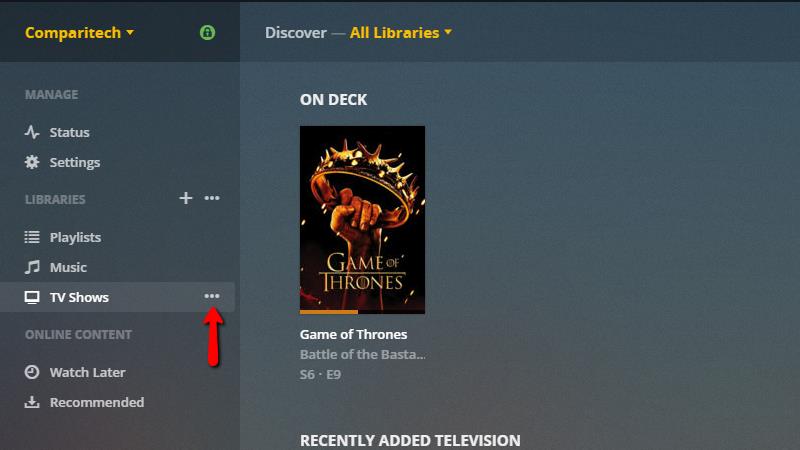
Removing a Plex library is similar to adding it. First, open the web client. Then mouse over the library, located on the left under the Libraries heading. Three dots will appear, and you should click them to bring up a menu.
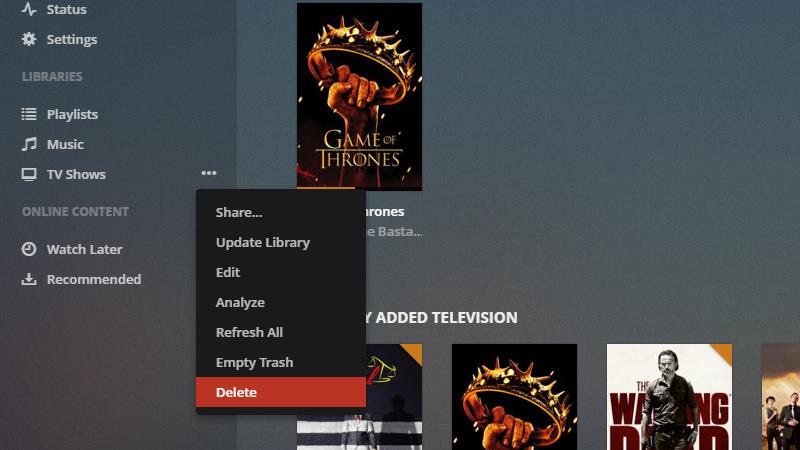
Then click the Delete menu item to begin removing the library from Plex.
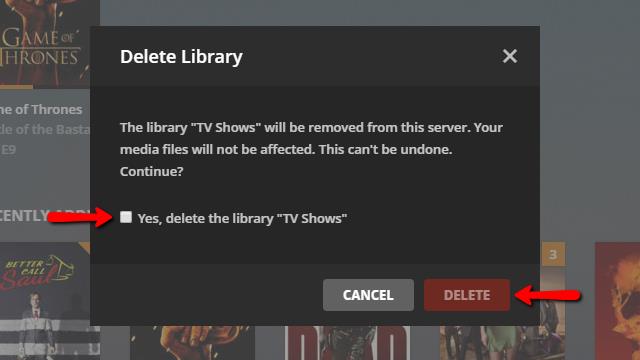
A prompt will pop up and ask if you’re sure. Check the Yes, delete the library box and then click the Delete button

The Delete button will show a progress spinner until the library has been removed from Plex. It may take a few minutes to complete.
Your library has been removed from the Plex server.
Removing a Plex server
If your Plex server is acting oddly, you can delete it and make a new one. You’ll lose all access to the libraries on the server, but the media files on your computer won’t be deleted.
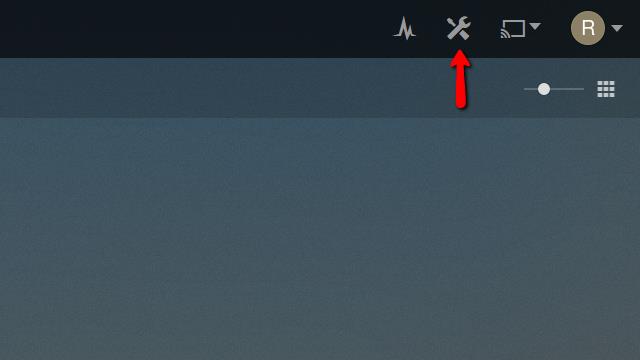
To begin, open the web client and click the Settings icon in the top-right.
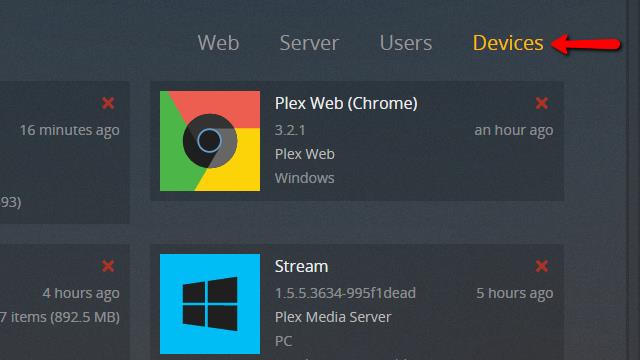
After the settings page open, click the Devices menu item in the top-right corner of the screen. This will open a list of every approved device connected to your Plex server, and also the server itself.
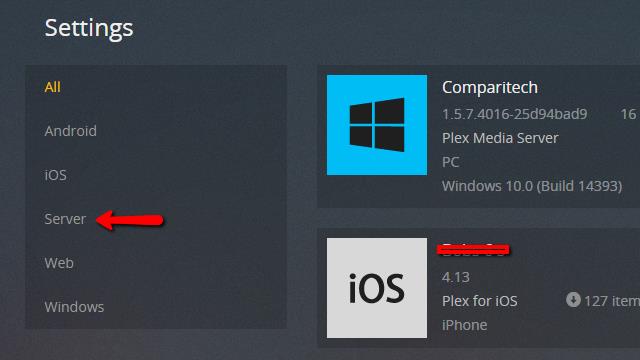
Then click the Server menu item on the left side of the screen in order to filter the list of devices to show only Plex servers.
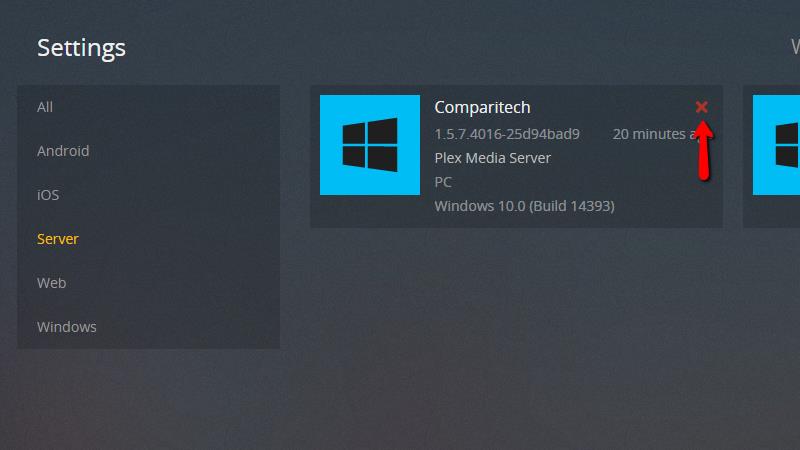
Find the server you’d like to remove, and click the Red x as shown above.
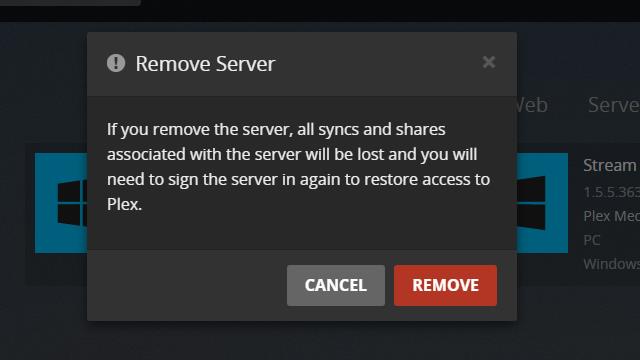
Finally, a warning prompt will appear. If you’re sure you want to remove the Plex server, click the Remove button.
Just as when you remove a library, the Remove button will change to a progress spinner. When it’s finished, your Plex server has been removed. You may need to refresh the web client before displaying the change.
Now that you’re running Plex server
Once your Plex server is running and you’re streaming content to your tv and mobile devices, I’m confident you’ll agree that Plex is a powerful and flexible streaming media server. This guide only covers the basic operations; there is a lot more that Plex can do.
Comparitech will continue to cover all of the Plex secrets, hacks, and features you need to make your home media server do exactly what you want it to.
Plex Media Server FAQs
How Much Does a Plex Server Cost?
Plex offers a free version that allows users to organize and stream their media content. However, some advanced features are limited to the paid version.
Plex Pass is $4.99 monthly and offers additional features like Live TV & DVR, Mobile Sync, Parental Controls, and more. It enhances the overall streaming experience.
I know this is an old post so I don’t know if I’ll get a response, but I’m running Plex on my Windows computer and have a problem. On my online server, I have uploaded videos with complete posters. But on my plex app itself, those posters aren’t shown fully and are cropped. How do I set my plex app on my windows computer to display the entire poster?
Hello , I have been logged into my friends server and very impressed , now I have my own server on my local pc and want to switch between both of our servers on my apple 4 tv Plex app . When I go to settings I see my pc server but it says unauthorized? I am logged into his when this happens, any help would be appreciated, Mike
Hi Mike, assuming each of you has a separate account, you’ll need to add each other as guests. I’m on my phone right now, but poke around in your settings by clicking the badge w/your initial in the upper-right. There’s a menu in there to make the necessary changes. Let me know if you can’t find it and I’ll take some screenshots later this week.
Great post.
I have issues with remote access using BT infinity.
I have read numerous forums but with no real solution as each one fails.
I have already done port forwarding, but it fails.
I’m thinking of completely deleting plex and trying to start from scratch.
I’d appreciate your opinion on this matter.
You may need to put the provided modem/router in bridge mode and use your own router. Sometimes the provider’s equipment doesn’t like port forwarding or also runs an IDS that locks you out anyway (Xfinity in US).
If you’ve looked over the settings and searched a bit for a port forwarding solution for your provider and gotten nowhere, next step is to bring in your own equipment.
The cheapest off-the-shelf Linksys router handles port forwarding better than my Xfinity modem/router combo.
BUT some routers just need to be restarted before they begin forwarding. Try restarting your BT router if you haven’t already.
Thanks for the info,
I have my folders on an external hadrdrive and have just done some homework ??, moving movies from the TV section into the movie section ???, it seemed a good idea at the time ???, can I delete my libraries as above and reinstall later ???,
Many thanks,
Norman
Hi Norman,
You sure can. Deleting your libraries as above won’t remove the files from your external hard drive. You can add the libraries again later. It’s a good idea to keep each library in its own folder. In fact, it might be helpful to think of each library as kind of a folder on your Plex server.
Thanks for reaching out! Let me know if you need any more help with managing your library.