
One of the seldom-known facts about a Windows machine is that it can be configured to perform the functions of a primary router.
In modern networking, routing plays a crucial role in determining how data packets travel from one network to another. Typically, dedicated devices such as routers handle this task. However, with the right configuration, a Windows machine can also perform routing functions, enabling it to direct traffic between different networks. This capability can be particularly useful in small office environments, labs, or for troubleshooting network configurations.
What is a Static Route?
One of the fundamental tasks in routing is adding static routes. A static route is a manually configured network route that specifies a fixed path for traffic to take when communicating with a particular destination. Unlike dynamic routing, where routes are learned and updated automatically, static routes provide greater control and predictability, making them ideal for specific use cases such as connecting to remote subnets or ensuring traffic flows through a particular gateway.
Configuring Windows to function as a router requires enabling the Routing and Remote Access Service (RRAS) or using Internet Connection Sharing (ICS). Once set up, the system can route traffic between multiple network interfaces, making static routes critical for defining the exact behavior of this routing.
PowerShell for Routing
In Windows, you can manage static routes using several tools, including the command line (route command) and graphical interfaces. However, PowerShell, with its powerful scripting capabilities and dedicated networking cmdlets, has become the preferred tool for many administrators. By leveraging PowerShell, you can not only add static routes but also automate and script these configurations for large-scale deployments or repetitive tasks.
Windows offers the New-NetRoute PowerShell cmdlet (available through the NetTCPIP module) to simplify the process of adding routes. This cmdlet allows administrators to specify key details such as the destination network, subnet mask, gateway, and interface. Additionally, PowerShell provides useful error handling and logging features, making it easier to troubleshoot and ensure successful route configuration.
In this guide, you’ll learn how to use PowerShell to add static routes effectively. Whether you’re configuring a Windows machine to act as a router or simply managing routes for specific networking tasks, PowerShell offers a straightforward and efficient approach. Let’s dive into the steps required to configure static routes and explore their impact on network traffic flow.
Why add Static Routes?
Most routers—including the one built into your Windows PC—use some form of dynamic routing. However, there are occasions where static routing may be used; in that case, the network administrator is responsible for manually updating all changes and adding static routes to the routing device. Here are a few occasions where you may need to implement static routes:
- Due to security considerations, specific routes can’t be added to the default gateway device, and you require another routing device to perform certain functions. In that case, a local Windows computer can be configured to perform the required routing functions.
- You have set up multiple subnets or VLANs on your network and need to direct traffic to a particular subnet. Static routes can be particularly useful in testing these types of environments.
- You have two internet routers (primary and secondary) on the network, and you want to use the secondary router for sending social media and audio/video streaming services traffic (Facebook, Instagram, Twitter, YouTube, Netflix, Spotify, etc.), and the primary router for sending all other traffic.
- You’re currently using a Windows PC as a router for your network, and you want to have better control of the routing table and the flow of traffic in and out of your network.
What is a Routing Table?
Whenever a network device needs to send data to another device on a network, it must first know where to send it. If the network device cannot directly connect to the destination device, it has to send it via other devices along a route to the destination device. Each device needs to keep track of which way to deliver various packets of data, and for this, it uses what we call a routing table.
A routing table is analogous to a distribution map in package delivery. It is a database that keeps track of paths, like a map, and uses these to determine which way to forward traffic or when the traffic leaves a routing device—whether it’s a physical router or a PC. Therefore, it’s essential to look at your existing routing table before making changes to it. Follow the steps below to view the routing table on your Windows machine:
- Type “cmd” or “powershell” in the Windows search bar to locate the app.
- Right-click on the app and click “Run as administrator”.
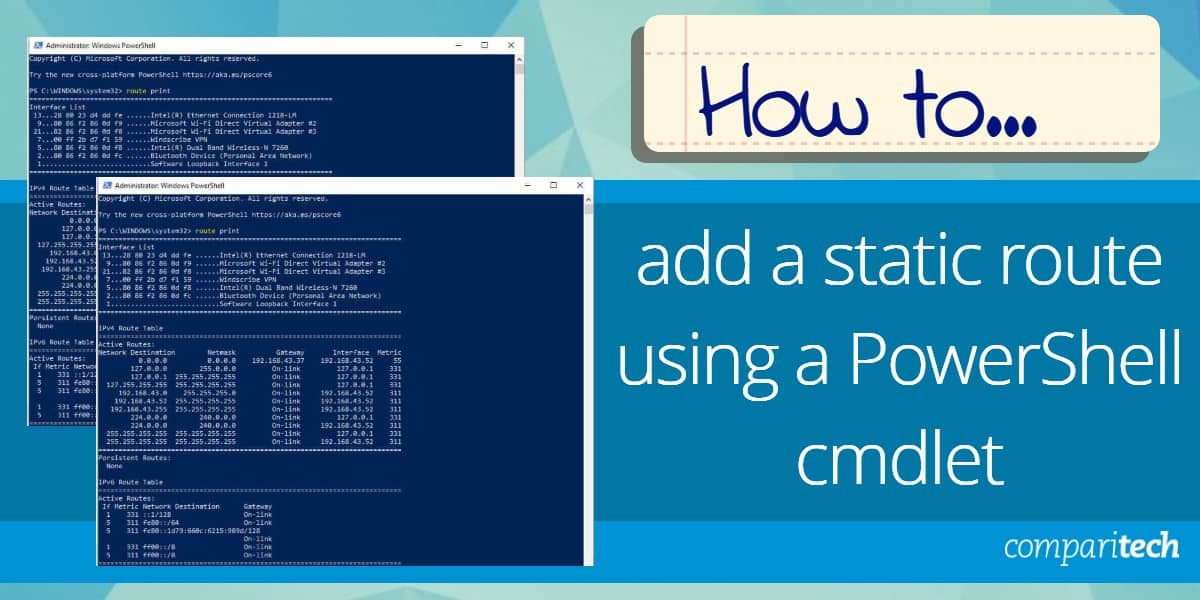
- Once the PowerShell or Command Prompt opens, type the following command to view the routing table:
route print.

As you can see from the screenshot above, the IPv4 routing table consists of the following fields:
- Network Destination: This field lists all of the network segments that the router is attached to.
- Netmask: The Netmask column provides the subnet mask not of the network interface attached to the segment but of the segment itself. This allows the router to determine the address class for the destination network.
- Gateway: Once the router has determined which destination network it needs to send the packet to, it looks at the gateway listing, which tells the router which IP address the packet should be forwarded through to reach the destination network.
- Interface: The Interface column tells the router which NIC is connected to the appropriate destination network.
- Metric: The routing metric of the path through which the packet is to be sent. The route will go in the direction of the gateway with the lowest metric.
- Persistent Routes: Persistent routes helps to preserve the routes from being removed from the Windows operating system once it is rebooted. This contrasts to non-persistent (active) routes, which are temporary and will be erased after the system is rebooted.
| Network Destination | Netmask | Gateway | Interface | Metric |
|---|---|---|---|---|
| 0.0.0.0 | 0.0.0.0 | 192.168.44.37 | 192.168.43.57 | 10 |
| 127.0.0.0 | 255.0.0.0 | 127.0.0.1 | 127.0.0.1 | 1 |
| 192.168.0.0 | 255.255.255.0 | 192.168.0.100 | 192.168.0.100 | 25 |
| 192.168.0.100 | 255.255.255.255 | 127.0.0.1 | 127.0.0.1 | 25 |
How do you add a Static Route to the Windows Routing Table?
The syntax for adding static route to a routing table in a Windows-based routing device using a PowerShell cmdlet is a follows:
New-NetRoute -DestinationPrefix <destination_network> -InterfaceIndex <interface_index> -NextHop <next_hop_ip>
The main parameters and optional parameters for the add static route syntax are described as follows:
- DestinationPrefix: This parameter specifies the network address or IP address range of the destination network for which you want to create the static route. It can be specified in CIDR notation (e.g., 192.168.0.0/24) or as a single IP address (e.g., 10.0.0.1).
- InterfaceIndex: This parameter specifies the index number of the network interface through which you want to route traffic for the specified destination network. You can obtain the interface index by using the Get-NetAdapter cmdlet or the Get-NetIPInterface cmdlet.
- NextHop: This parameter specifies the IP address of the next hop or gateway for the destination network. It defines the next network hop that should be used to reach the destination network. The next hop can be a router or another device responsible for forwarding the traffic.
- RouteMetric: This optional parameter specifies the metric value for the route. The metric is used to determine the priority of the route when multiple routes are available. Routes with lower metric values are preferred. If not specified, the metric is automatically determined based on the interface metric and other factors.
- Publish: This optional switch parameter indicates whether the route should be published in the routing table. By default, if you do not specify this parameter, the route is automatically published. If you want to create a hidden route that is not published in the routing table, you can use -Publish:$false.
- PolicyStore: This optional parameter specifies the network location profile in which to store the route. Valid values are ActiveStore (active network profile), PersistentStore (persistent network profile), or BootStore (boot network profile). By default, the route is added to the active network profile.
Now, to show a practical example using the above Powershell syntax, follow the steps below to create a static route to the destination 10.51.0.0 with the subnet mask of 255.255.0.0 (/16) and the interface index number 12 and a hop address of 10.23.0.1:
- Type ‘powershell’ in the Windows search bar to locate the PowerShell app.
- Right-click on the app and click Run as administrator.
- Once the PowerShell command prompt opens, type the following command to add the static route.
New-NetRoute -DestinationPrefix 10.51.0.0/16 -InterfaceIndex 12 -NextHop 10.23.0.1
Static route with persistent: As stated earlier, this route will only stay in the routing table until Windows is rebooted. Once that happens, the contents of the routing table will be erased. Therefore, if you want the entry to persist, you need to append -PolicyStore PersistentStore to the above Powershell command. For example, to add a persistent route to the destination 10.51.0.0 with the subnet mask of 255.255.0.0 and the next hop address of 10.23.0.1, type the following command:
New-NetRoute -DestinationPrefix 10.51.0.0/16 -InterfaceIndex 12 -NextHop 10.23.0.1 -PolicyStore PersistentStore
Static route with metric: If you want to include a metric value for the route, you need to append --RouteMetric <metric_value> to the above Powershell command. Replace <metric_value> with the desired metric value for the route. Lower metric values indicate a higher priority for the route. For example, to add a route to the destination 10.51.0.0 with the subnet mask of 255.255.0.0, the next hop address of 10.23.0.1, and the cost metric of 10, type the following command:
New-NetRoute -DestinationPrefix 10.51.0.0/16 -InterfaceIndex 12 -NextHop 10.23.0.1 -RouteMetric 10
Static route with an interface: To add a static route using a PowerShell cmdlet with a specific network interface, you can use the -InterfaceAlias <interface_alias> parameter of the New-NetRoute cmdlet. Replace <interface_alias> with the alias or name of the network interface through which you want to route traffic. For example, if the interface you want to use has an alias of “Ethernet1”, the command would be:
New-NetRoute -DestinationPrefix 10.51.0.0/16 -InterfaceAlias "Ethernet1" -NextHop 10.23.0.1


Conclusion
This article explained how to add a static route and other vital parameters to a routing table using Powershell. If you want to see the contents of your entries, use the Get-NetRoute command to view the routing table, and you’ll see all your static route entries.
We hope this simple tutorial helps you better understand the concept of the static route and how to implement it in Windows operating systems. Once again, remember to run PowerShell as administrator when executing these commands. If you need more help, refer to the PowerShell documentation or run Get-Help New-NetRoute -Detailed in PowerShell for more detailed information and additional parameters that may be available based on your PowerShell version.

Thank you so much Concerned Reader, James and Bill for pointing out the error in this article. Your contribution is very much appreciated. The correction has been made and the article updated.
The title of the article is wrong. The “route” utility is not a PowerShell cmdlet; it is a program that can be run in a normal command line window. It’s also deprecated in favor of the “netsh” utility.
The PowerShell NetTCPIP module contains the following cmdlets for viewing, adding, and deleting routes:
– Get-NetRoute
– New-NetRoute
– Remove-NetRoute
– Set-NetRoute
Disclaimer: Applicable to PowerShell 5.1 on Windows 10. Other versions and platforms may differ.
PowerShell command to add routes is New-NetRoute.
Please change your title to how to add static route using command line
None of this is powershell syntax? Yes the commands are input into a powershell window, but you’re using “route” which is just calling on c:\windows\system32\route.exe which is native CMD command line syntax. For Powershell you would use “New-NetRoute” command.