SSTP stands for Secure Socket Tunneling Protocol. It’s a VPN protocol developed by Microsoft, which was made available from Windows Vista SP1 onwards. SSTP is a fairly commonly used VPN protocol—at least among Windows users. SSTP is also supported in Linux, Android, and on many routers. In this post, we’re going to look at what SSTP is and how it works. We’ll also show you how to use it in Windows 11 and in Linux.
What is SSTP?
SSTP is a VPN protocol. What it does, in a nutshell, is establish an encrypted connection between your device (smartphone, tablet, laptop) and a VPN server. The VPN server then forwards your traffic, decrypted, to the website you requested, substituting your IP address for its own in the process.
Like the PPTP VPN protocol, also developed by Microsoft, SSTP supports the Point-to-Point protocol (PPP). PPP is a direct connection (layer 2) between two routers without any intermediaries. PPP supports authentication, encryption, and data compression.
PPTP is deemed insecure today and has been for many years now. Even Microsoft itself recommends switching to a more secure protocol. Microsoft developed SSTP as an updated and more secure successor to PPTP.
SSTP pros and cons
Pros:
- Uses well-known and trusted ciphers
- Easy to set up and configure
- Using TCP over port 443 makes SSTP difficult to block
- Provides decent speeds if you have good bandwidth despite using TCP
Cons:
- The SSTP VPN protocol is closed-source and owned by Microsoft
- Limited platform support
- Only supports non-authenticated proxies, which can reveal the fact you’re using SSTP
- Susceptible to the TCP Meltdown problem on high latency or congested networks
How does SSTP work?
SSTP relies on the Secure Socket Layer protocol (SSL) for encryption. SSL is an open-source protocol and is considered very secure. It’s what you use when you log into your online banking site or make purchases over the internet. The SSL library typically uses the AES cipher, which is commonly used in other VPN protocols like OpenVPN and IKEv2.
In fact, SSTP is often compared to OpenVPN because both protocols use SSL, and both can run on port 443 (HTTPS). SSTP only runs over port 443. OpenVPN can run on arbitrary ports, including port 443. Port 443 is associated with the HTTPS protocol and is used to facilitate secure and encrypted communication between web clients (such as browsers) and web servers.
While most VPN protocols default to using the UDP protocol, SSTP exclusively uses the TCP protocol.
What is UDP?
UDP stands for User Datagram Protocol. UDP tends to be much faster than TCP. This is because UDP does not establish a dedicated internet connection before sending data. Instead, it simply sends data packets to the recipient without any guarantee of delivery or order.
UDP does not provide error-checking or error-correction mechanisms either. If a UDP packet is corrupted or lost in transit, there is no automatic mechanism for recovery. Applications using UDP must handle error detection and correction themselves if necessary. For this reason, UDP is sometimes referred to as “Unreliable Datagram Protocol”. Nevertheless, UDP is usually the default with most other VPN protocols as it has much less overhead than TCP.
What is TCP?
TCP, for its part, stands for Transmission Control Protocol. TCP establishes a connection — using a three-way handshake — before data exchange begins. When data is sent, the receiver acknowledges its receipt. If the sender doesn’t receive an acknowledgment within a specified time, it will retransmit the data, ensuring that no data is lost in transit.
TCP allows the sender to regulate the rate at which data is sent based on the receiver’s ability to process it. It also includes the ability to detect packet errors and will request retransmission if necessary. TCP’s corrective mechanism adds significant overhead to TCP connections, which are slower and can lead to what is referred to as a TCP Meltdown.
TCP meltdown
When TCP is used in a VPN connection over a spotty network, it becomes quite likely that packets will be either dropped or arrive out of order. When that happens, TCP’s corrective mechanism will request packets to be retransmitted. And if that happens often enough, your VPN connection will slow to a crawl as your packets are retransmitted and reverified. That, specifically, is the TCP Meltdown problem. And SSTP is vulnerable to it.
Even if you don’t get to the “meltdown” point, SSTP will always be slower than VPN protocols that run over UDP. Still, in my experience, SSTP still provides decent speeds—just not something that will blow you out of the water.
Port 443
On the plus side, because it runs over port 443, SSTP is quite good at bypassing restrictive firewalls. In fact, when OpenVPN users are dealing with restrictive firewalls, one of the most common practices is to use the TCP protocol over port 443, which helps because your traffic appears to be just regular HTTPS, making it harder to distinguish VPN traffic from normal website traffic.
No authenticated proxy server support
However, SSTP does have a weakness in this regard compared to OpenVPN. Whereas OpenVPN supports both authenticated and non-authenticated proxy servers (post VPN), SSTP doesn’t support authenticated proxy servers. This is a problem because if one uses a non-authenticated proxy over SSTP, the network administrator could detect the SSTP headers and could drop that traffic if they wanted to.
An authenticated proxy server is a proxy server that requires authentication to access—typically a username and a password. A non-authenticated proxy is one that does not require any kind of authentication for access. When using a non-authenticated proxy server over SSTP, the SSTP version appears in the HTTP headers, like so:
Method: CONNECT
Protocol Version: HTTP/1.1
URI:  <Server Name>:443
Host  <Server Name>:443
SSTPVERSION: 1.0
So a network administrator could easily block SSTP connections that go through a non-authenticated proxy server.
When using an authenticated proxy, this doesn’t happen. Unfortunately, SSTP hasn’t supported authenticated proxies since 2011. If you want to use a proxy server over SSTP, it’ll have to be a non-authenticated proxy, which will reveal that you’re using SSTP, despite using SSL over port 443. Not the best thing for bypassing restrictive networks or for privacy.
Closed source
One thing that makes some people uneasy about using SSTP is the fact that it’s a closed-source VPN protocol developed and owned by Microsoft. In general, for a VPN protocol to be considered secure, it needs to be open-source. This is the case with the two most popular VPN protocols: OpenVPN and WireGuard.
If it’s not, that means that it will not have been publicly reviewed, and nobody can audit the code. You’re left crossing your fingers that the developers got it right. Also, as many have pointed out, Microsoft has been known to collaborate with intelligence agencies, like the NSA, in harvesting and sharing user data—not exactly what you’re looking for when sending traffic through a VPN tunnel.
How to create an SSTP VPN connection in Windows 11
Creating an SSTP VPN connection in Windows 11 is pretty straightforward. Nonetheless, we’ll take you through all the steps.
1. Press the Windows key and then click the Gear icon (Settings). The Windows Settings page is displayed.

3. Select VPN.
4. Click the Add VPN button. The Add a VPN Connection page is displayed.
6. Under Connection name, give your connection a descriptive name.
7. Under Server name or address, enter either the IP address or the domain name of the SSTP server to which you want to connect. Check your SSTP VPN provider’s server list for the domain names or IP addresses of its SSTP servers.
8. Under VPN type, select Secure Socket Tunneling Protocol (SSTP).
9. Under Type of sign-in info, select User name and password.
10. Enter your username and password in the appropriate fields.
11. Click Save. You’re taken back to the VPN page.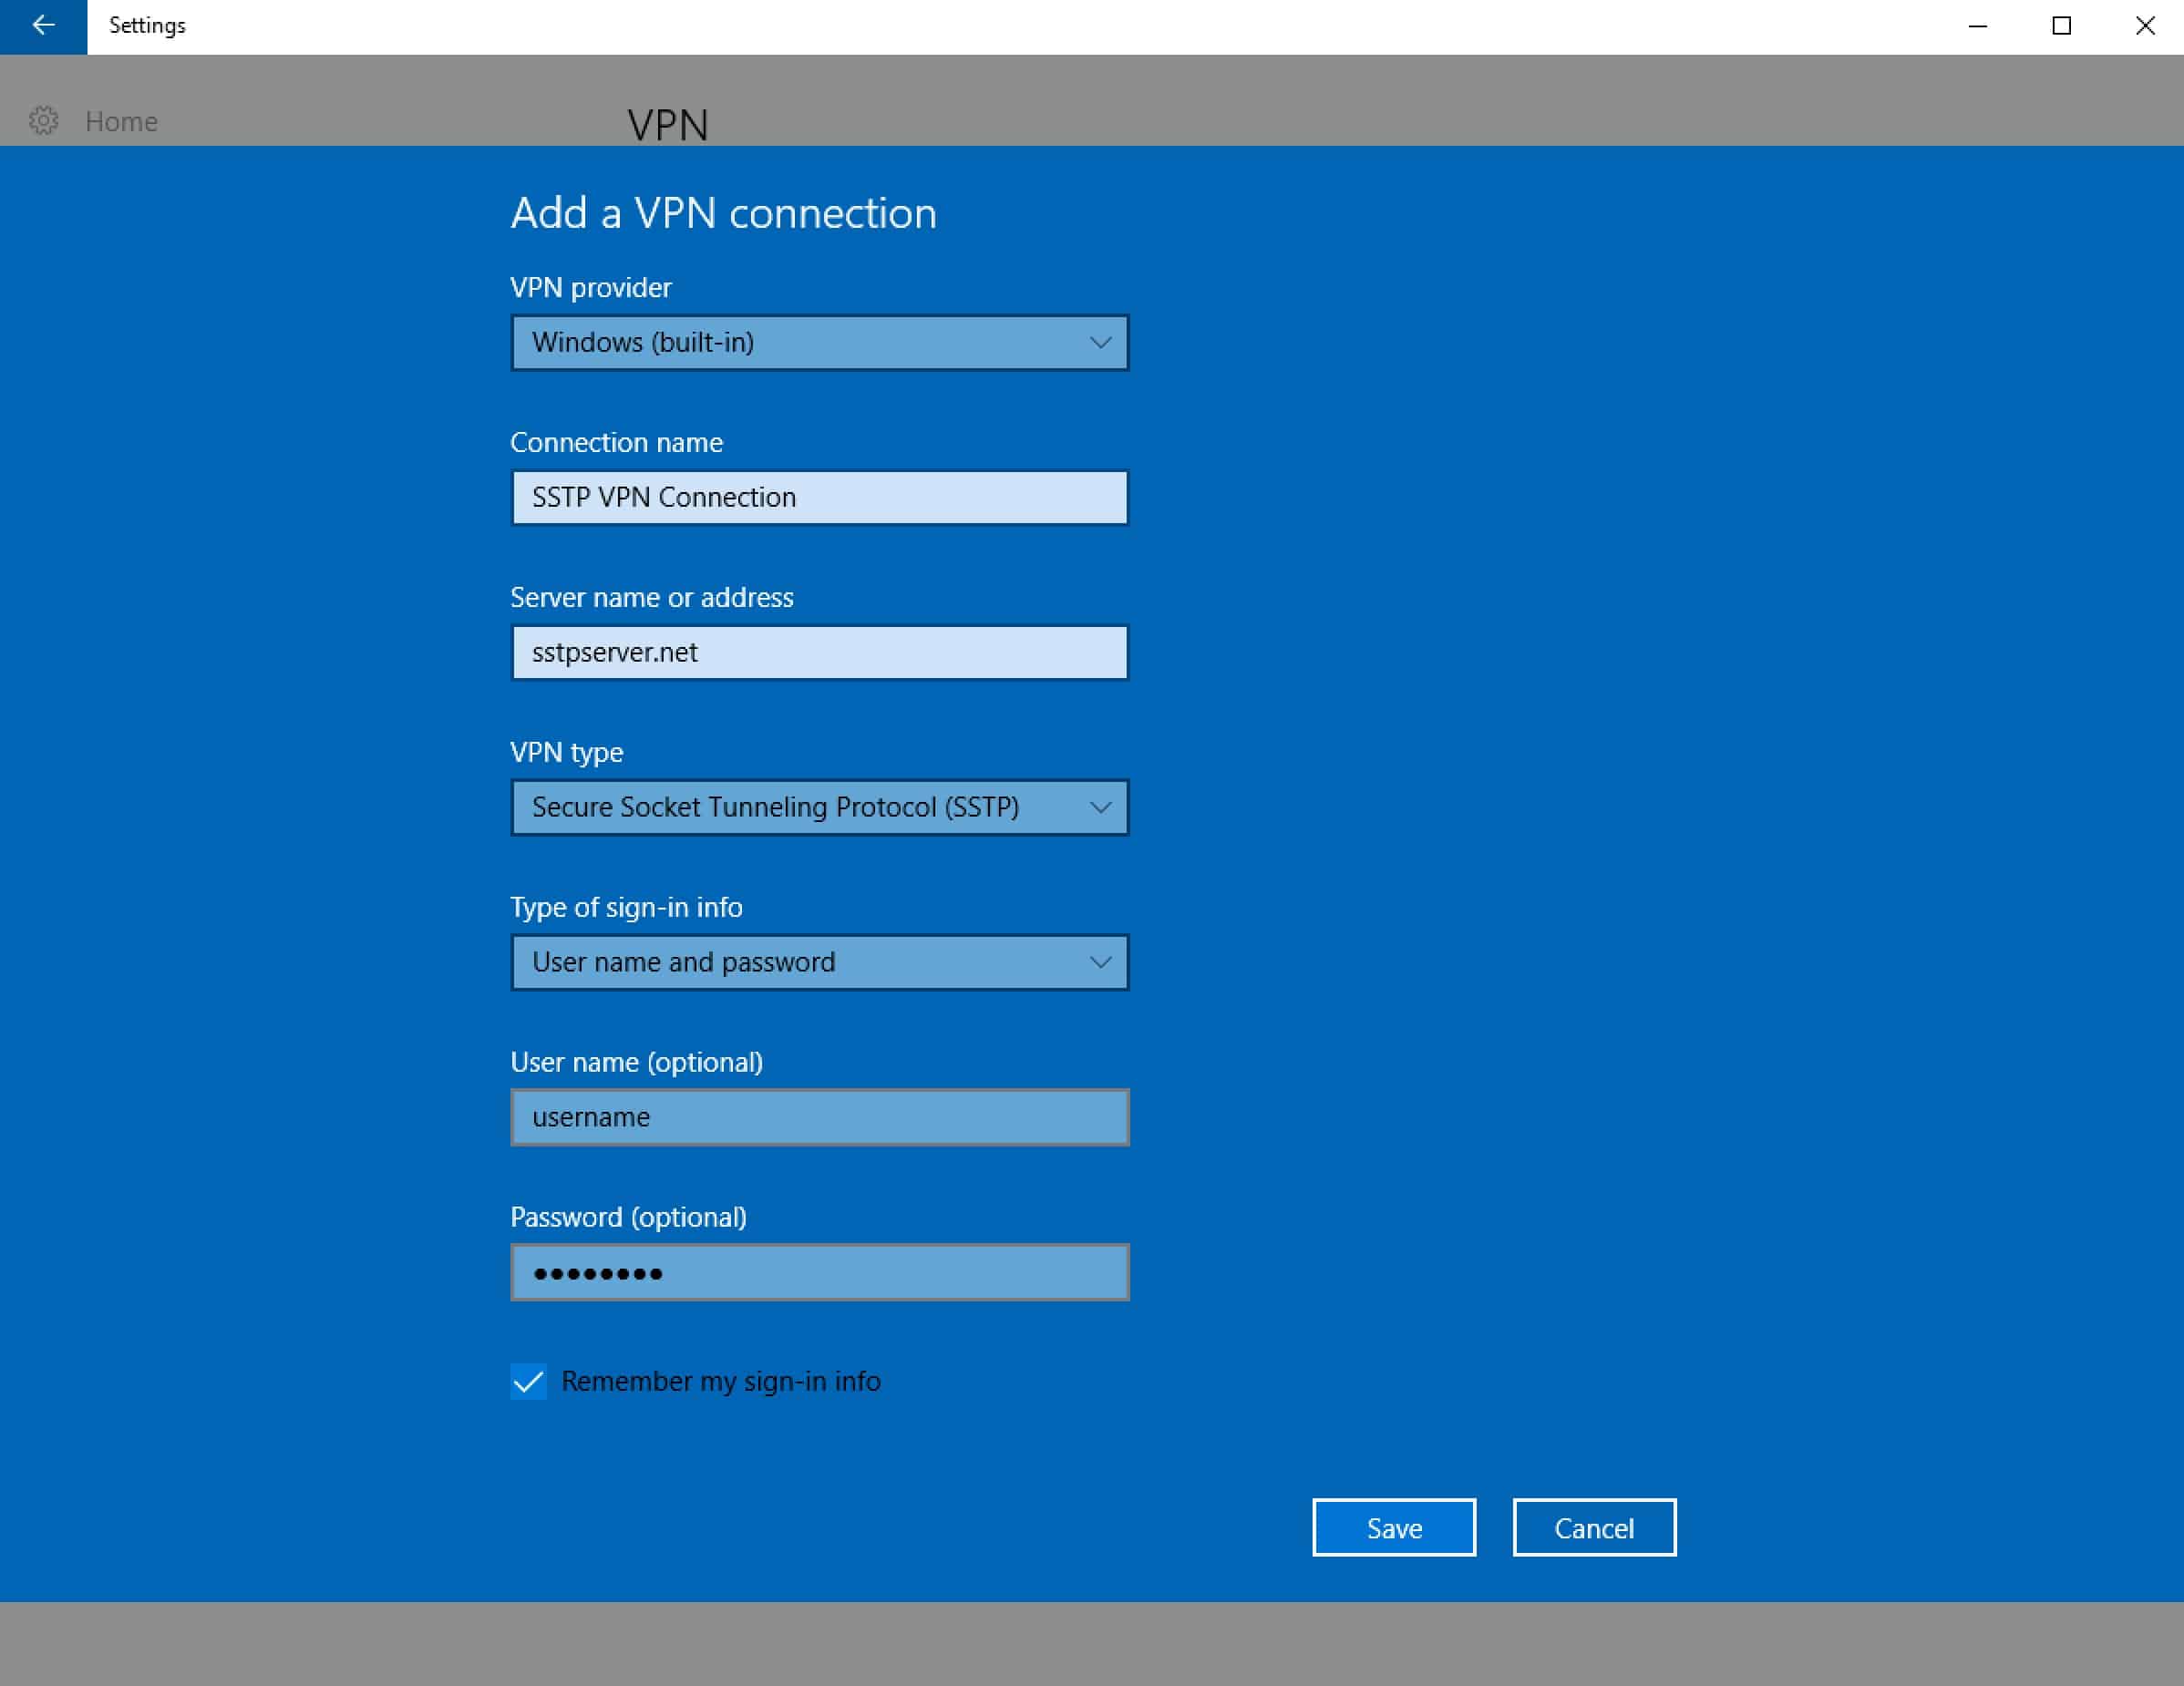
12. To connect to the SSTP server, click Connect.
13. Your SSTP VPN is now connected.
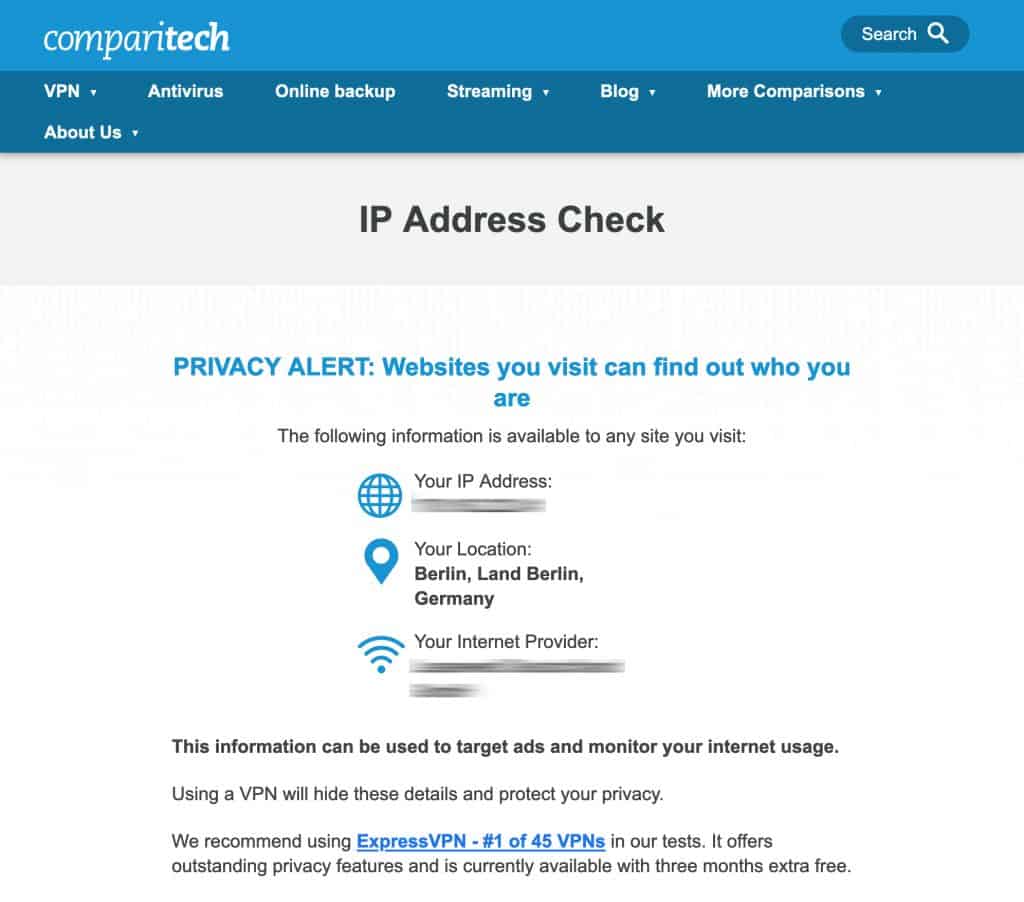
14. You can verify that your IP address has been changed by using the Comparitech IP Address Check Tool.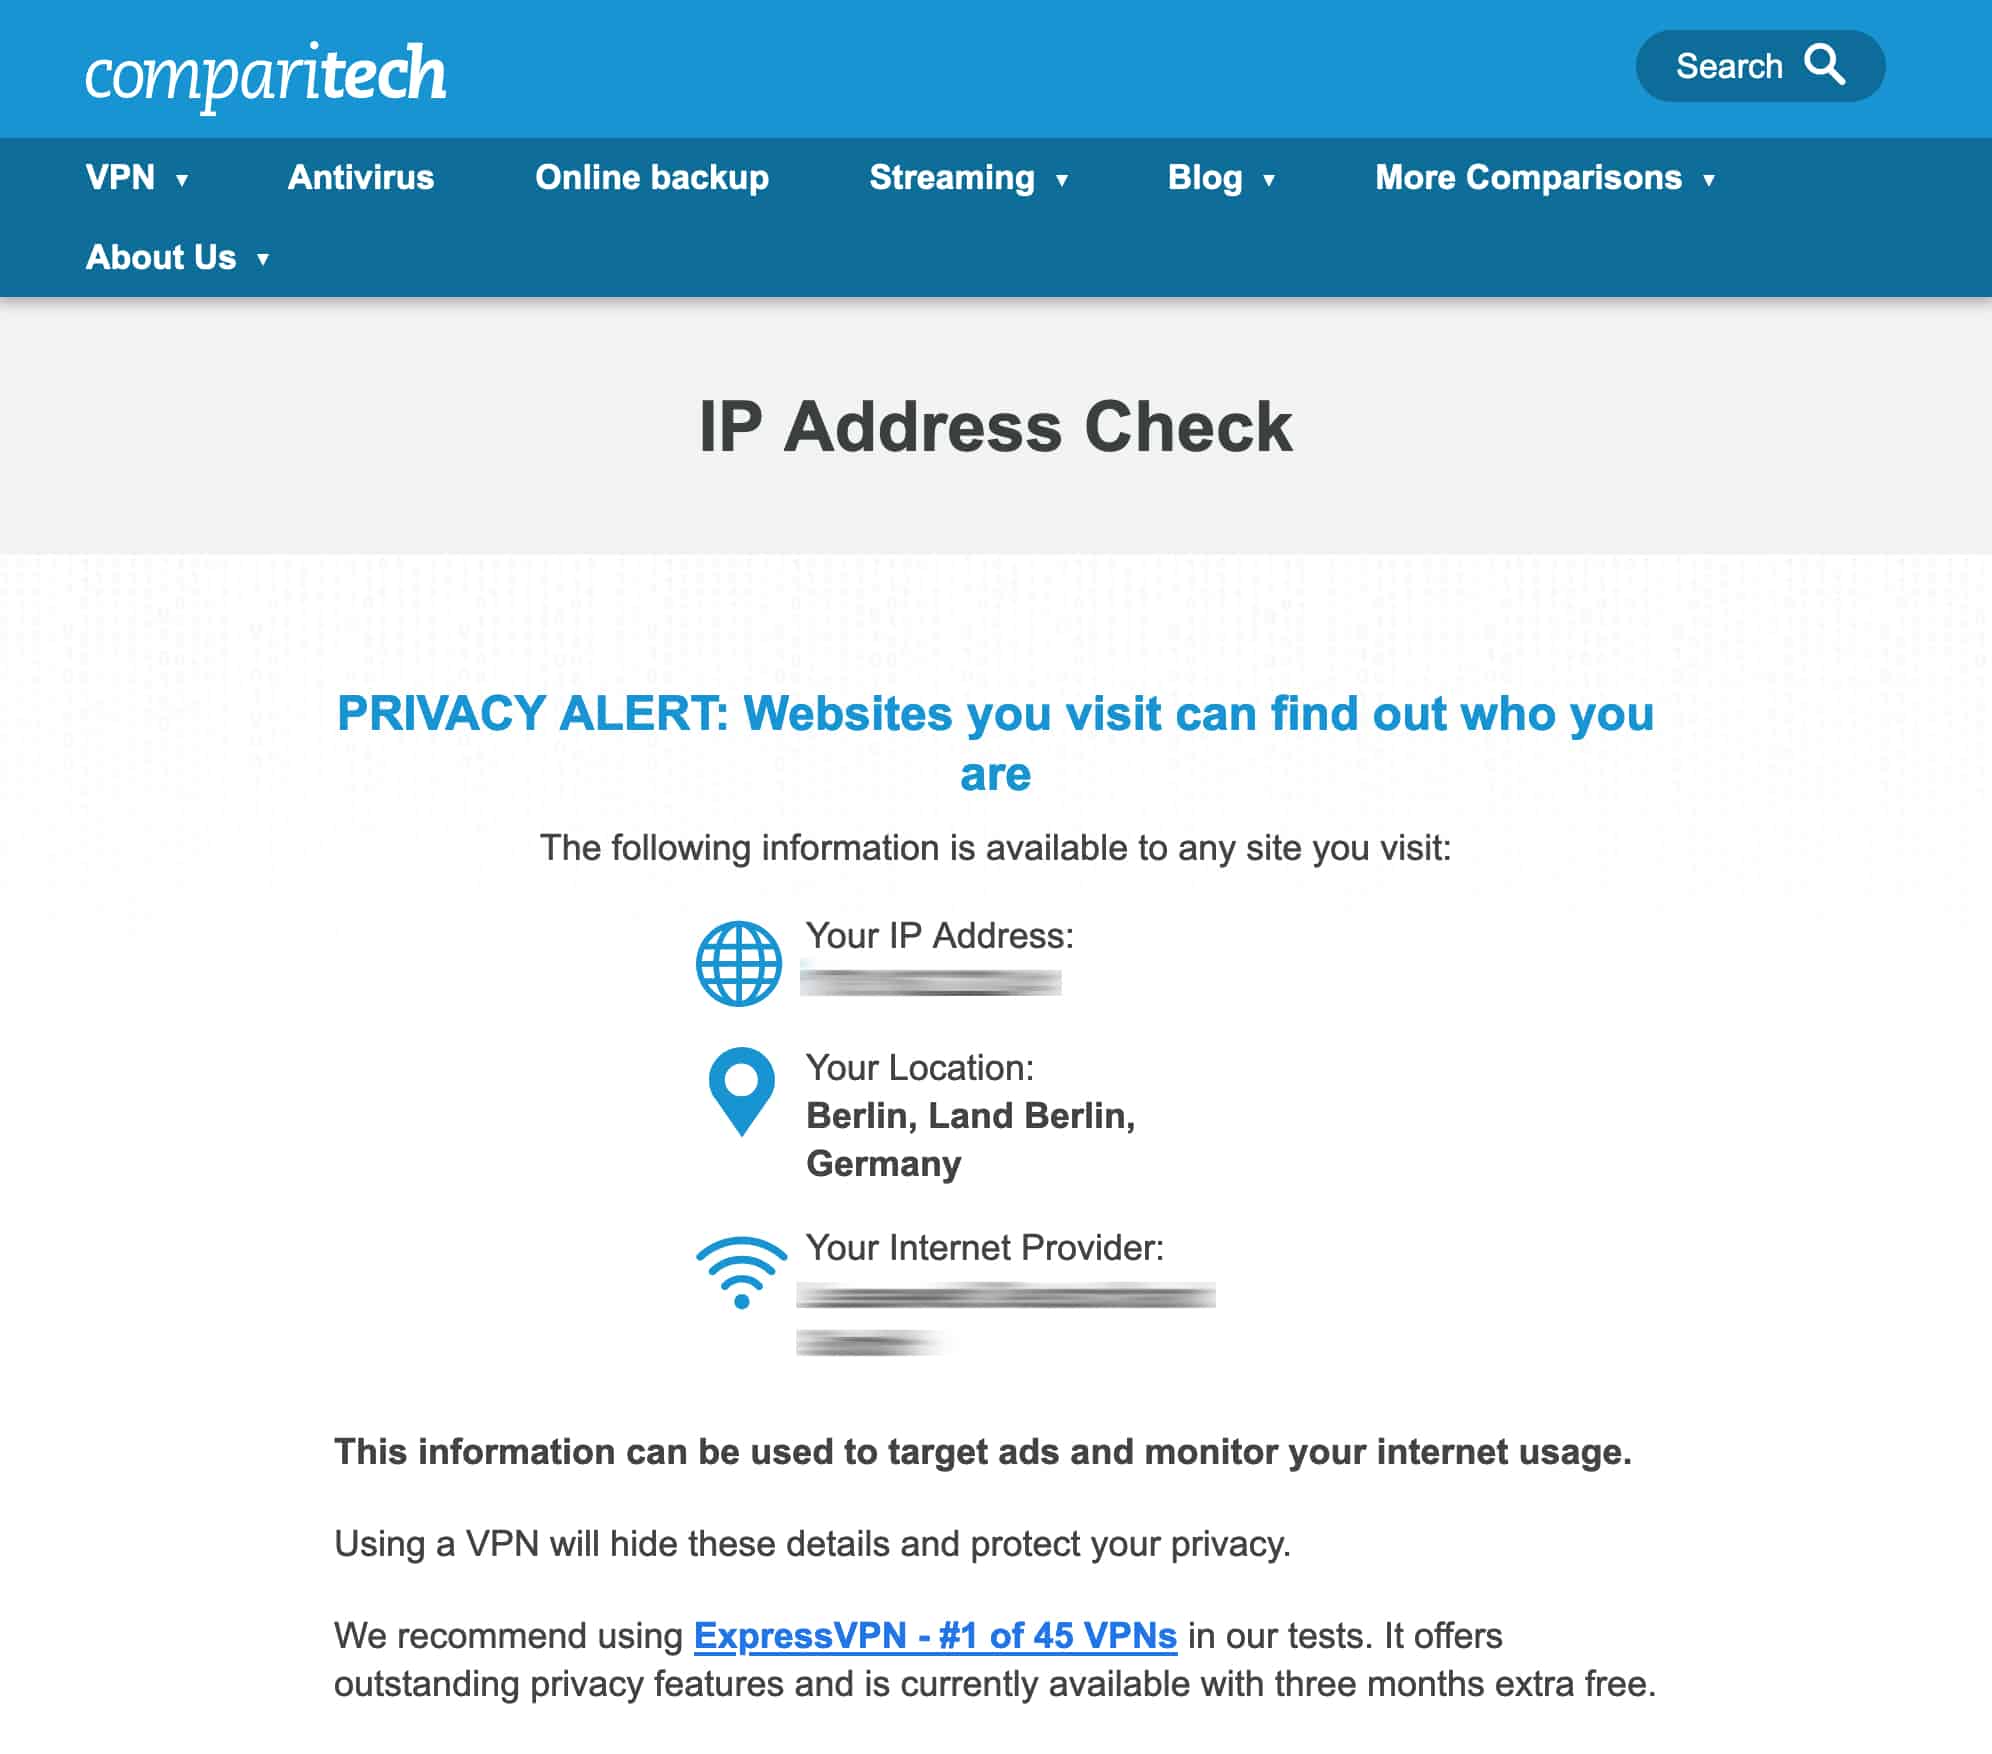
How to create an SSTP VPN connection in Linux Mint
Depending on your version of Linux Mint, you may or may not already have the ability to add SSTP VPN connections. Either way, you’ll still be able to configure an SSTP connection; you may need to install some additional packages.
To check whether or not you need to install additional packages to configure an SSTP connection, follow the instructions below.
Checking if additional packages are required to create an SSTP connection:
- From the Desktop, click the Network Manager icon at the bottom right of the screen. The Network Connections window appears.

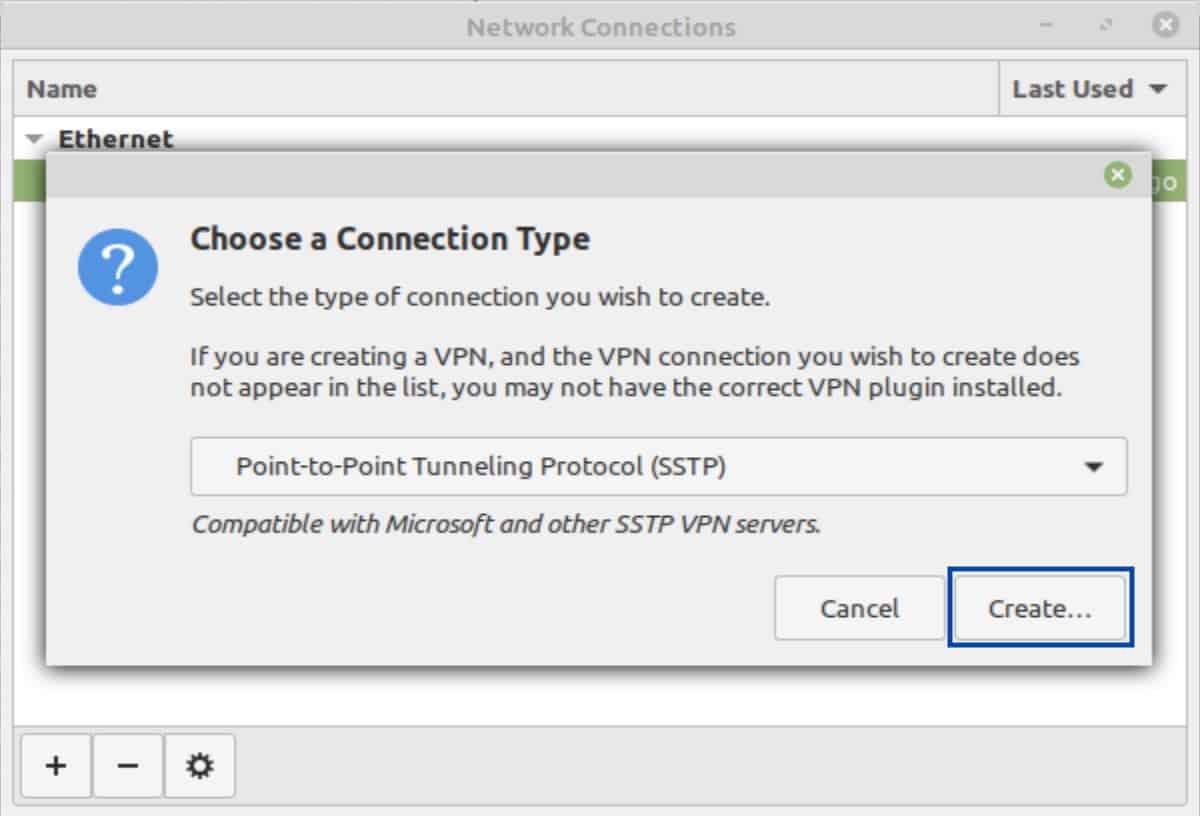
- Click the + at the bottom left of the window. The Connection Type window is displayed.
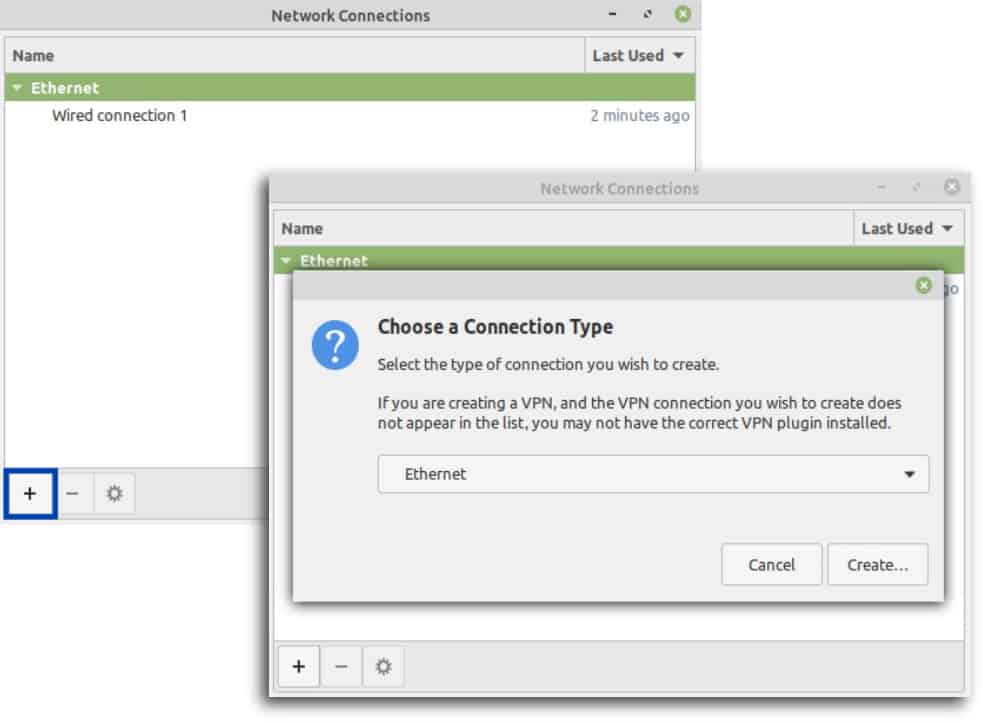
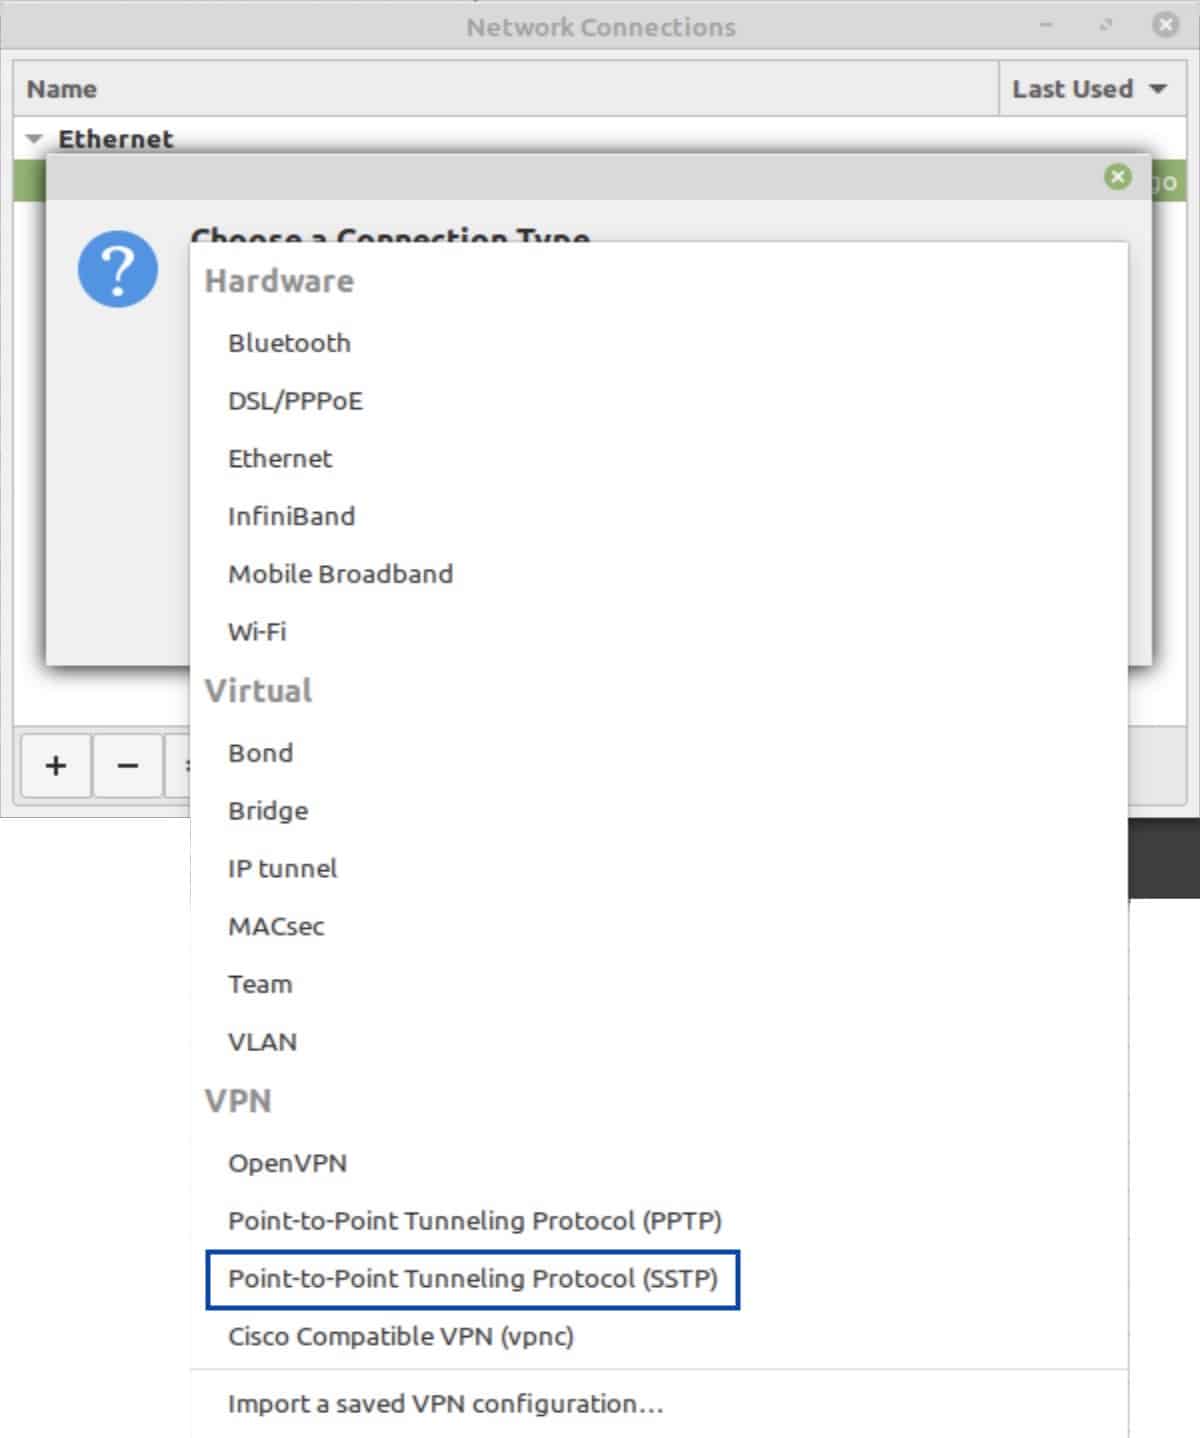
- Click the drop-down list and look for Point-to-Point Tunneling Protocol (SSTP). If it’s there, no additional packages are required. If it’s not, follow the steps below.
Installing SSTP packages
- From a terminal window, type the following commands, one after the other. Enter your password whenever prompted.
sudo add-apt-repository ppa:eivnaes/network-manager-sstp
sudo apt update
sudo apt install network-manager-sstp
sudo apt install sstp-client
Once the above packages are installed, you have everything you need to configure an SSTP VPN connection in Linux Mint. While the following instructions are for Linux Mint specifically, they are similar enough in most Debian-based Linux distributions that you should be able to follow them in another Linux distribution, as long as it’s Debian based.
- From the Desktop, click the Network Manager icon at the bottom right of the screen. The Network Connections window appears.
- Click the + at the bottom left of the window. The Connection Type window is displayed.
- From the drop-down list, select Point-to-Point Tunneling Protocol (SSTP).
- You’re taken back to the Connection Type window. Click Create. The VPN Editing window is displayed.
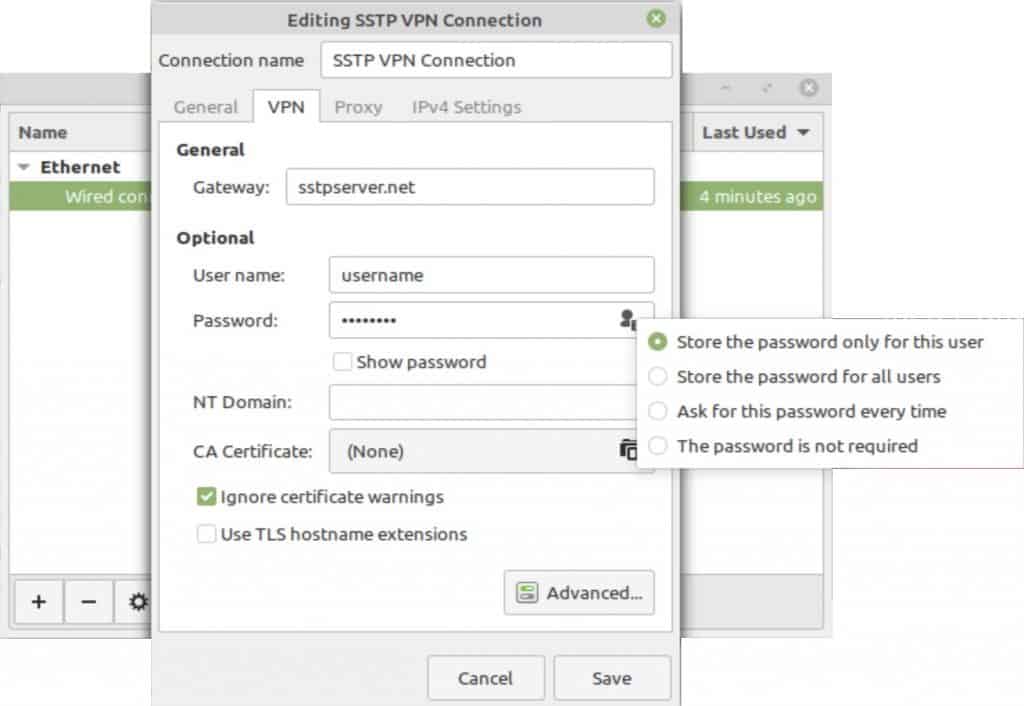
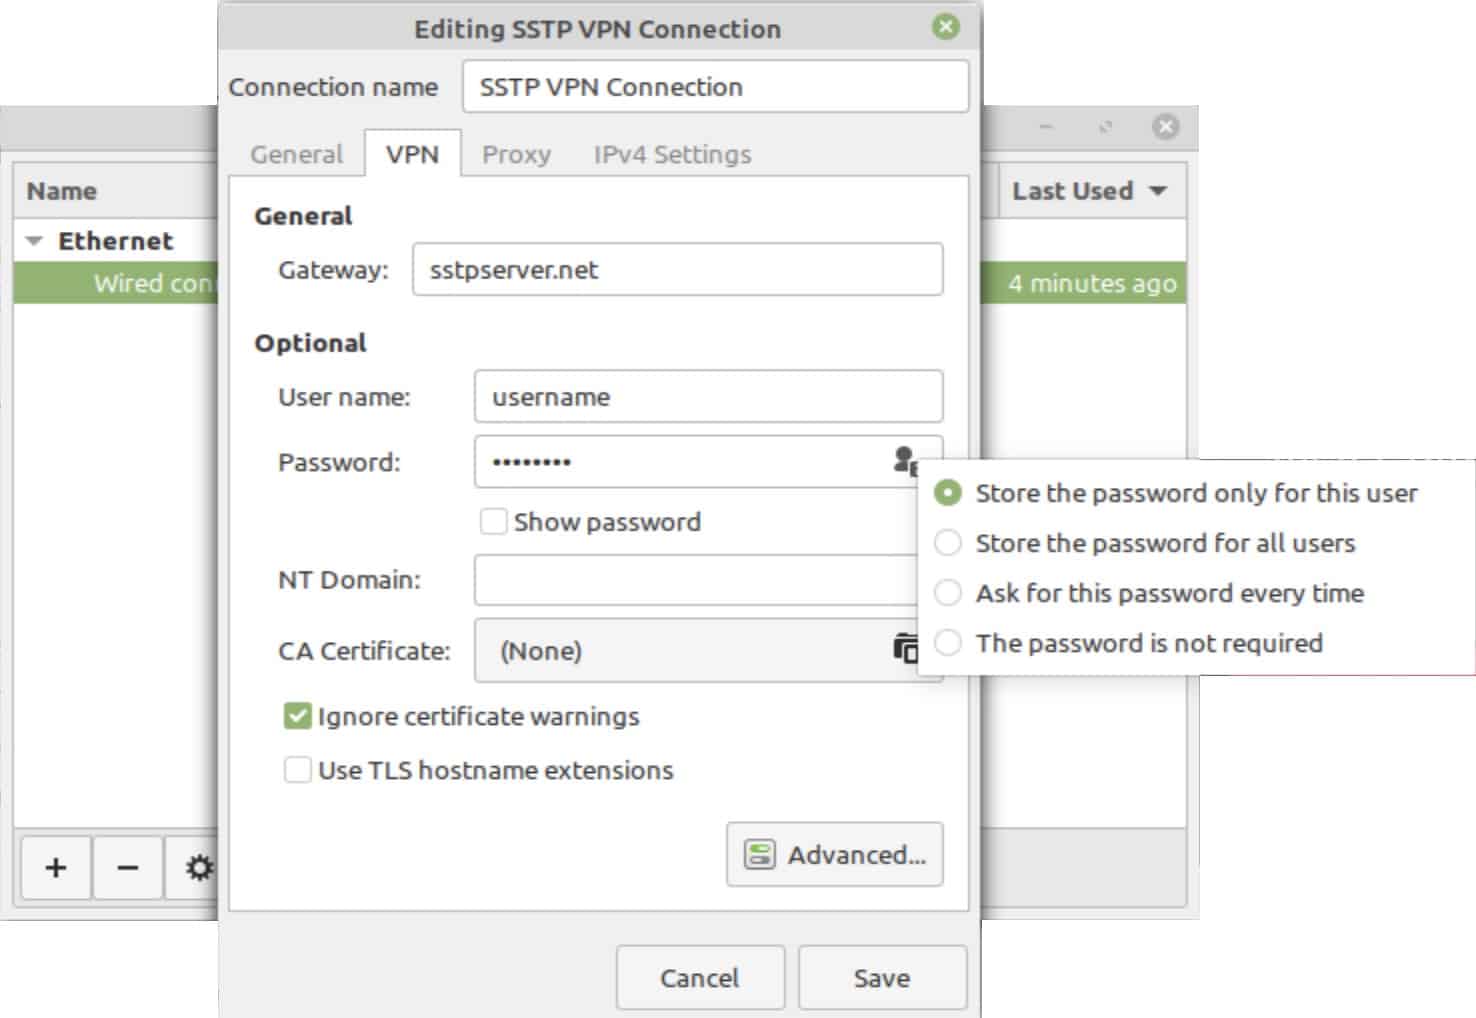
- Next to Connection name, give your connection a descriptive name.
- Next to User name, enter your user name.
- Click the keyhole icon in the Password field and select Store the password for only this user, and enter your password in the Password field.
- Check the Ignore TLS certificate warnings box.
- Click Save. Your SSTP connection is now configured. Close the Connection Type window.
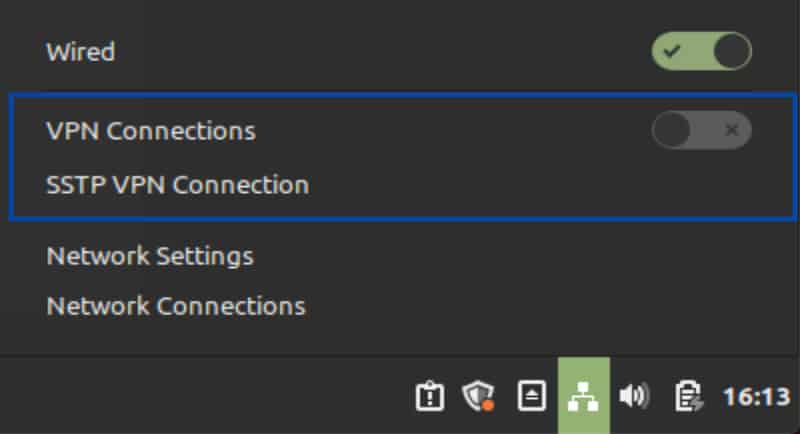
- To enable your VPN connection, from the Desktop, click the Network Manager icon at the bottom right of the screen and toggle your VPN connection on.
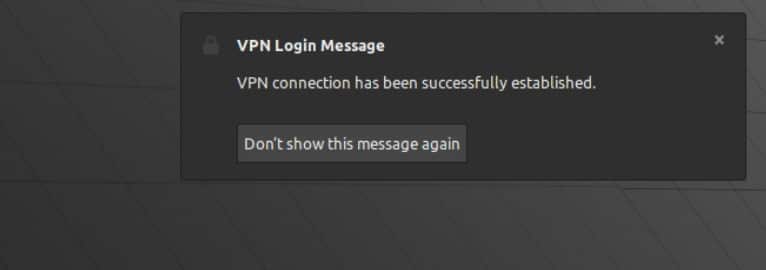
- Upon successful connection, you’ll see a notification appear stating that you’re now connected to the VPN.
- You can verify that your IP address has been changed by using the Comparitech IP Address Check Tool.
Conclusion
We looked at what SSTP is and how it works. We also showed how to create an SSTP connection in Windows 11 and in Linux. And while SSTP does have some things going for it, like robust ciphers and the ability to bypass restrictive firewalls, I would still recommend using OpenVPN, IPsec, or WireGuard. The main reason is that SSTP is closed-source and owned by Microsoft, which isn’t particularly privacy-friendly.
However, if you need to bypass restrictive firewalls, I would specifically recommend using OpenVPN in TCP mode and over port 443. This will get you to the same place as if you were using SSTP, but you’ll be using a tried and tested, open-source VPN protocol, and you won’t have to wonder what Microsoft or other third parties may be doing with your data.