

Interested in transferring a custom Kodi build from one device to another? This guide will show you how to transfer your customized Kodi build onto the Amazon Fire Stick, Raspberry Pi, or mobile device in just a few minutes.
Kodi is a popular media center package like Stremio and Plex. It’s free to use, open-source, and extremely portable. Kodi can be easily installed on all the most popular devices, including iPhone, Roku, the Nvidia Shield, and even USB flash drives. Further, Kodi maintains most of its functionality on mobile platforms. If something works on your desktop version, it’ll likely work on your phone or tablet too.
Kodi allows you to use preconfigured installations called builds to streamline the setup process. However, it isn’t immediately obvious how a user can transfer a build from one device to another. This article will explain how to do this so that you don’t have to manually install the same build multiple times.
It should be noted that some Kodi builds include copyright-infringing addons. We encourage our readers to thoroughly research their country’s copyright laws before installing any such build or addon, and to use only official sources of content.
This article highlights some of the possible risks that can come with using some Kodi builds. Most third-party Kodi developers are well-intentioned and spend their own time and resources to build great plugins for the Kodi community. Nevertheless, even some of the most popular third-party plugins have been misused by rogue developers in the past. It is worth being aware of these risks if you are considering installing any build.
Warning: Kodi should only be used for content to which you have the legal right to access. Neither the Kodi Foundation nor Comparitech advocates the use of Kodi for piracy.
Important: Always use a VPN with Kodi
Some people connect to virtual private networks (VPN) in order to hide unauthorized streaming from their internet service providers (ISPs). However, VPNs can greatly benefit most people, including those who only stream from official sources.
VPNs encrypt your network traffic, preventing it from being read by any outside observer. This protects you from the majority of Man-in-the-Middle (MitM) attacks and stops your ISP from selling your data to unknown third parties without your knowledge.
Not all VPNs are equal, however. Some are less than forthcoming about the records they keep, some contain malware, and some just can’t offer the speeds required for high-definition streaming. For these reasons, it’s important to find a VPN that can be trusted to keep you and your personal information safe.
Our top VPN for Kodi is NordVPN. The provider is device resource-friendly and provides fast, well-protected connections to thousands of servers in most countries around the globe. The provider’s servers are all run solely from RAM, meaning there are never any logs written to a permanent storage device.

NordVPN offers native app support for most popular devices, including most Kodi-compatible devices. The provider offers 24/7 customer support, and a 30-day money-back guarantee allows you to try the provider with no risks.
Users on a tight budget should take a close look at Surfshark, which offers top-notch VPN protection and services at a low price. The provider allows users to connect an unlimited number of devices to its diskless servers, which provide fast, well-protected connections.

The provider offers native app support for popular device platforms, including most of those compatible with Kodi. Customer support is available around the clock and a 30-day no-risk money-back guarantee is also available.
For a larger list of VPNs, see our article on the best VPN services for Kodi.
Transferring a Kodi build
Generally, Kodi builds are downloaded from a repository and installed the same way addons are. However, if you have several devices and want a consistent experience across them all, installing the same build manually can take quite some time.
Instead, you can transfer the relevant files directly from one device to another, skipping several steps. This removes the need to add a source and wait for the often large build file to download. However, the way you transfer these files differs slightly based on the platforms you’re using.
Finding the build files on your primary device
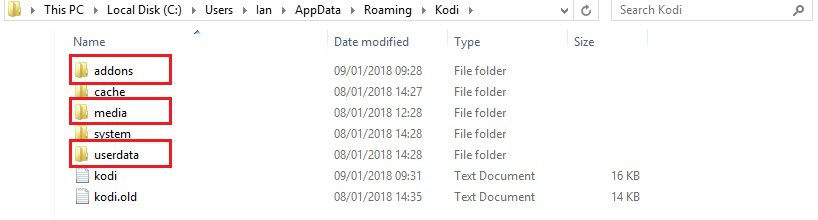
For the purposes of this tutorial, we’ll be assuming you already have a working Kodi build installed. There are three folders (addons, media, and userdata) that contain build files, and we’ll have to copy all of these across to the secondary device. The location of these folders differs based on your operating system, however. Remember to replace [YOUR USERNAME] with your actual system username.
Windows: C:\Users\[YOUR USERNAME]\AppData\Roaming\Kodi\
Linux: ~/.kodi/
MacOS: /Users/[YOUR USERNAME]/Library/Application Support/Kodi/
Note: macOS hides this folder’s contents by default. To show it, open a terminal and navigate to the address above by typing the following command without the quotation marks:
“cd /Users/[YOUR USERNAME]/Library/Application Support/Kodi/”
Next, enter the command below to show all hidden files in this folder.
“chflags nohidden ~/Library”
You can also view hidden folders and files by opening up a Finder window and simultaneously pressing the following on your Mac’s keyboard: “command + Shift + . (the period key). The hidden files and folders will display as semi-transparent icons. Pressing the keyboard combination again will once again hide the files.
iOS: /private/var/mobile/Library/Preferences/Kodi/
Note: Apple does not provide a way to view hidden files or folders from within iOS. As a result, you cannot directly transfer a build to an iOS device. This also means that you’ll have to transfer the folders from your phone to a PC, then from your PC to the secondary device. In these cases, it may be simpler to just download the build to your PC directly.
Android: Android/data/org.xbmc.kodi/files/.kodi/
Note: You may have to tell your file explorer to show hidden files. This option should be accessible through its settings menu.
LibreELEC/OpenELEC: /storage/.kodi/
Transferring folders to a secondary device
For the most common devices, transferring files is fairly straightforward. However, some platforms require the user to take a few additional steps. Below, we’ll cover the easiest ways to transfer files and folders between different operating systems commonly used for Kodi.
Windows, macOS, and Linux
If you’re simply moving a build from one desktop system to another, the process is very straightforward. You can just put the addons, media, and userdata folders onto a USB stick and copy them to the correct location. It’s also possible to copy these files to a Dropbox account if you’d prefer, but you will have to wait for the files to download on the target device.
Android
By far the simplest way to transfer the correct folders to an Android device is to connect it to a PC. However, you can also put the files onto an SD card and use a file explorer app to copy them into the right location. Again, remember to enable the setting that allows you to view hidden files.
Amazon Fire Stick/Fire TV
Because you can’t connect Amazon Fire devices to another computer and there’s no way to use removable media, transferring a Kodi build becomes a bit more complicated. That said, assuming you already have Kodi installed, all that remains is to use an app to copy the files.
You should note that you’ll need to run Kodi at least once before taking the following steps.
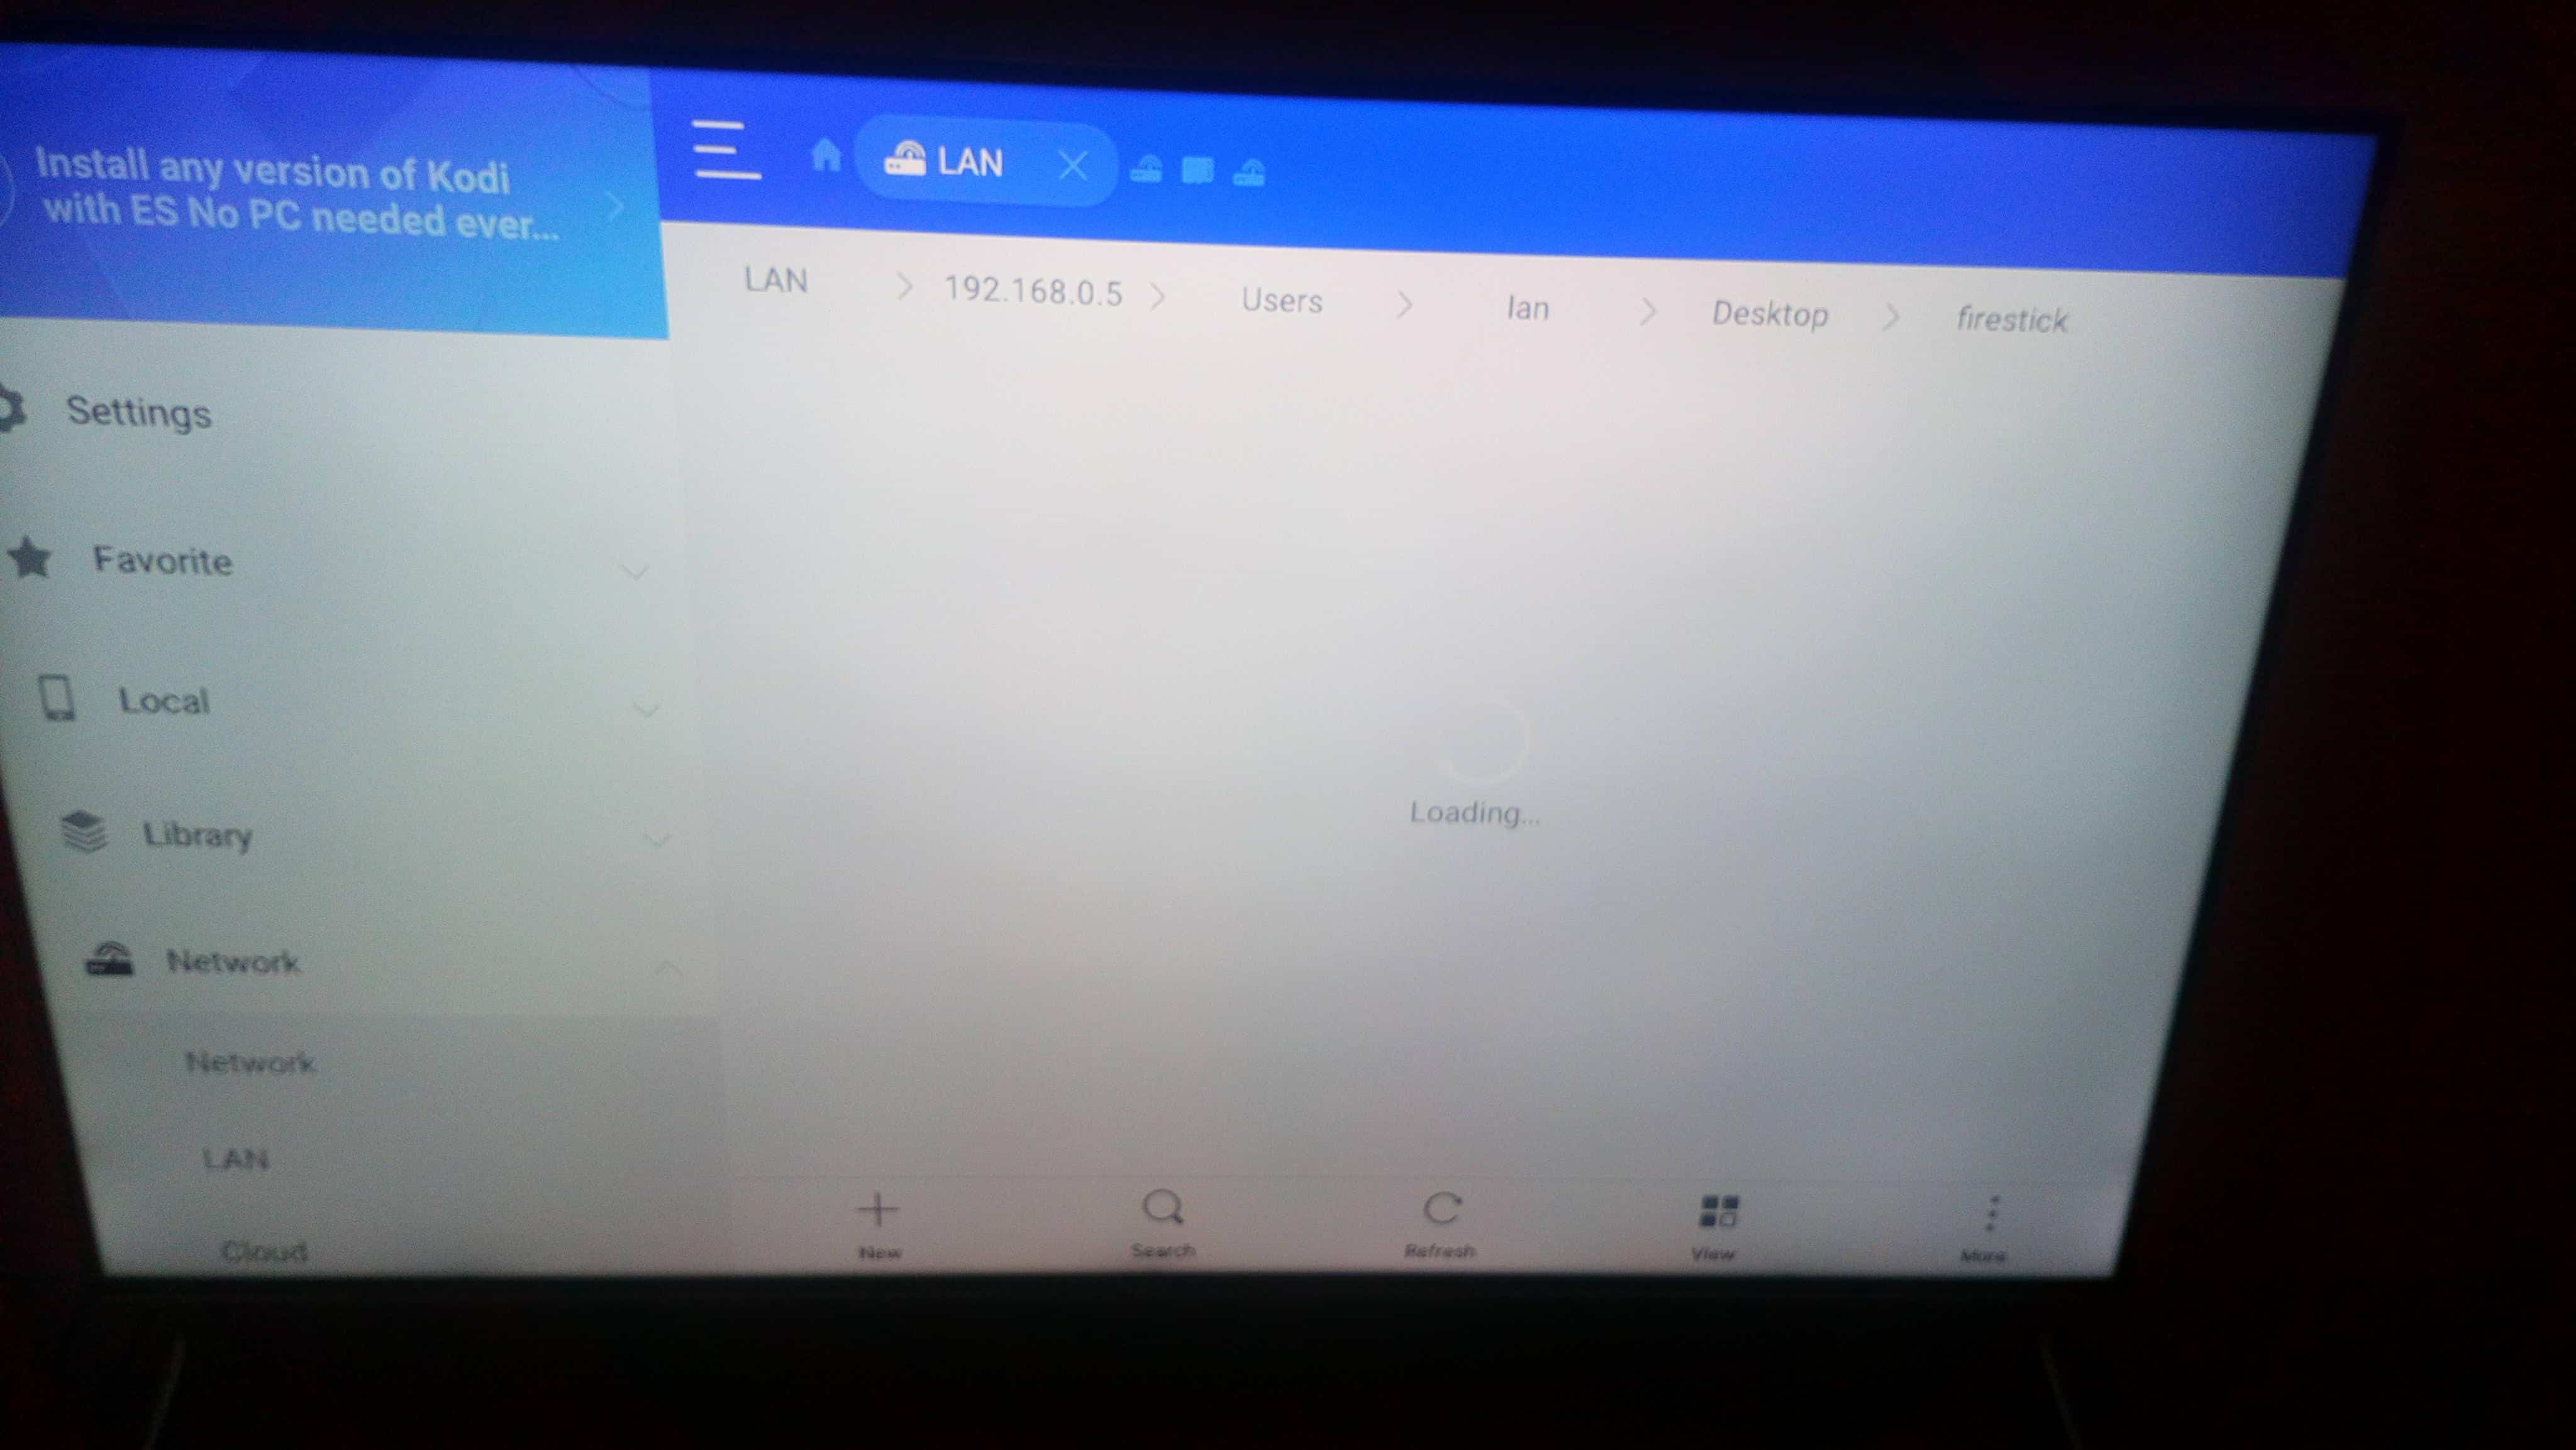
Begin by connecting both devices to the same network, either via WiFi or an Ethernet cable. Next, search the Amazon Fire app store for “ES File Explorer”. In the menu on the left, click Network. This tab will expand, so click LAN, then move over to the right and click the Scan button.
If you see your primary device here, you can navigate to the folder with the userdata, media, and addons files. If not, make sure you’ve made it visible on the network. Similarly, the folders you’re trying to access have to have sharing enabled. It can take a few minutes for these changes to take effect, so don’t worry if they don’t appear immediately.
Once you can freely navigate to the files within the ES File Explorer, hold the remote control’s Select button and click each folder you need. The user interface can be awkward at times, but if you move back to the menu on the left and go down to the bottom, you should be able to click the copy button.
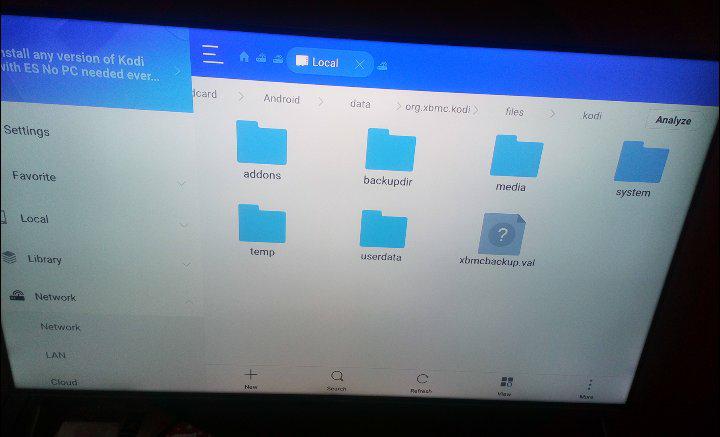
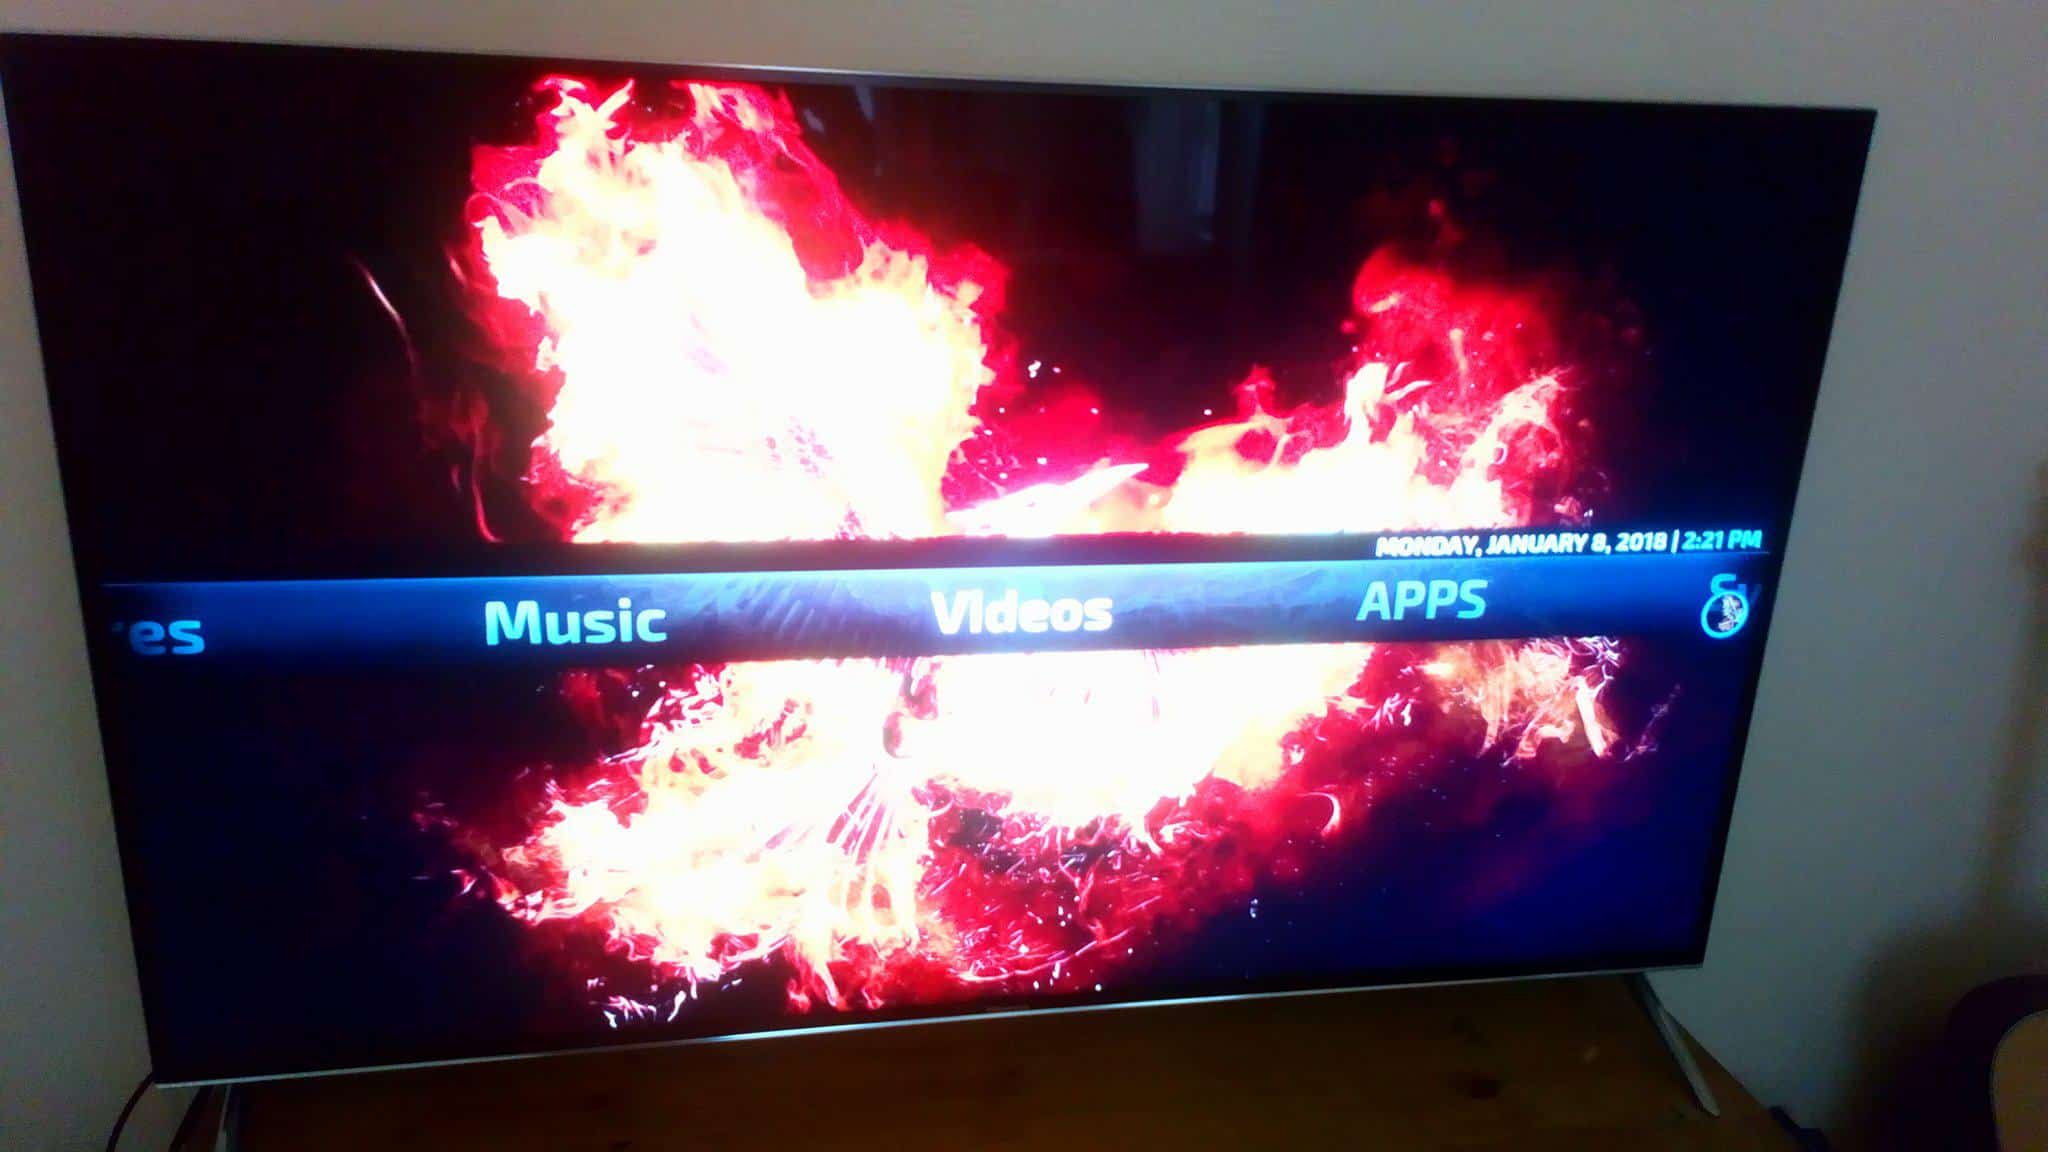
Now, go back to the Network tab. This time, click Local and navigate to Android/data/org.xbmc.kodi/files/.kodi/. Click the paste button. You’ll be asked whether you’d like to overwrite the existing files, so click Overwrite. This procedure can take around ten minutes, after which you can open Kodi and see if everything is installed properly. The new skin may take a short time to perform its initial setup, after which it should work as normal.
Note that updating Kodi on your Fire TV might cause some changes to your transferred build.
LibreELEC/OpenELEC
Generally, LibreELEC and OpenELEC are installed on single-board computers like the Raspberry Pi. These usually have at least one USB slot in addition to the SD card slot used for primary storage. As such, there are a number of ways to transfer Kodi’s build files across.
It’s also possible to move these files even without any kind of removable media. Simply download a File Transfer Protocol (FTP) client such as FileZilla, then go into Kodi’s system settings. To do this, click the gear icon in the top-left, then select System information on the left. Under the Network tab, you’ll see the device’s current IP address.
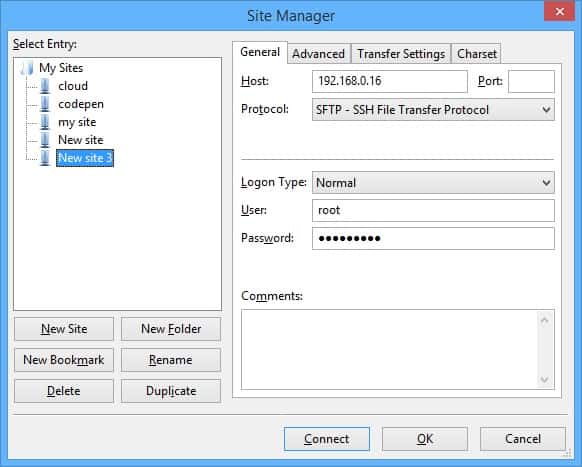
Open up your FTP client and create a new connection. In Filezilla, you can do this by clicking File, then Site Manager. Enter the IP address into the Host box at the top of the window and make sure that SFTP is selected in the list below it.
Select the Normal logon type. The default password for LibreELEC and OpenELEC is “root”, and the password is “libreelec” or “openelec”, respectively. Now, click the Connect button. You’ll see your secondary device’s file structure appear on the right of the FTP client window. Simply navigate to /storage/.kodi/ then drag and drop the files into the window to upload them.
Conclusion
For most devices, it’s relatively simple to transfer a Kodi build. However, Kodi is extremely customizable, so if you find your current build not to your liking, you can always just uninstall it and try a different one. You should also remember that while builds come with addons preinstalled, you can still add your own. We have guides to the best addons for watching sports (including the Super Bowl), movies, and live TV, so we’re sure you’ll find something you like.
re: copying to an Android device from Win 10
Thanks for this article.
Android phone: Android/data/org.xbmc.kodi/files/.kodi/
is not visible using Windows Explorer with phone connected to computer via USB.
So, I can’t copy from Win folder to Android folder
Can you tell us how to make the Android folder visible in Win?
Thanks
Hi Larry, in Windows Explorer, click the View tab. On the right, you’ll see a checkbox saying Hidden Items. Check it, and see if the folder appears. Ian
Thank you very much!
Very helpful.